PEARL / VIPER
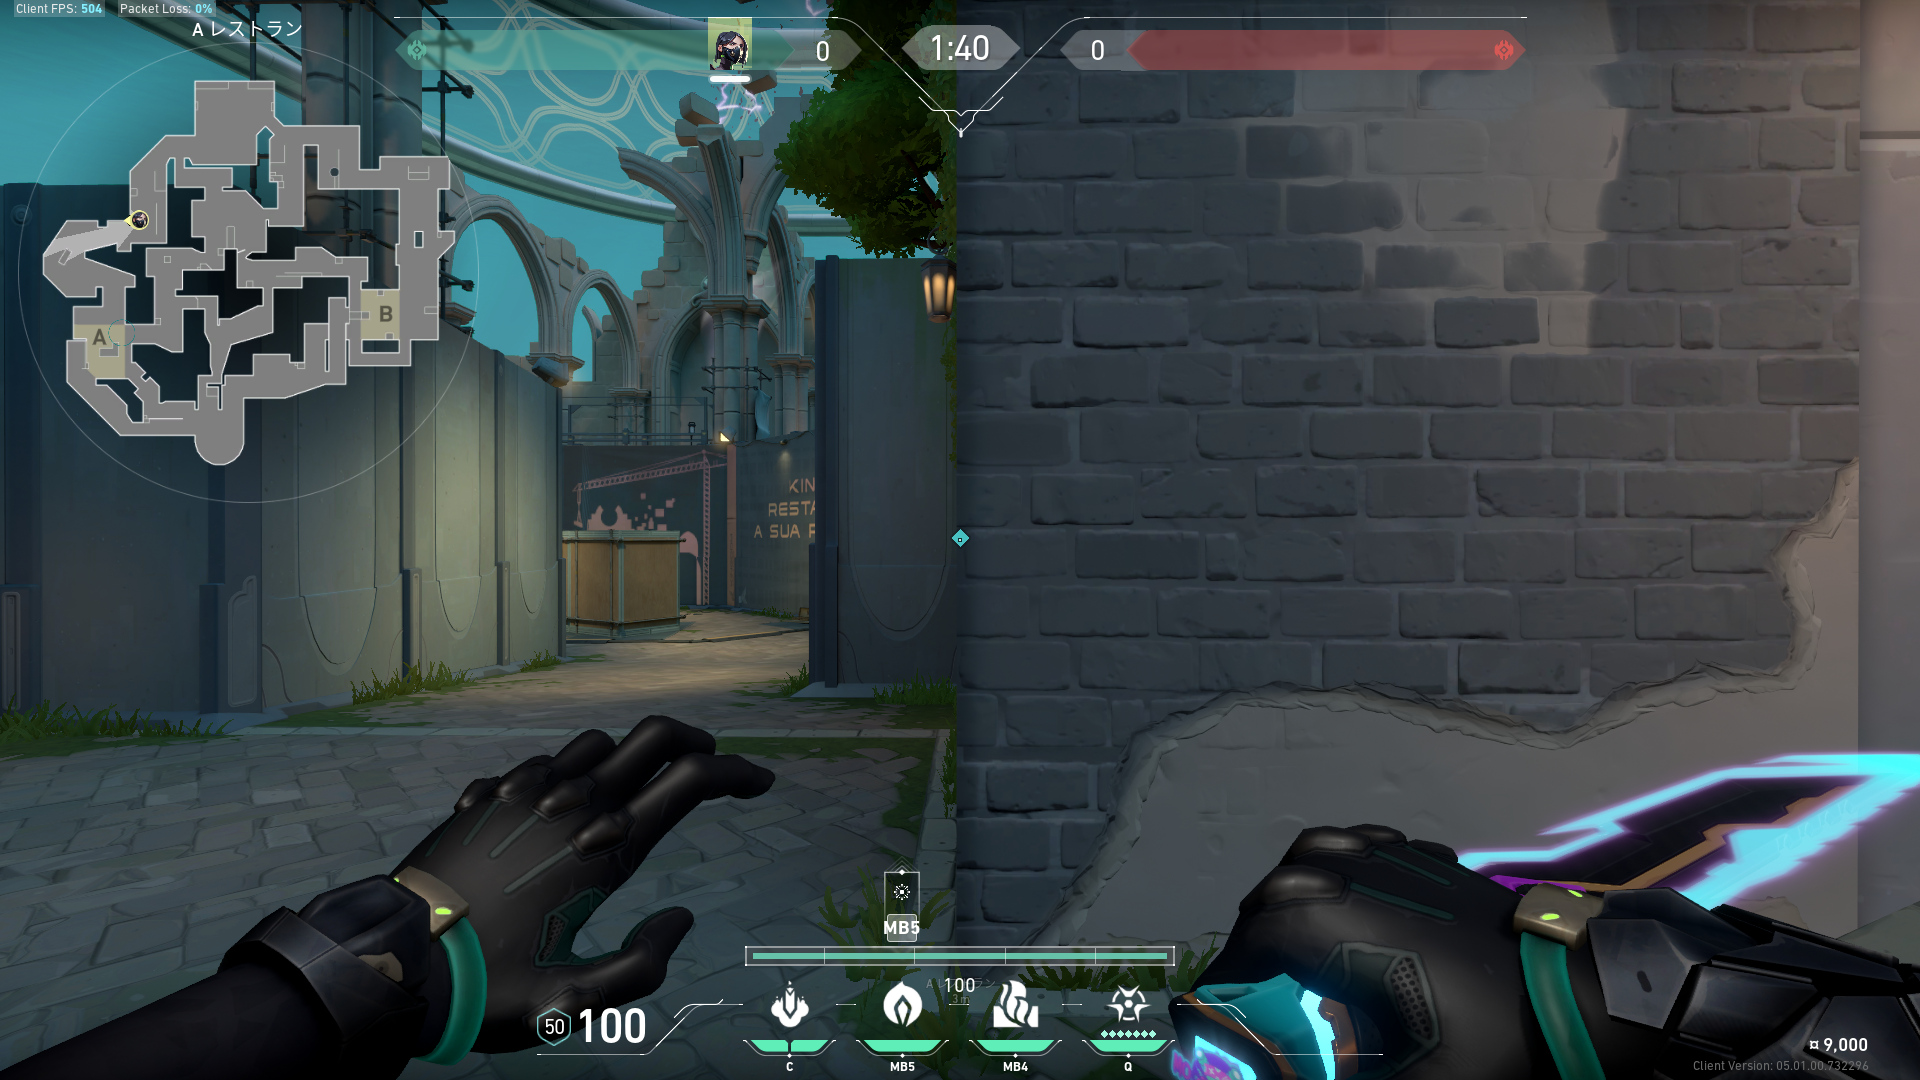
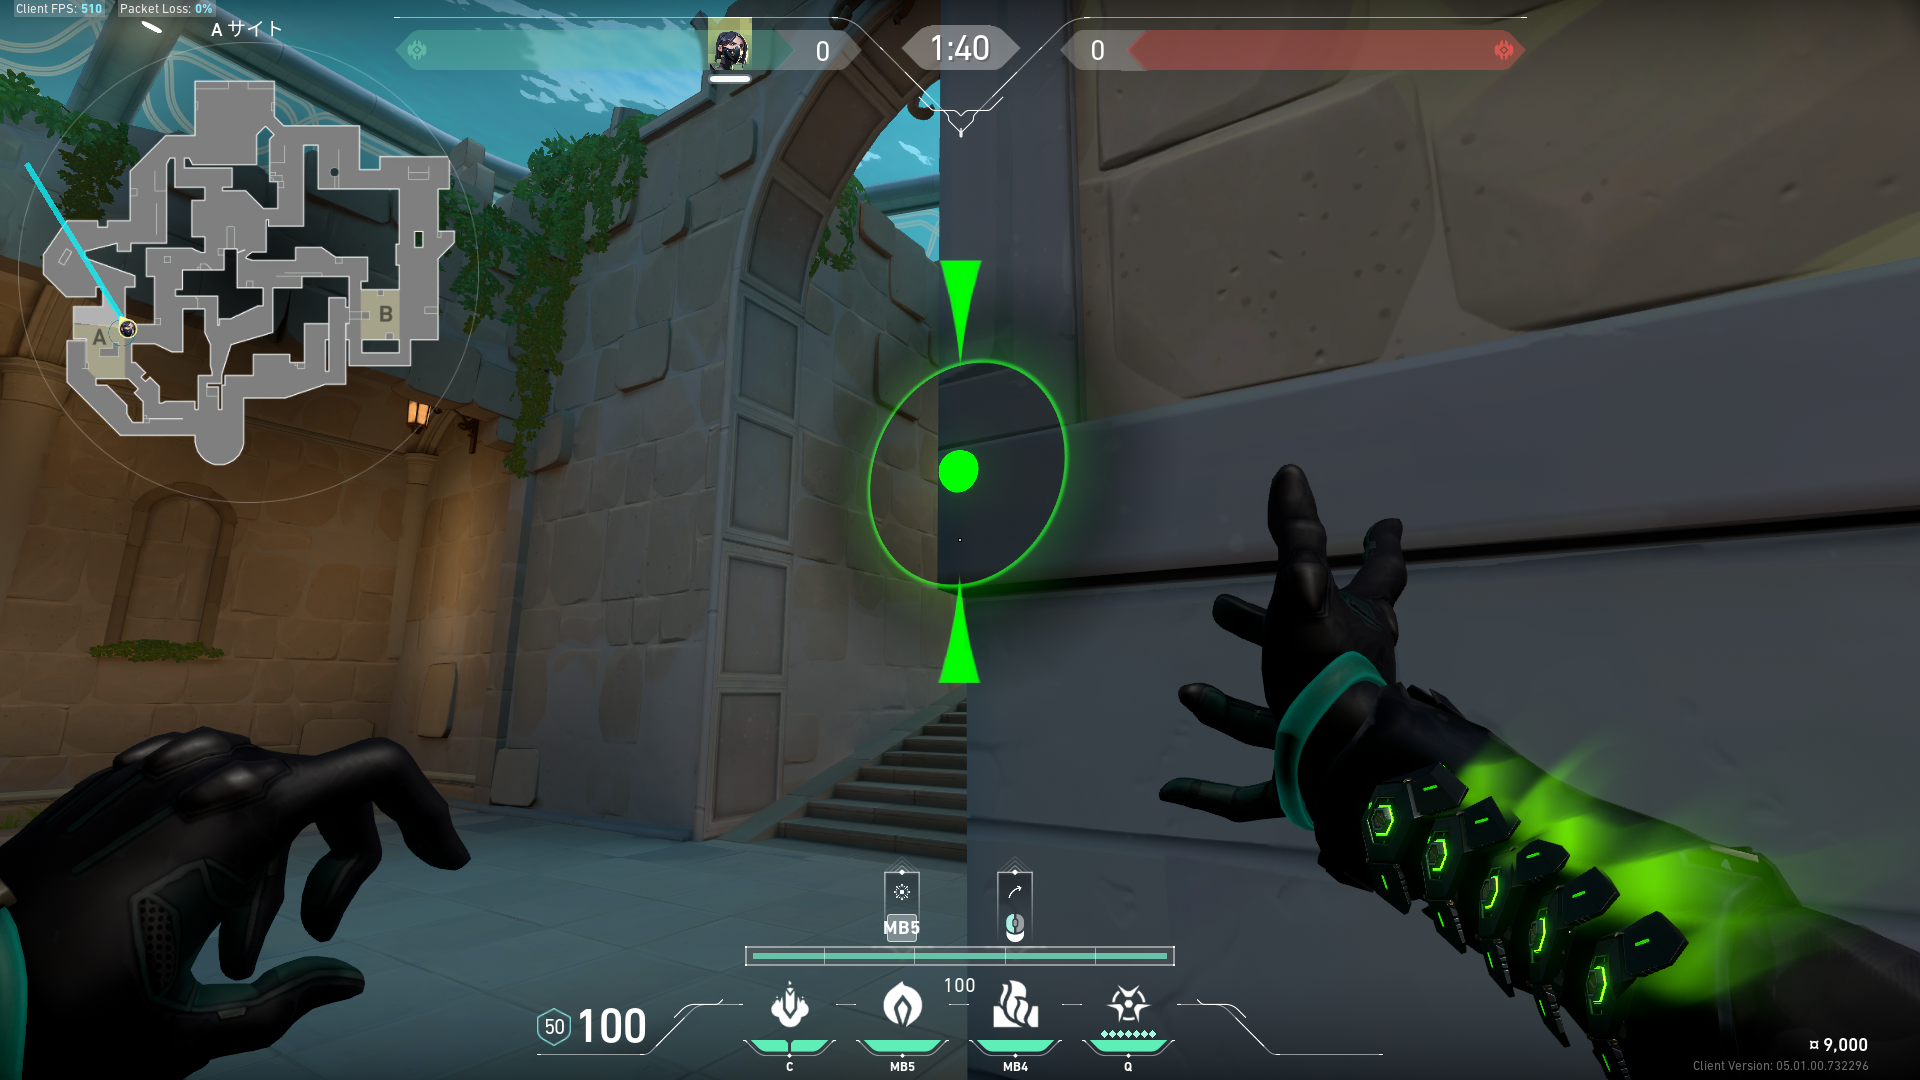 Preview 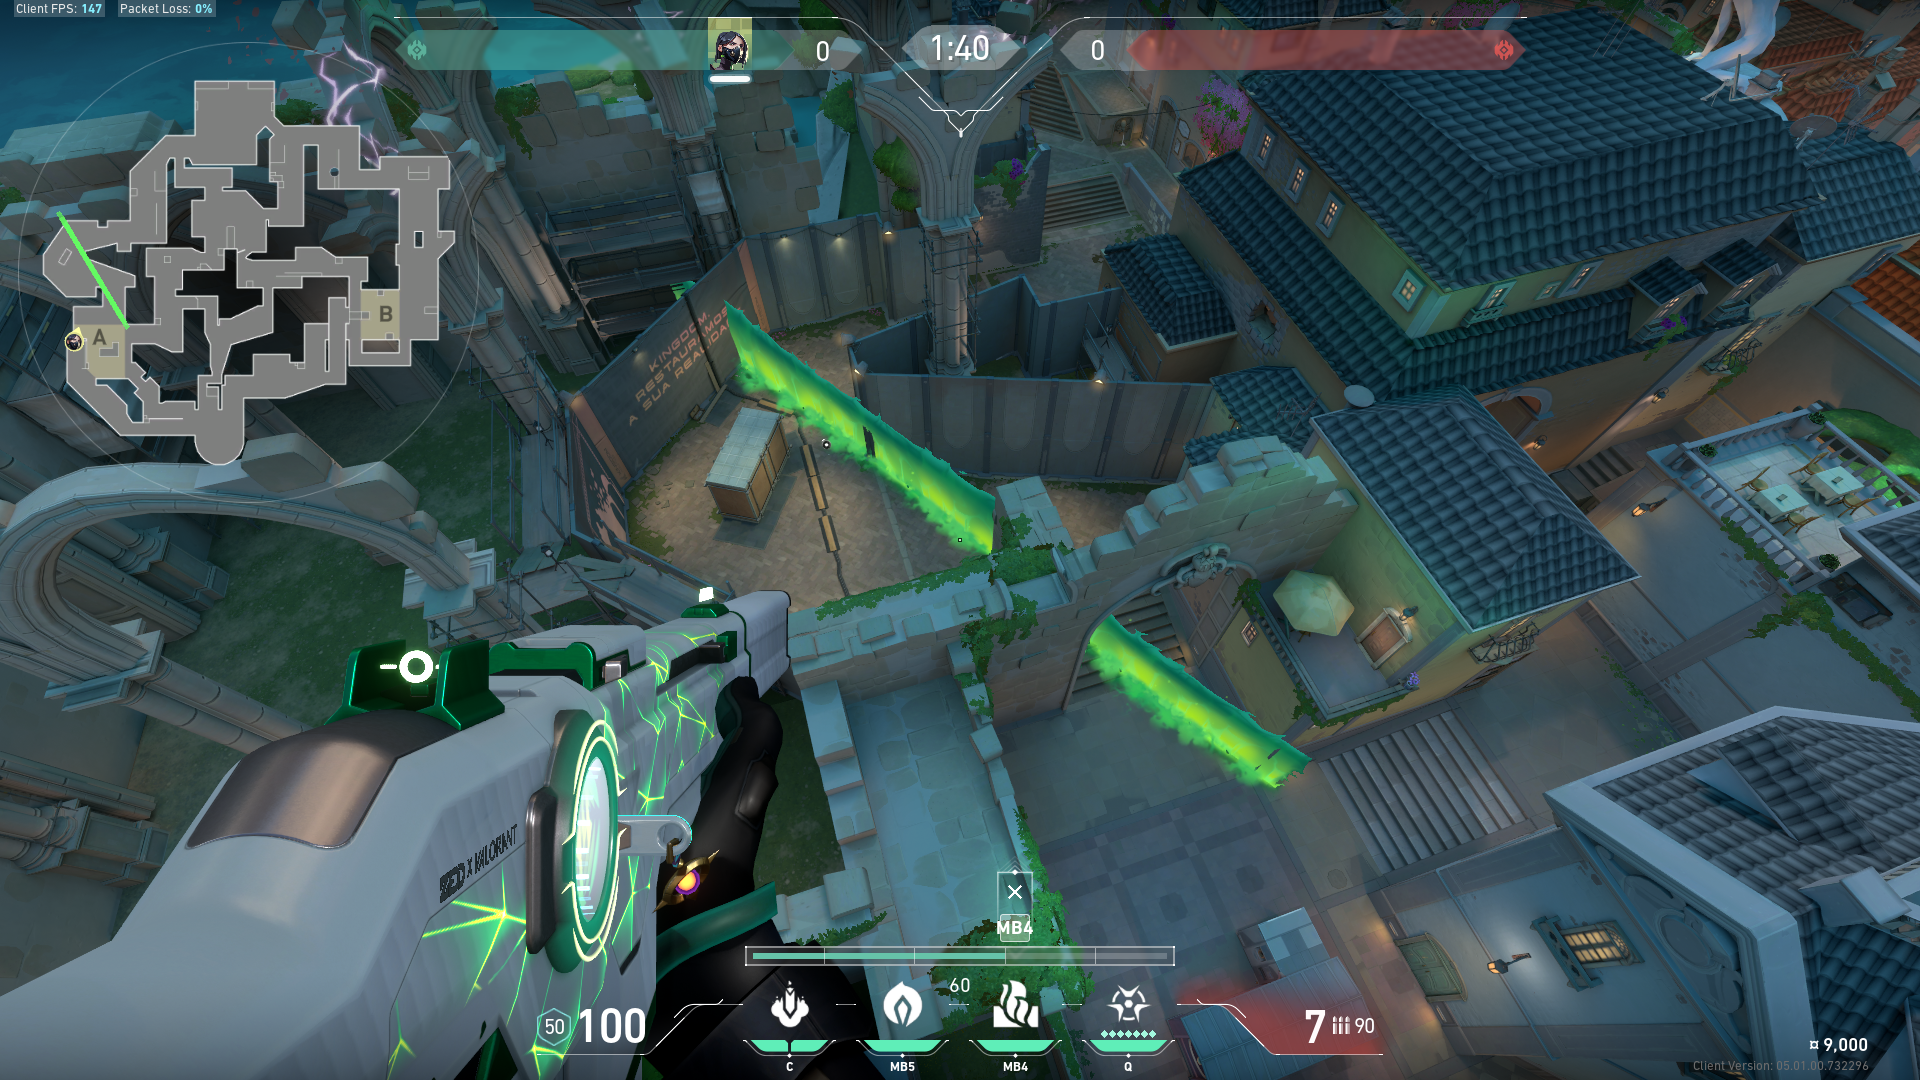 Preview | A側の守り壁。 |
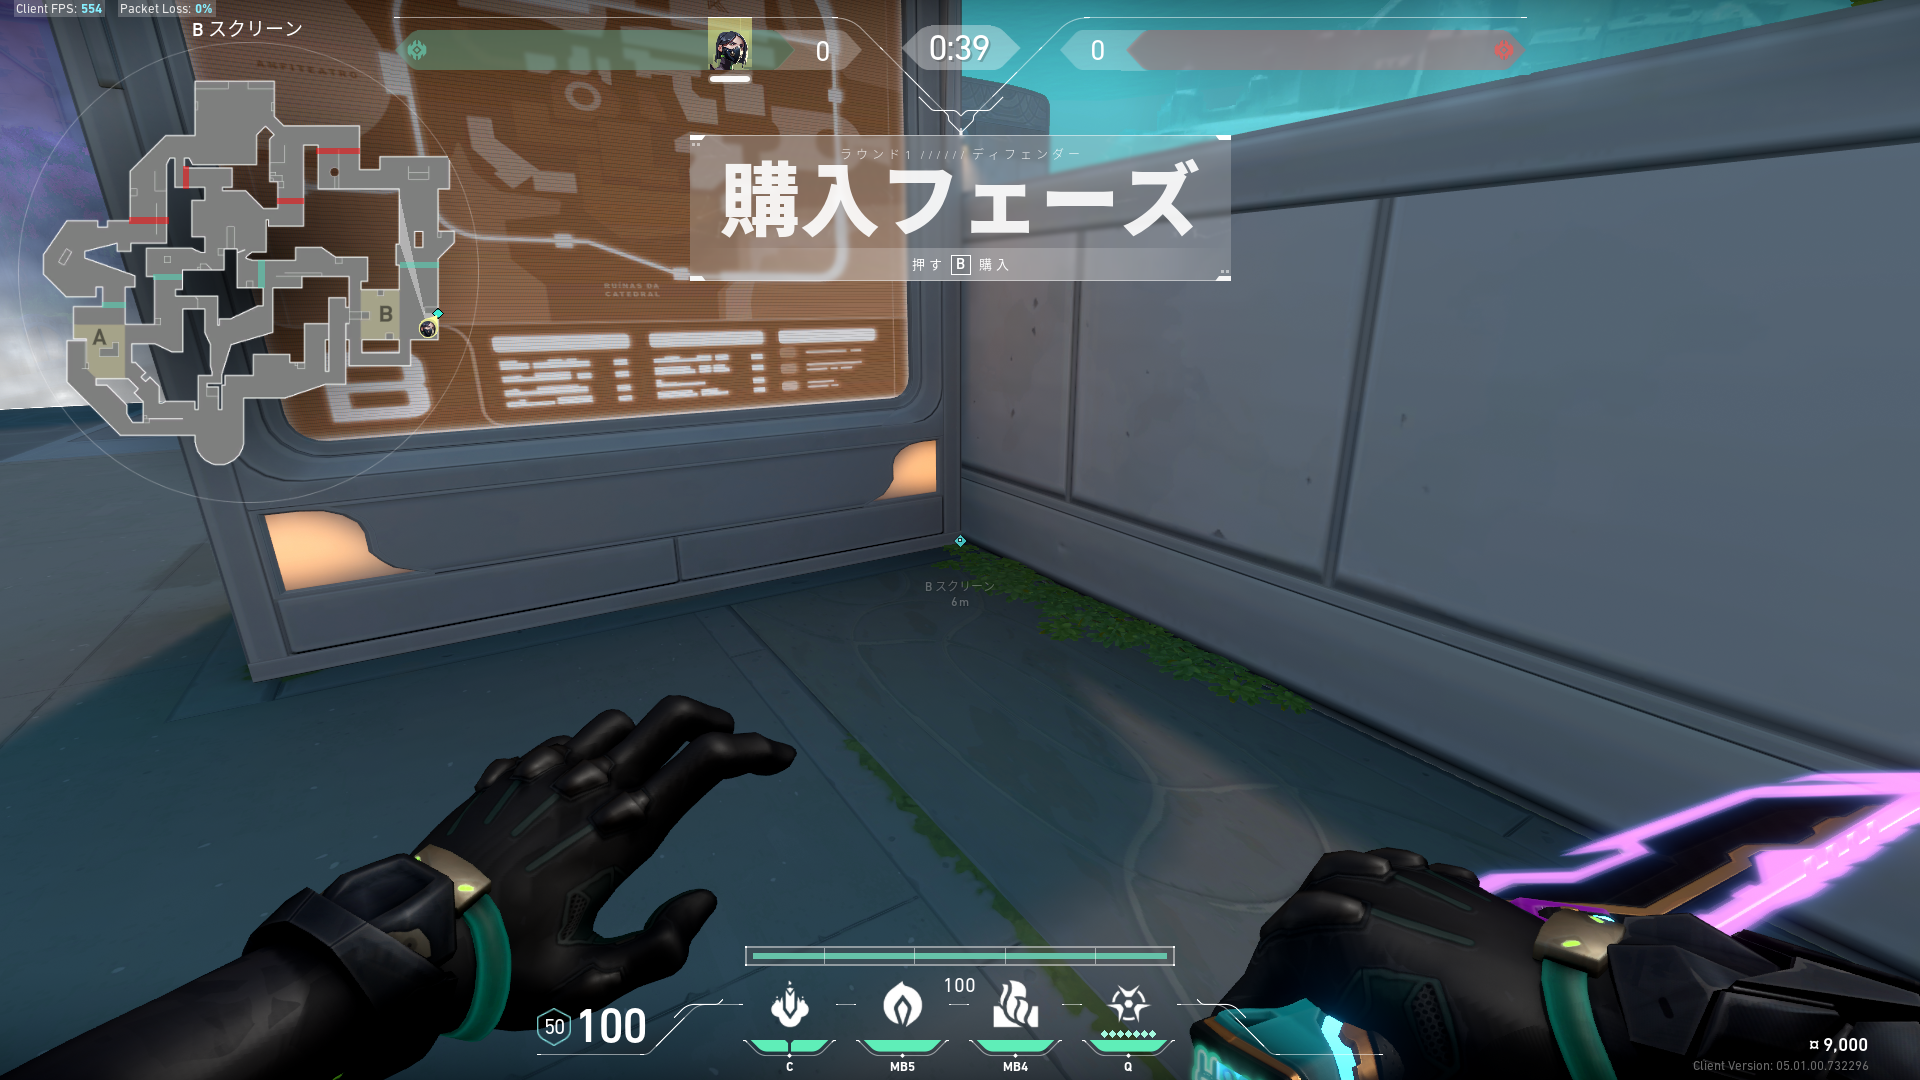 Preview  Preview 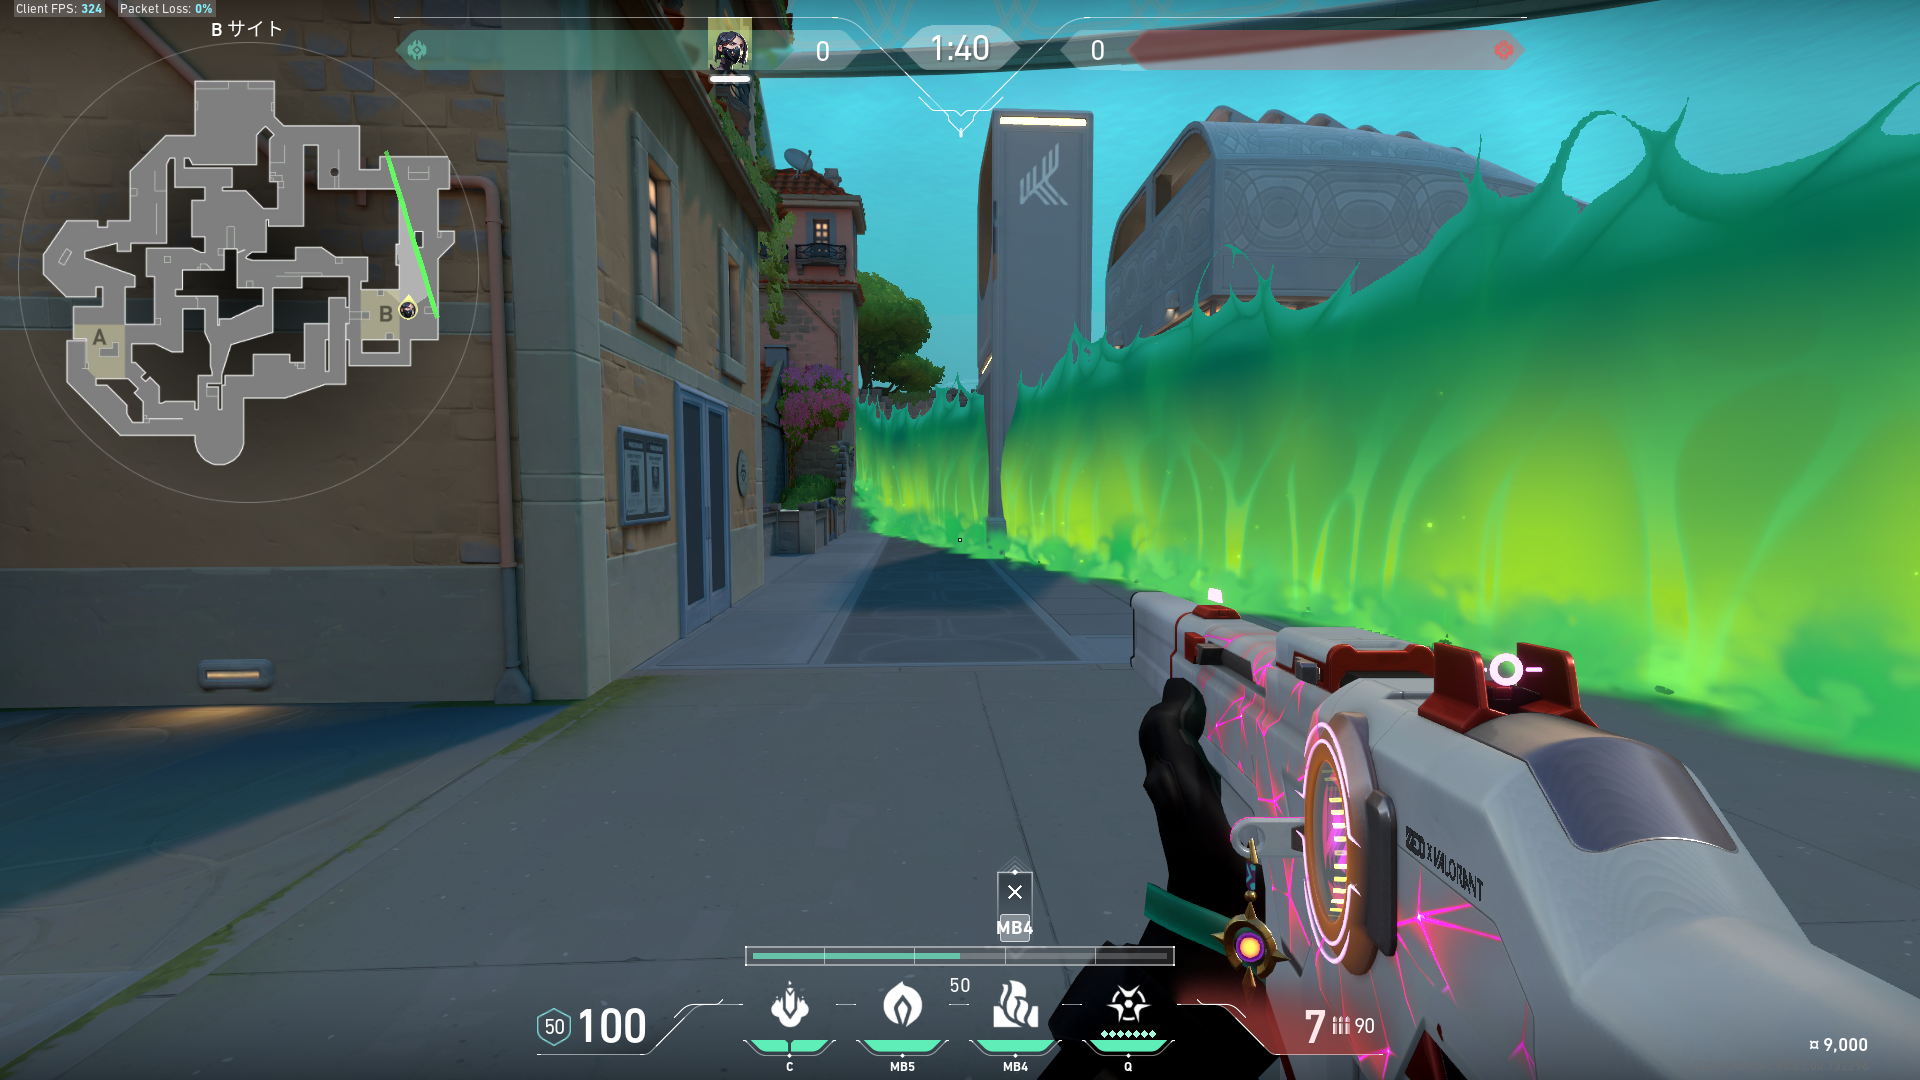 Preview | B側の守り壁。 |
 Preview 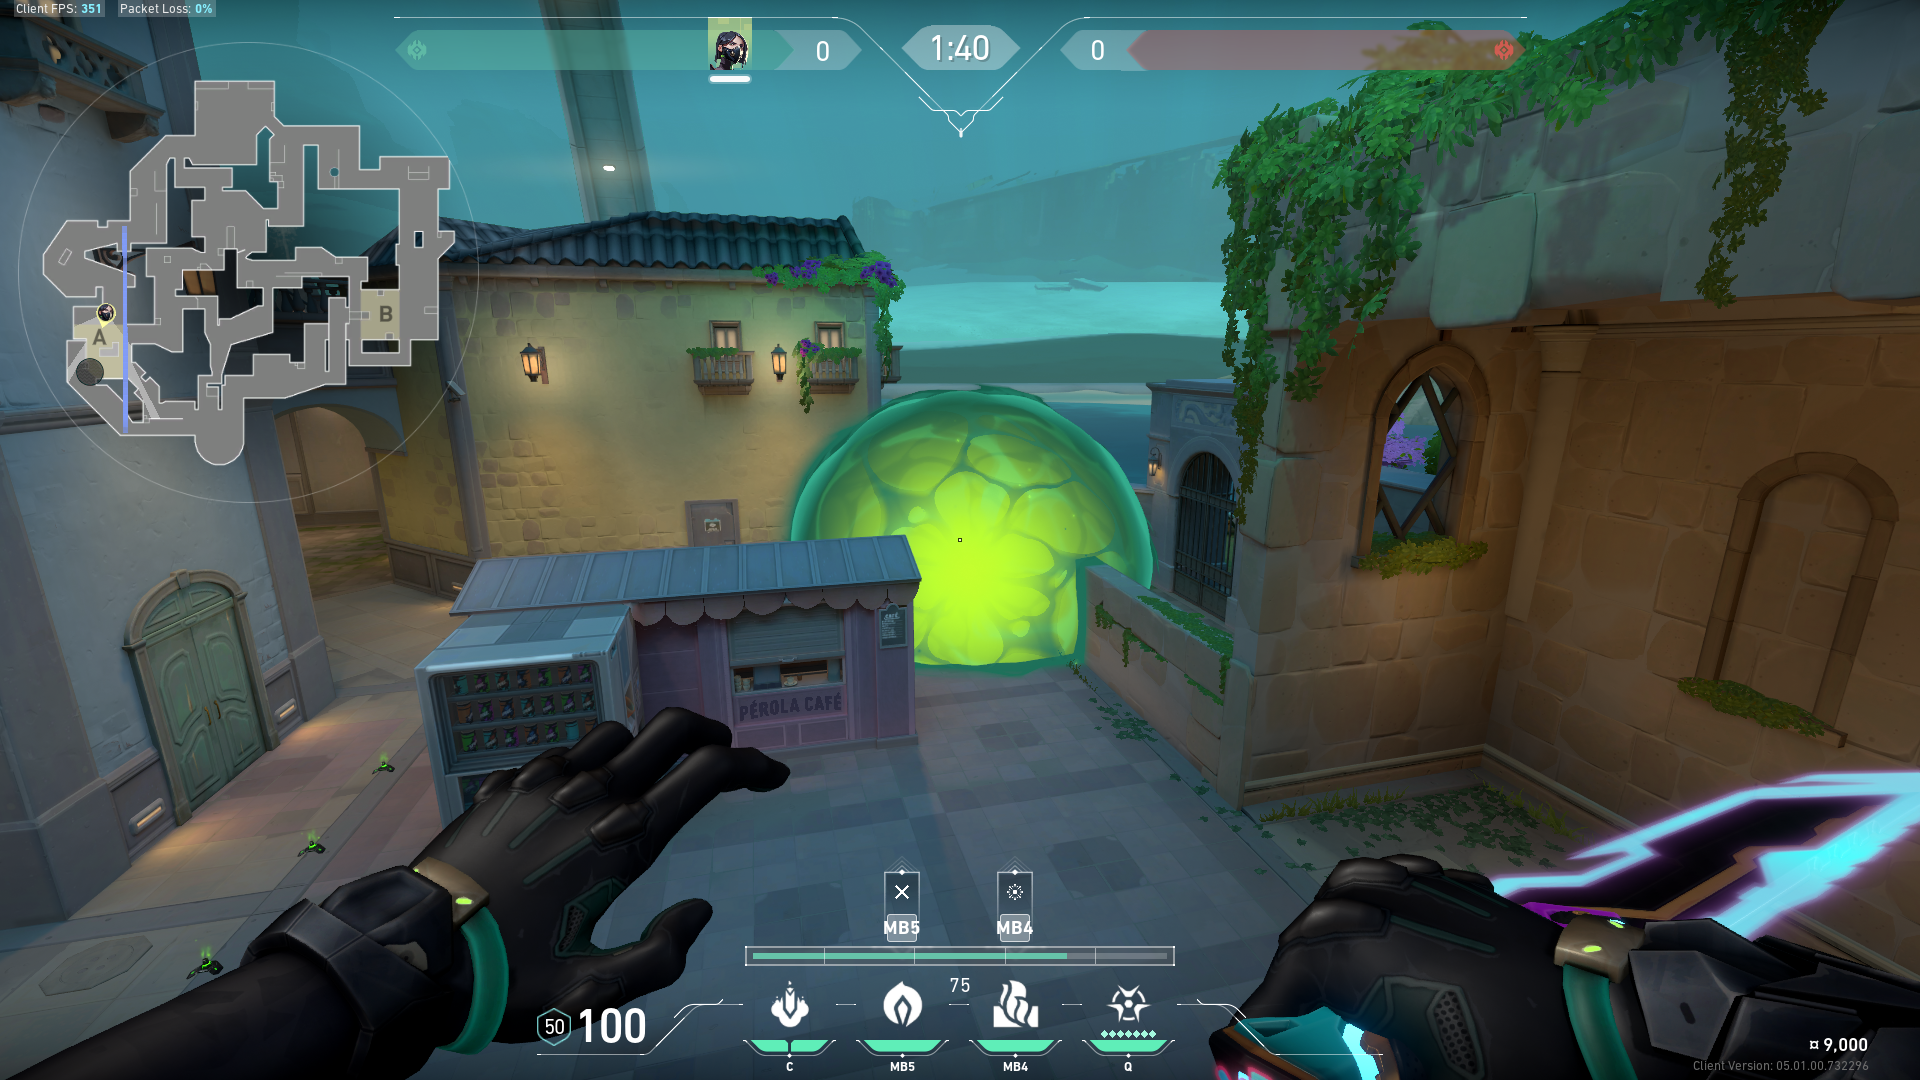 Preview | A側攻めのポイズンスモーク空爆。 |
 Preview 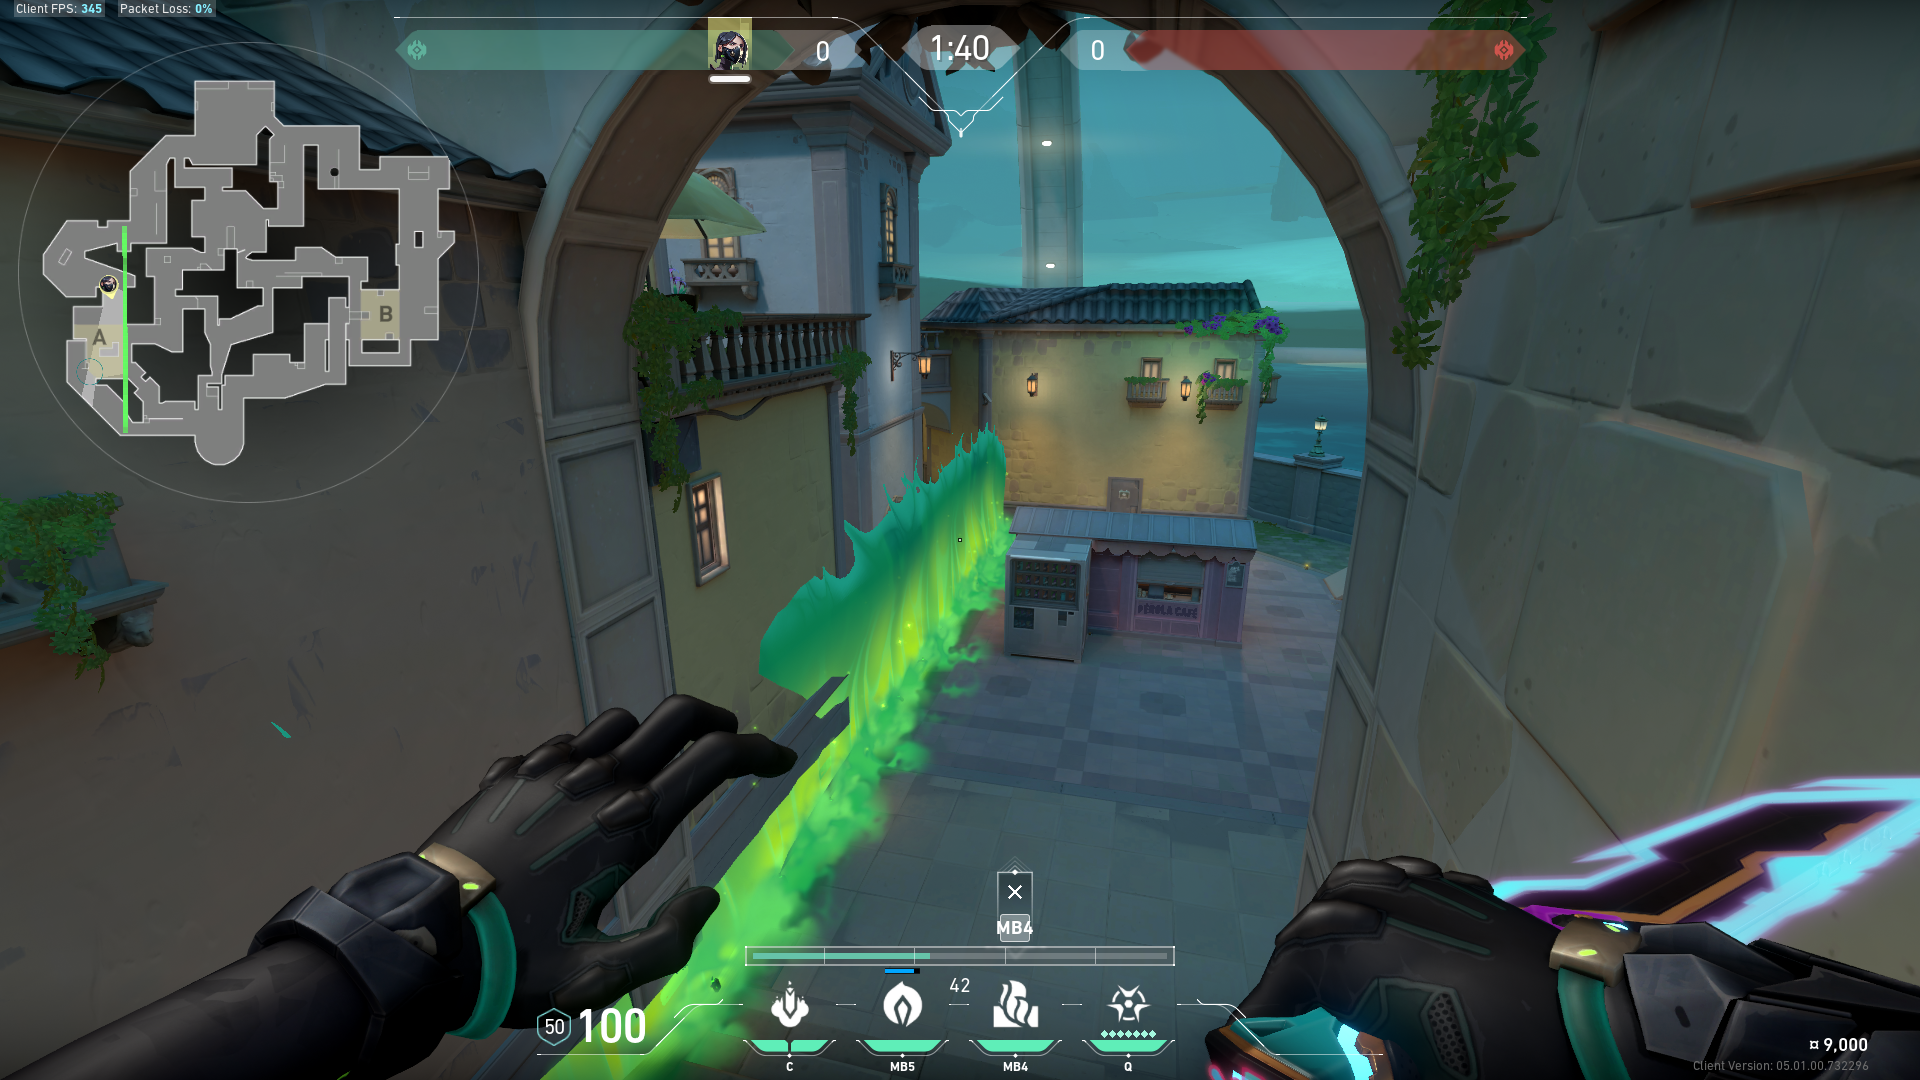 Preview | A側攻めの壁。 |
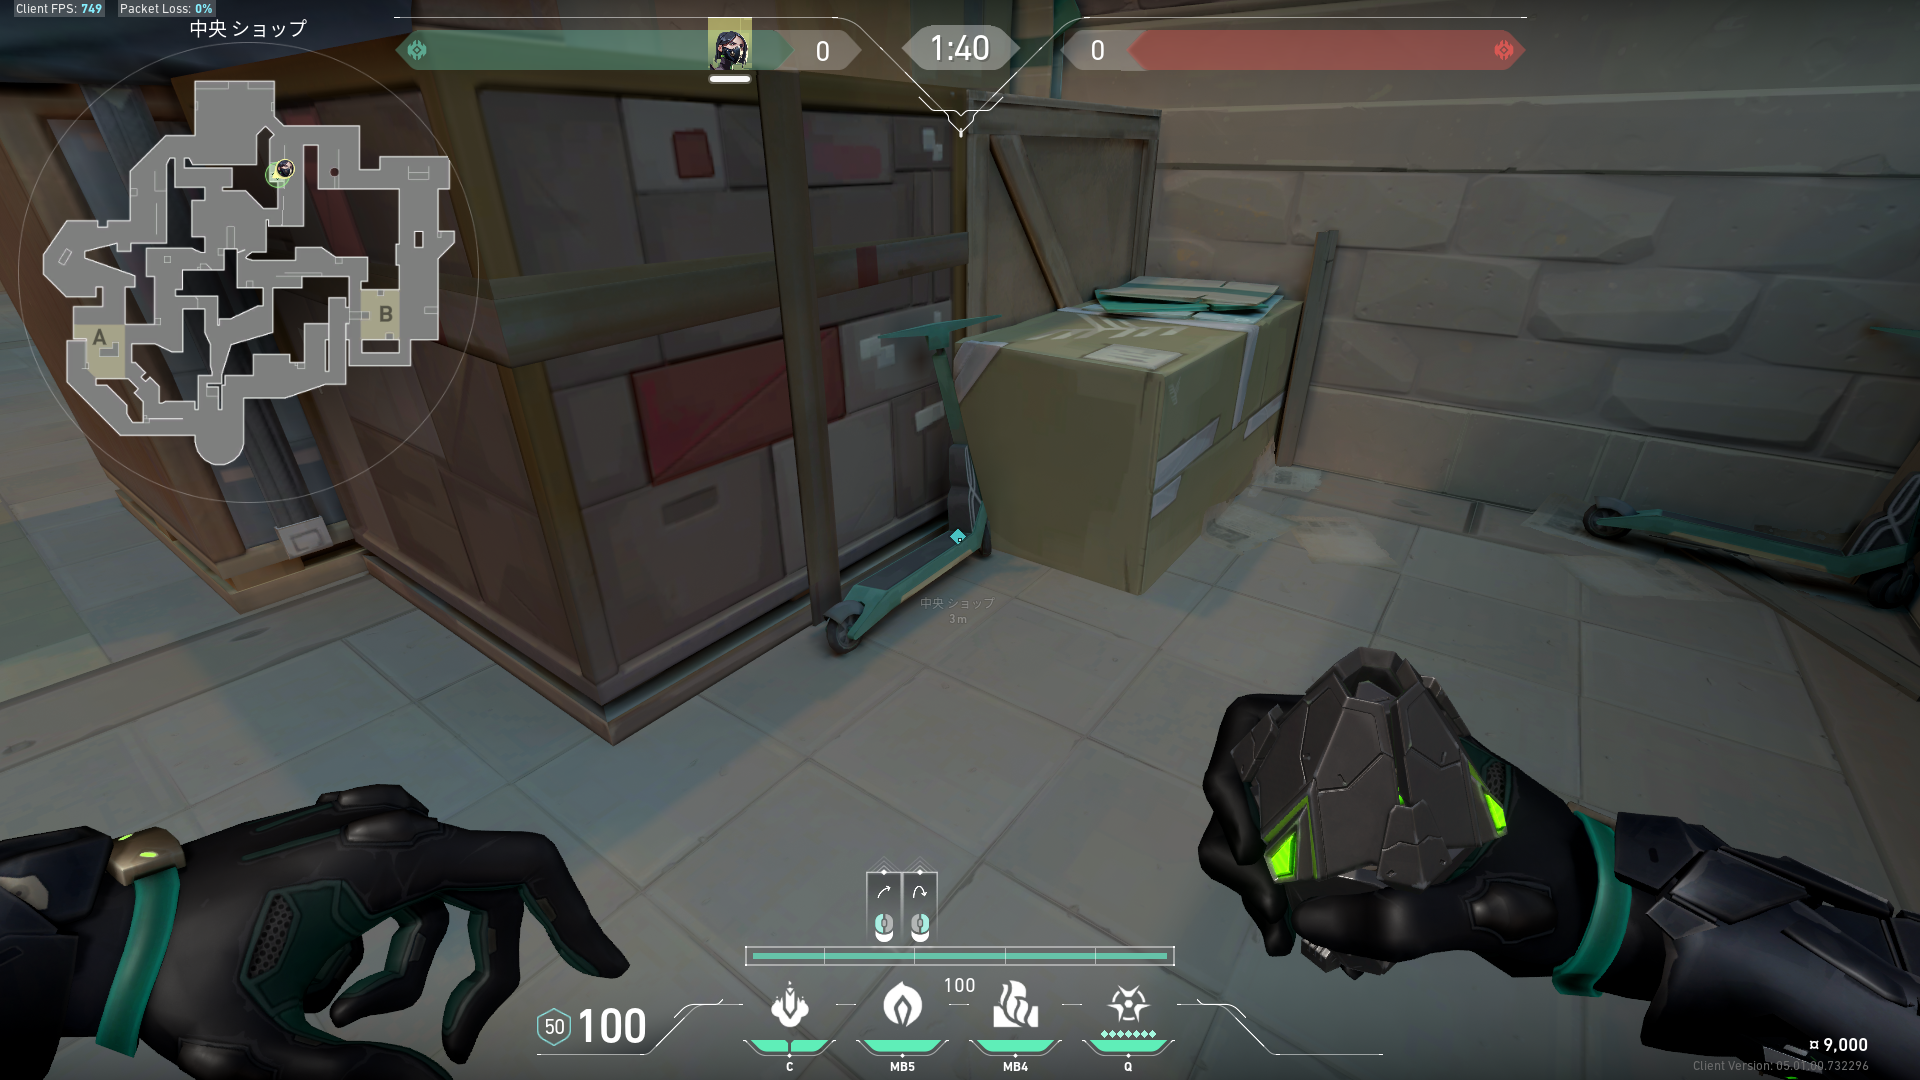 Preview 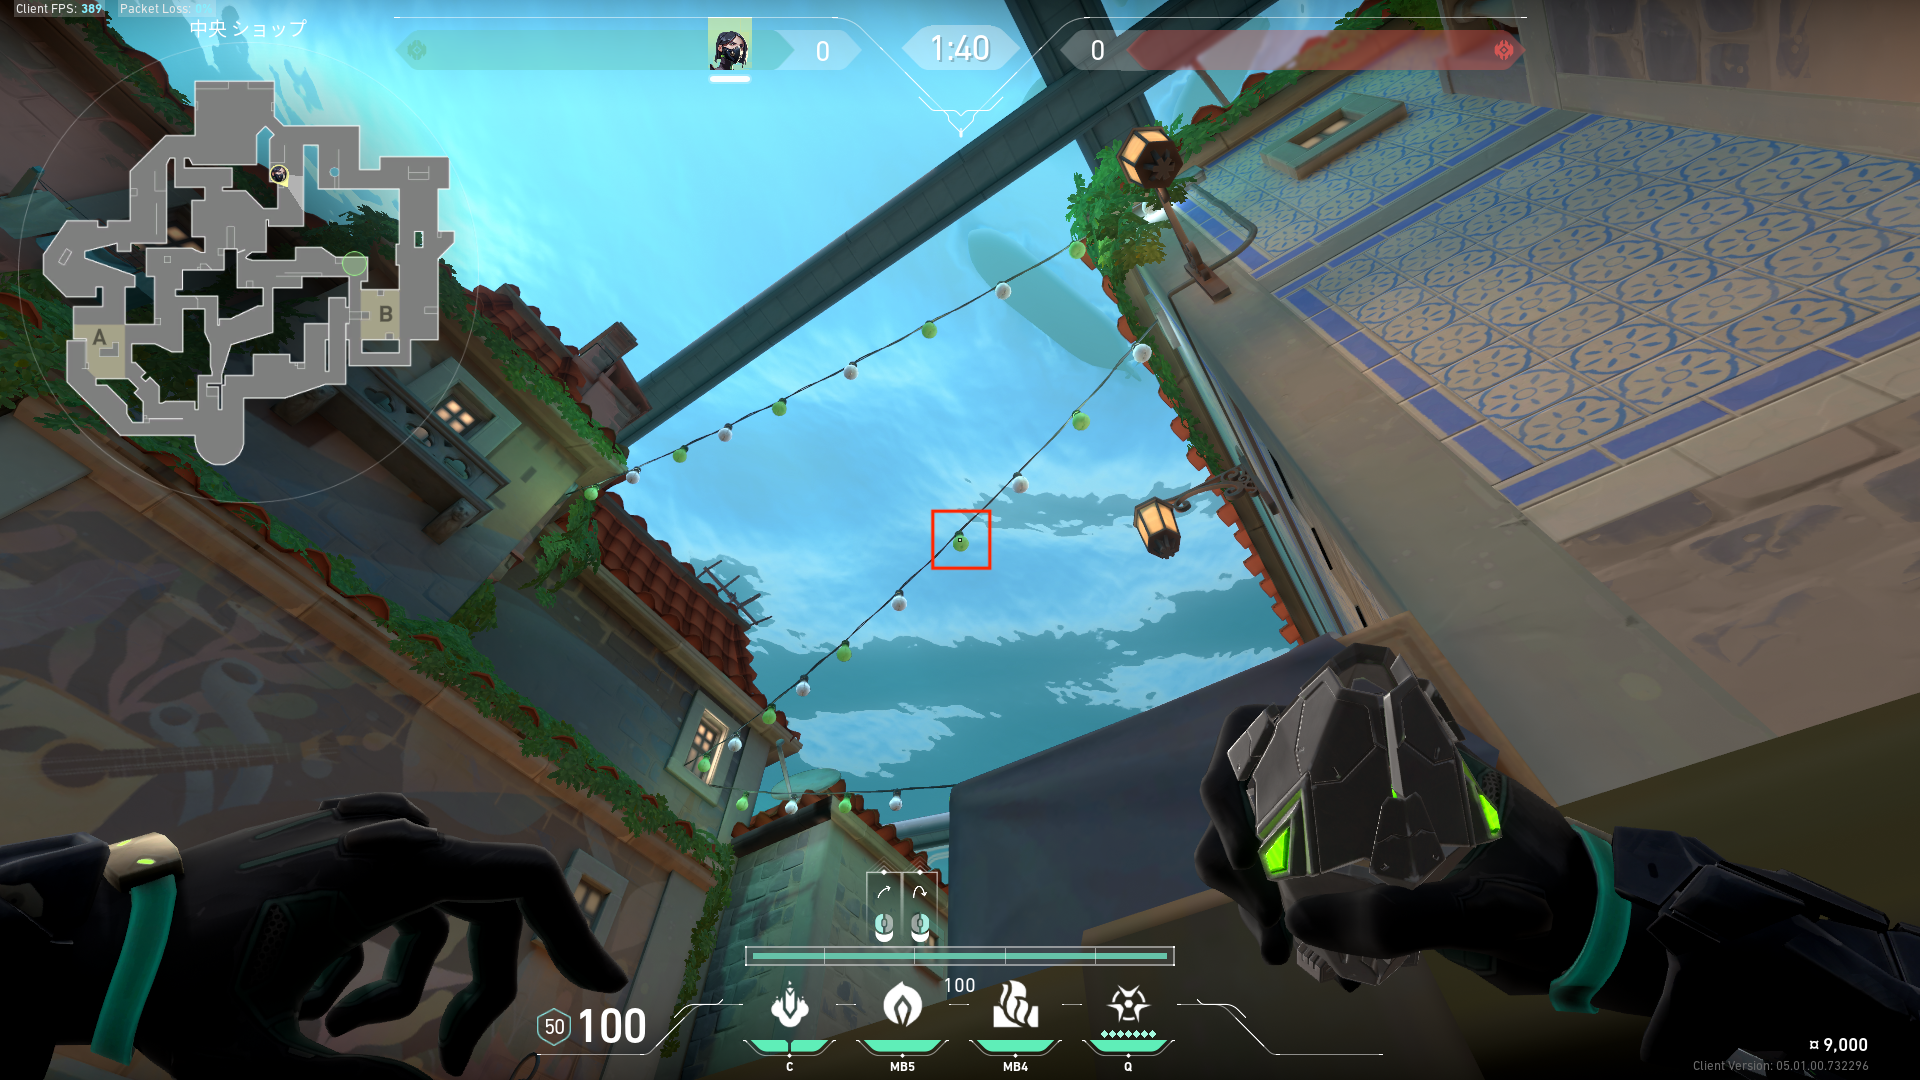 Preview 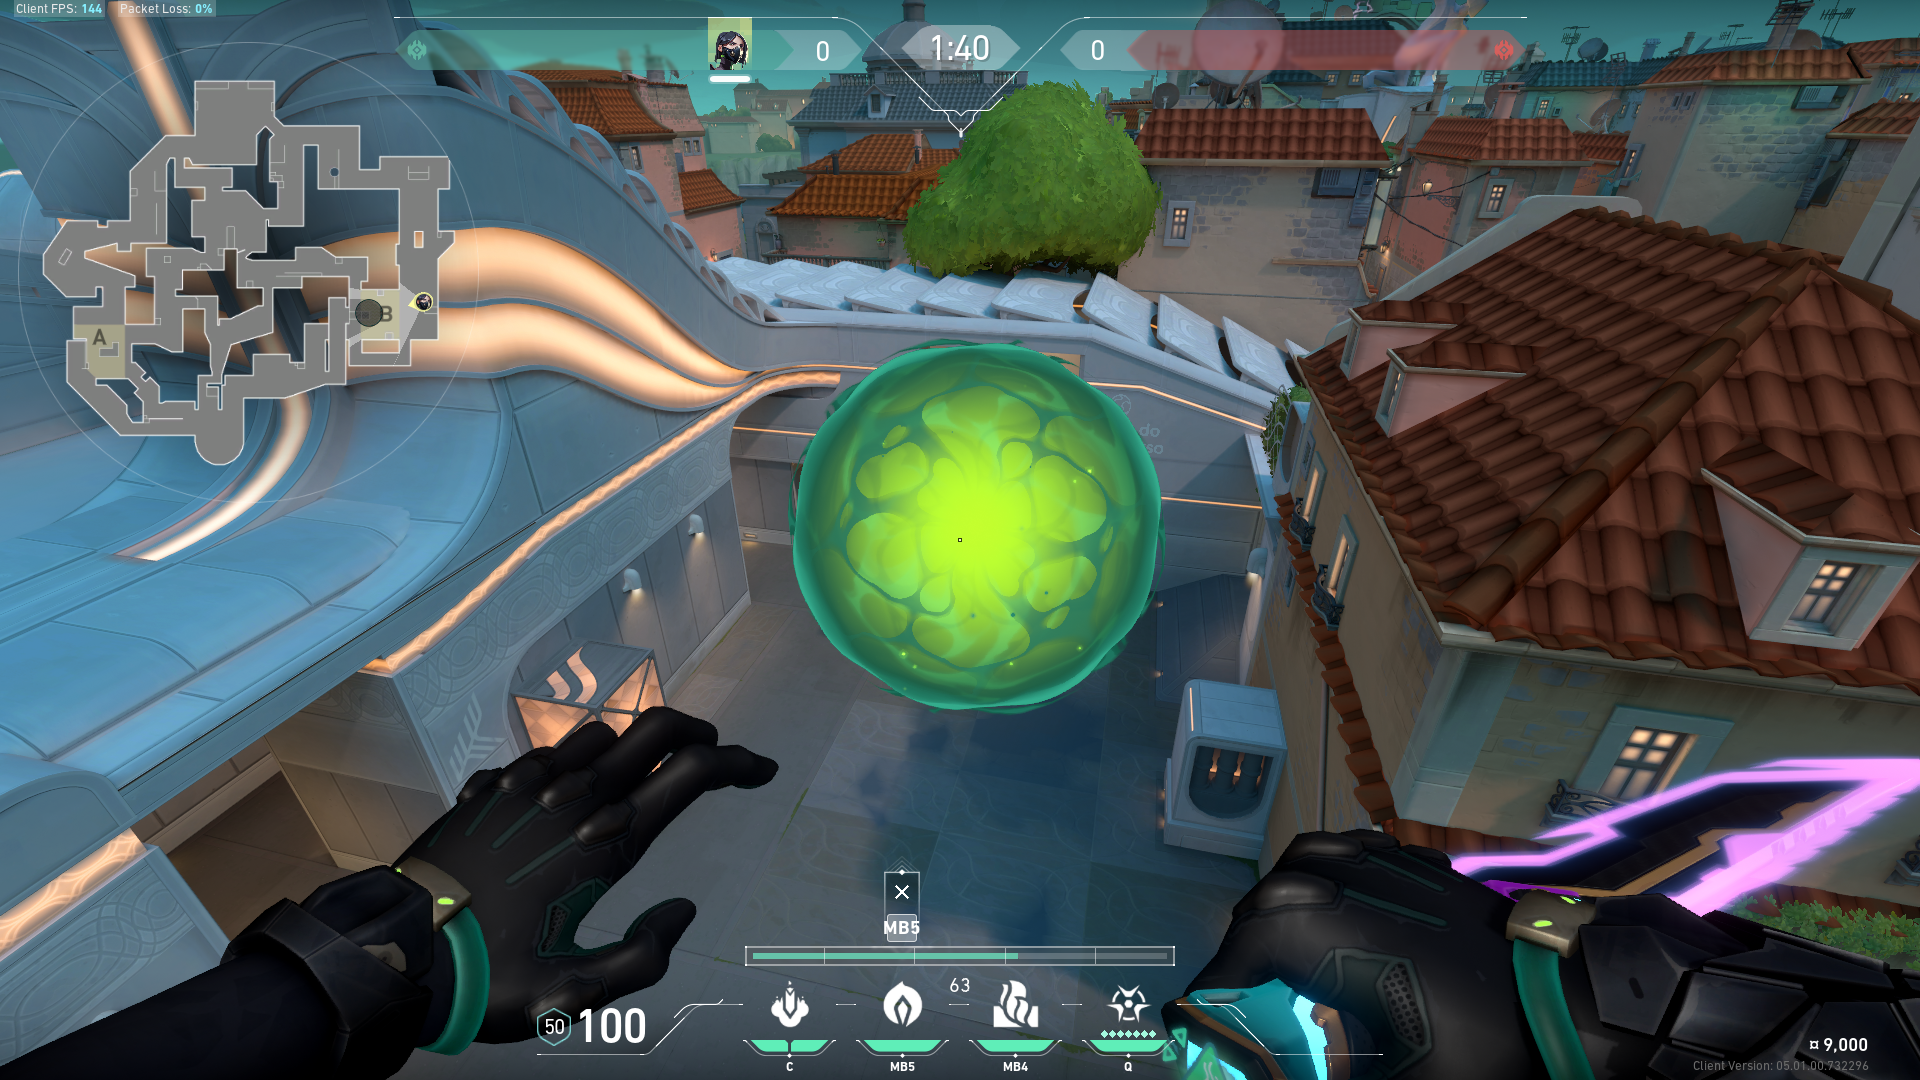 Preview | B側攻めのポイズンスモーク空爆。 |
 Preview 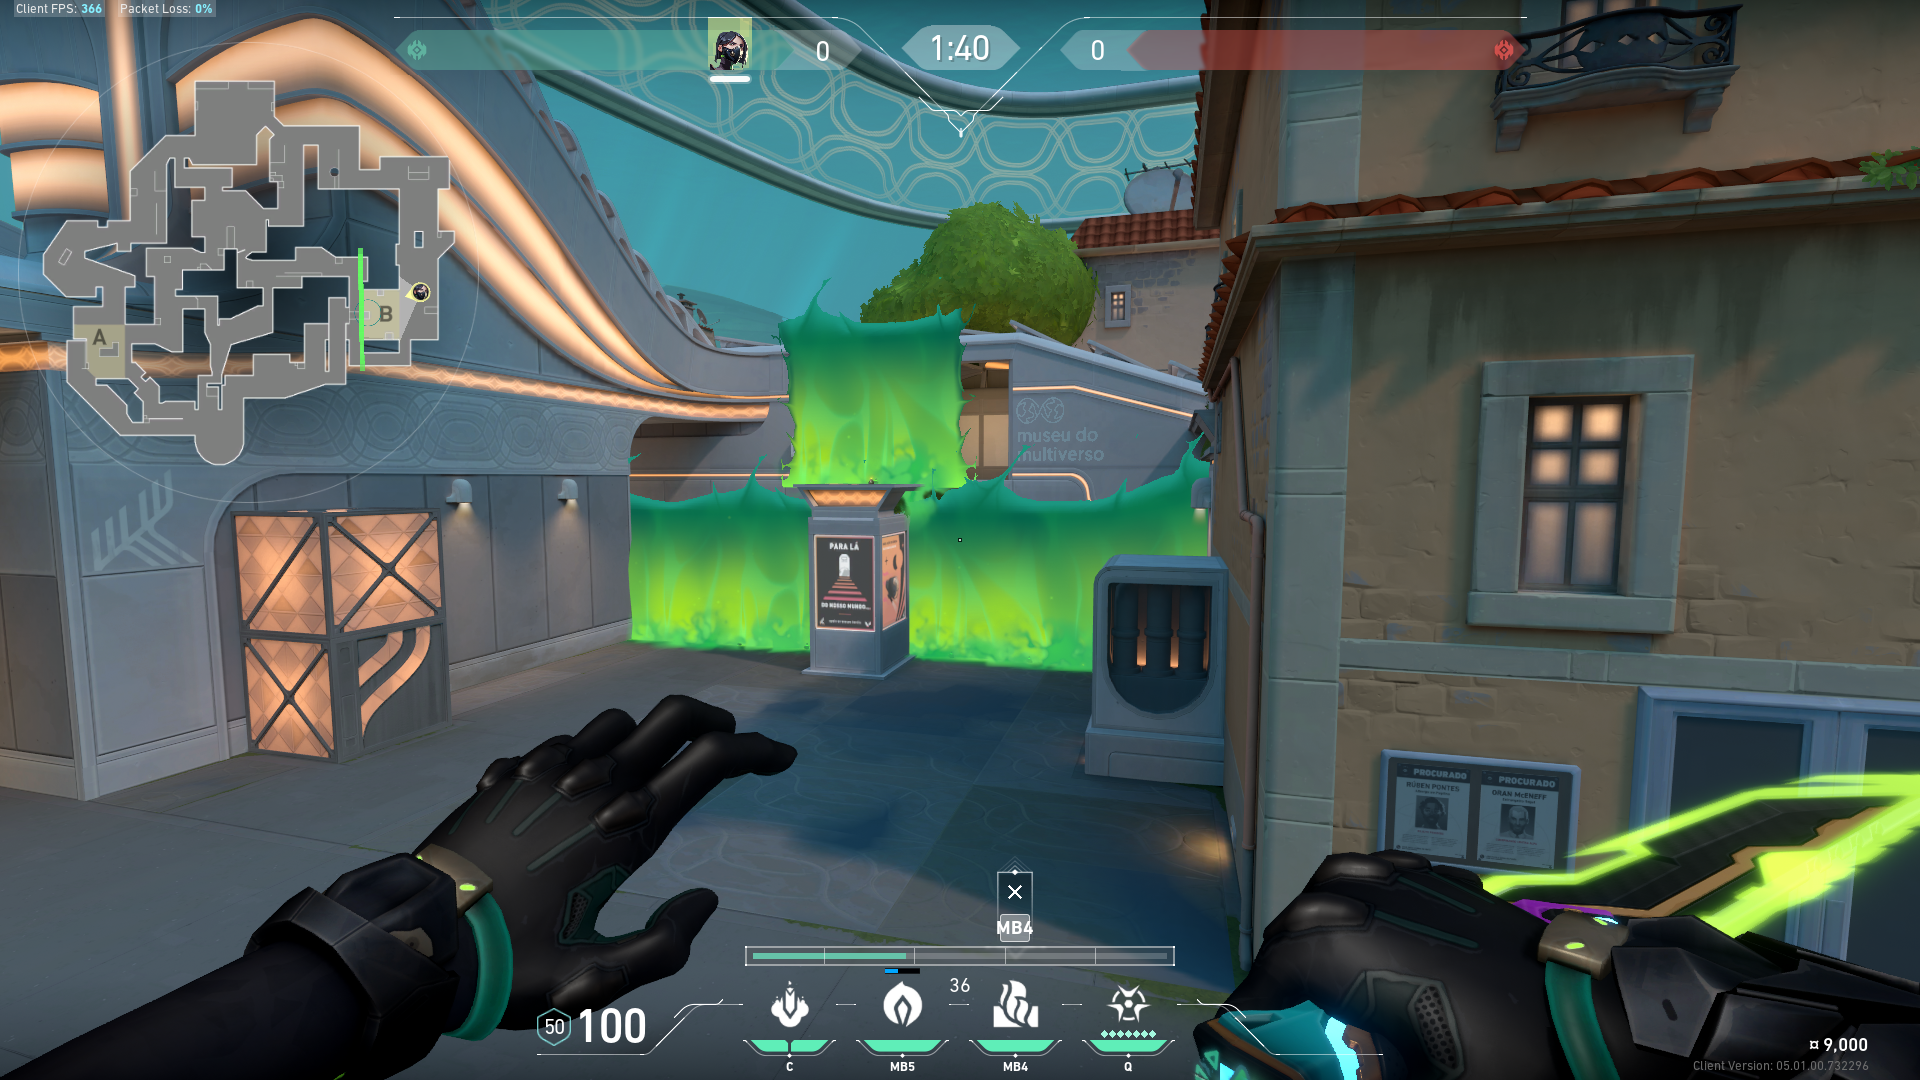 Preview | B側攻めのスモーク壁。 |
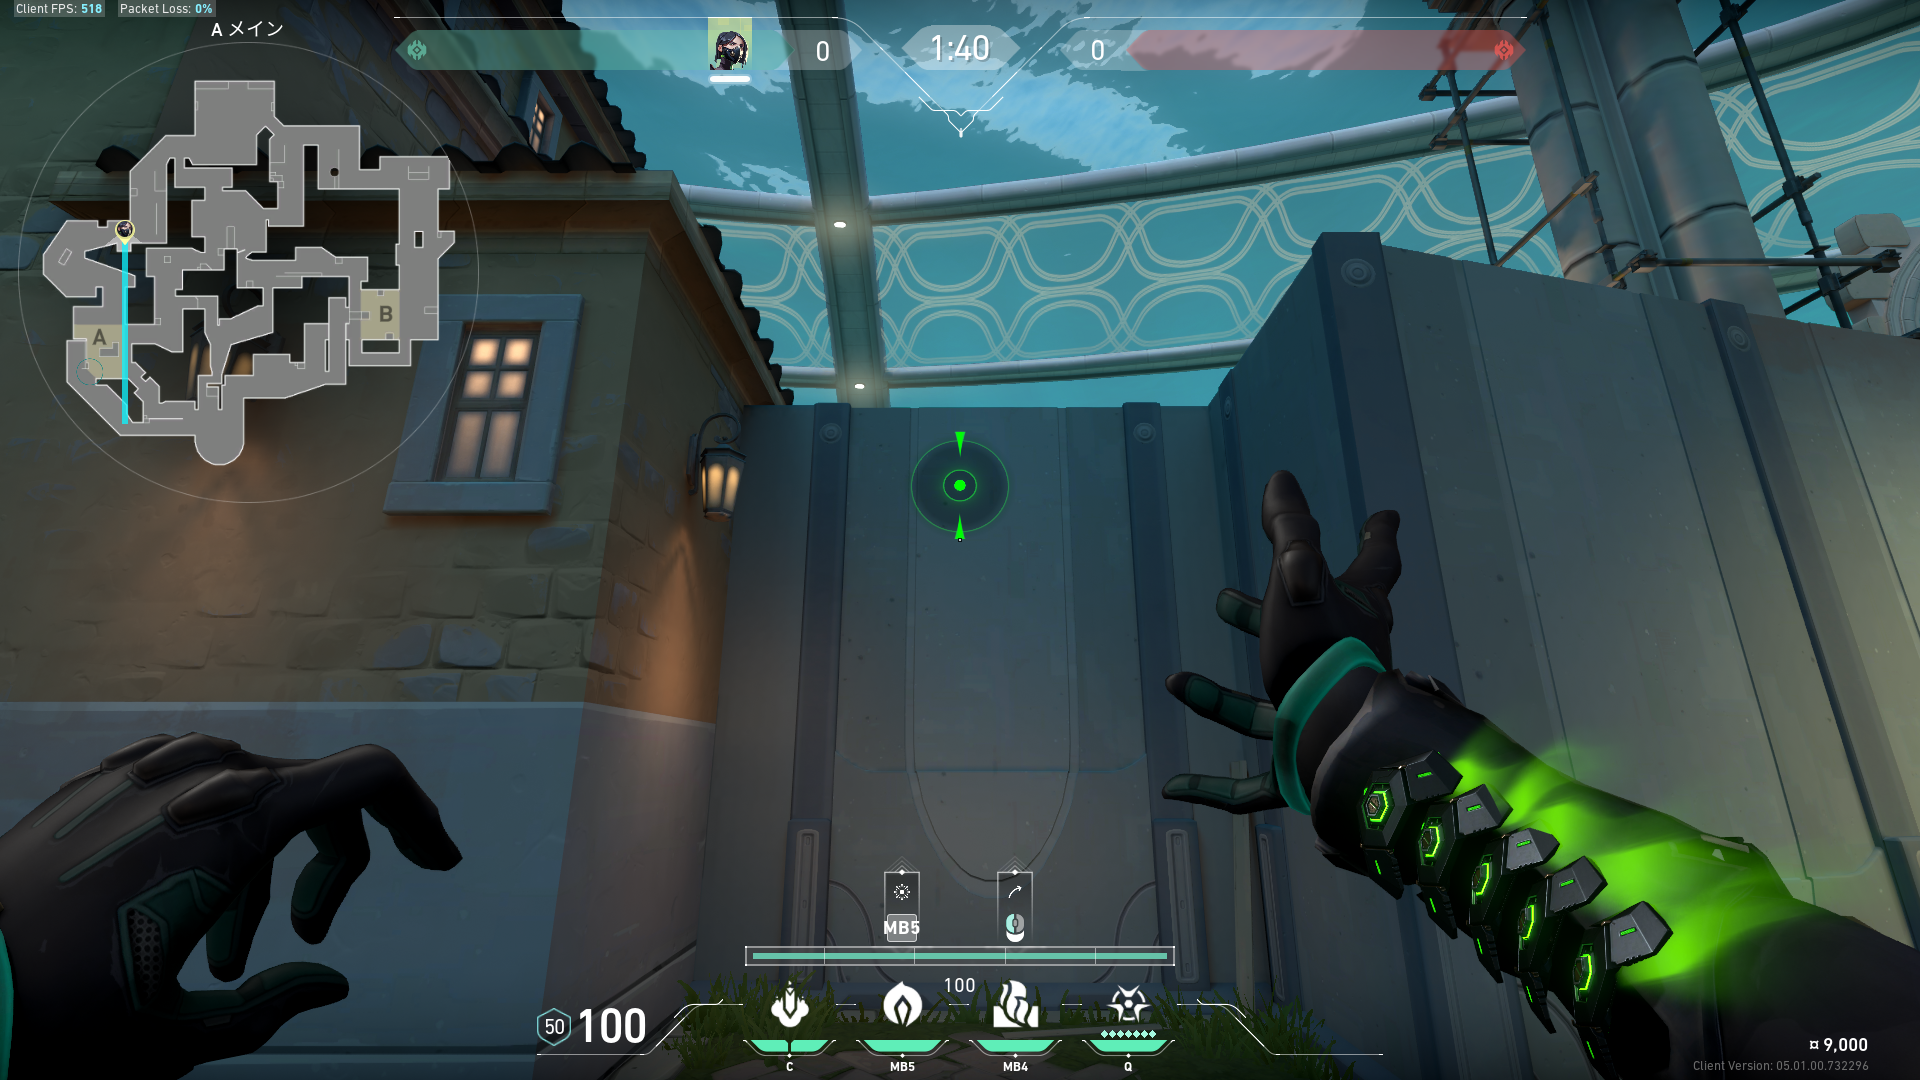
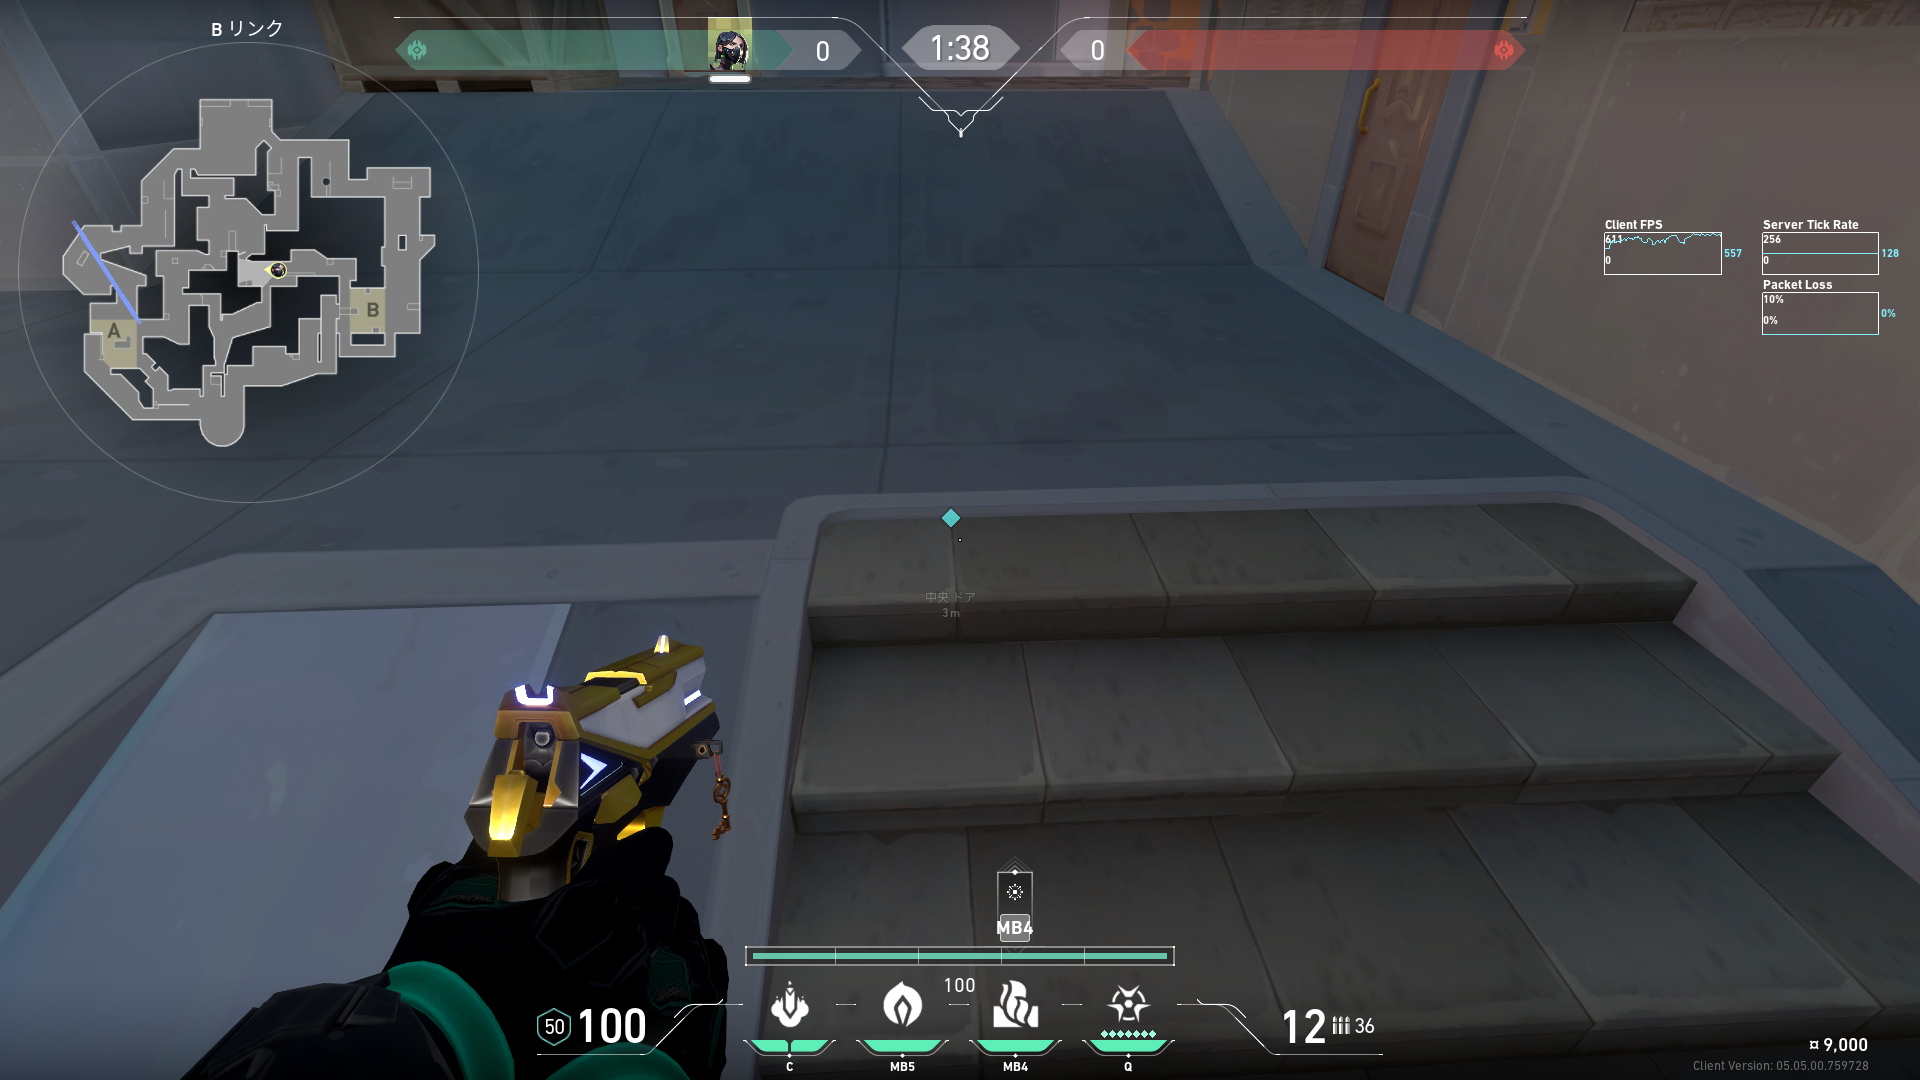
 Preview  Preview 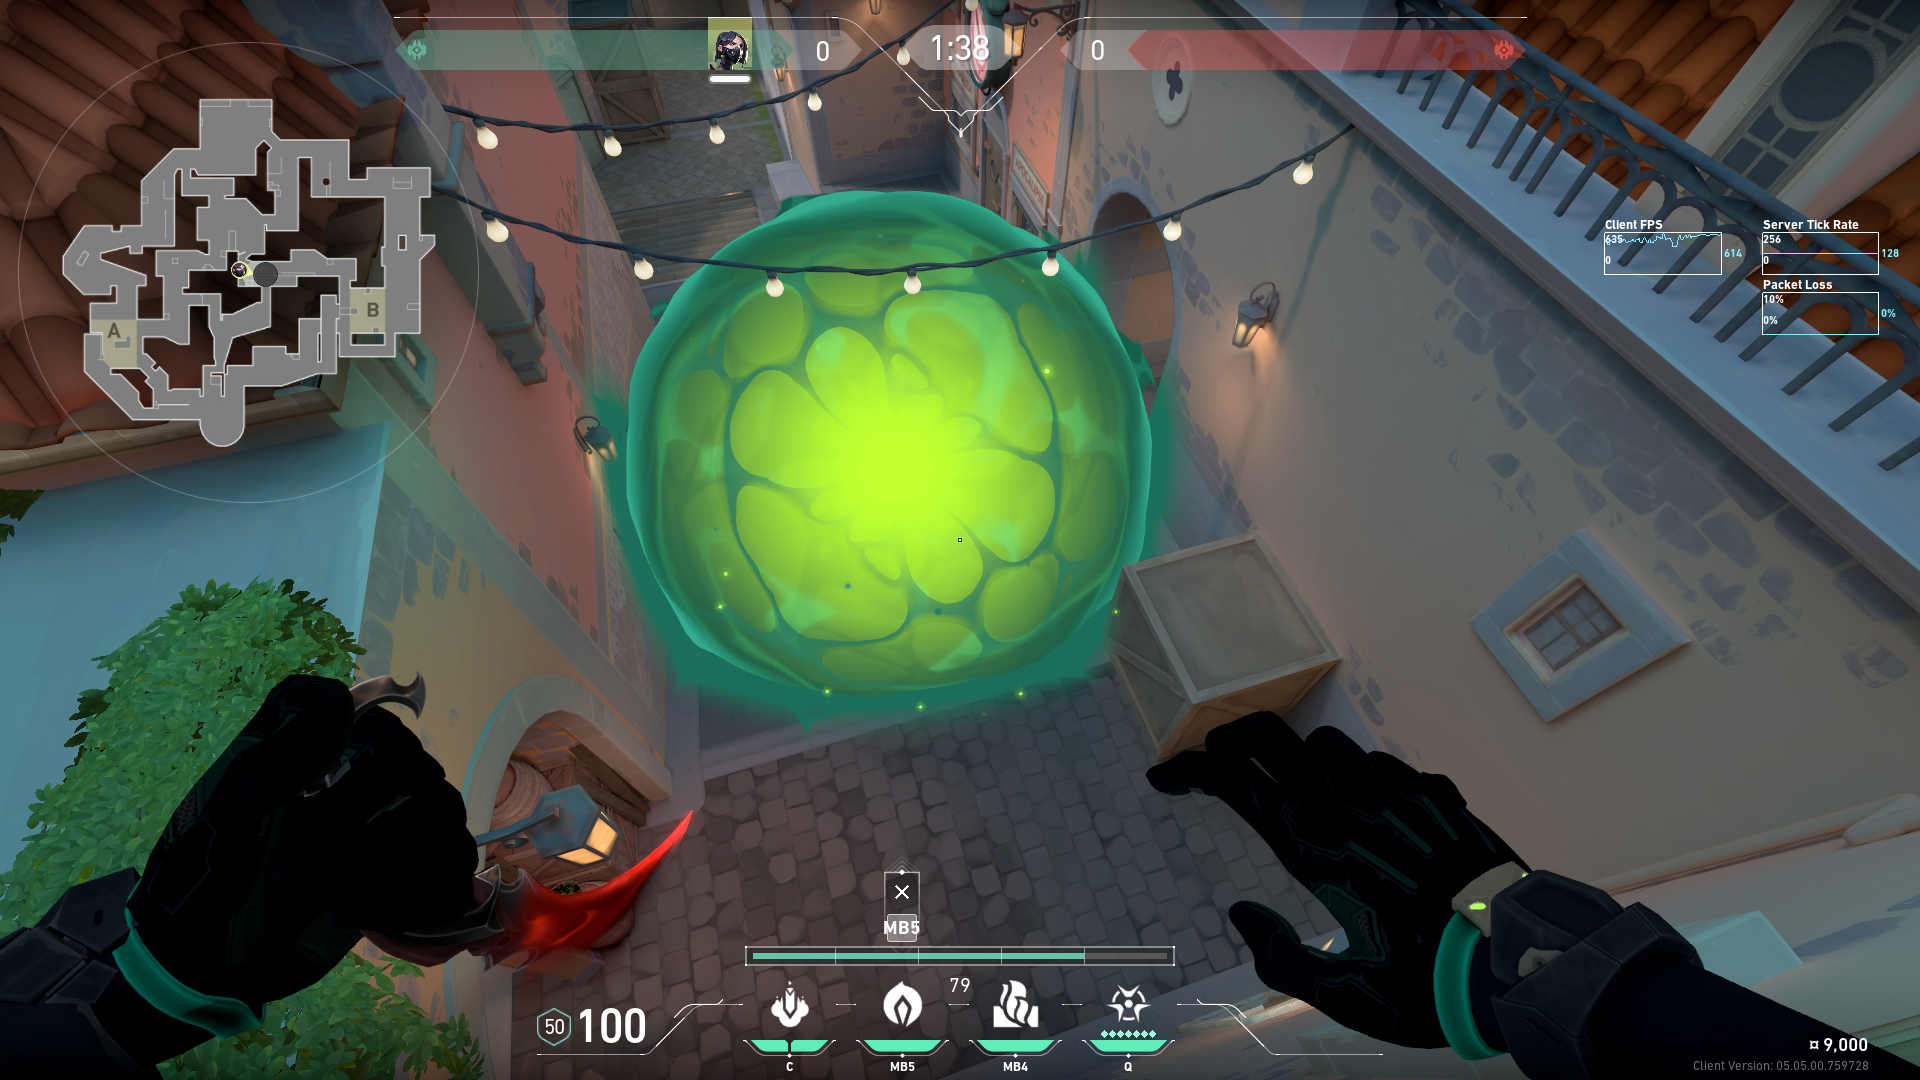 Preview | 攻めのときのミッドスモーク。 |
 Preview 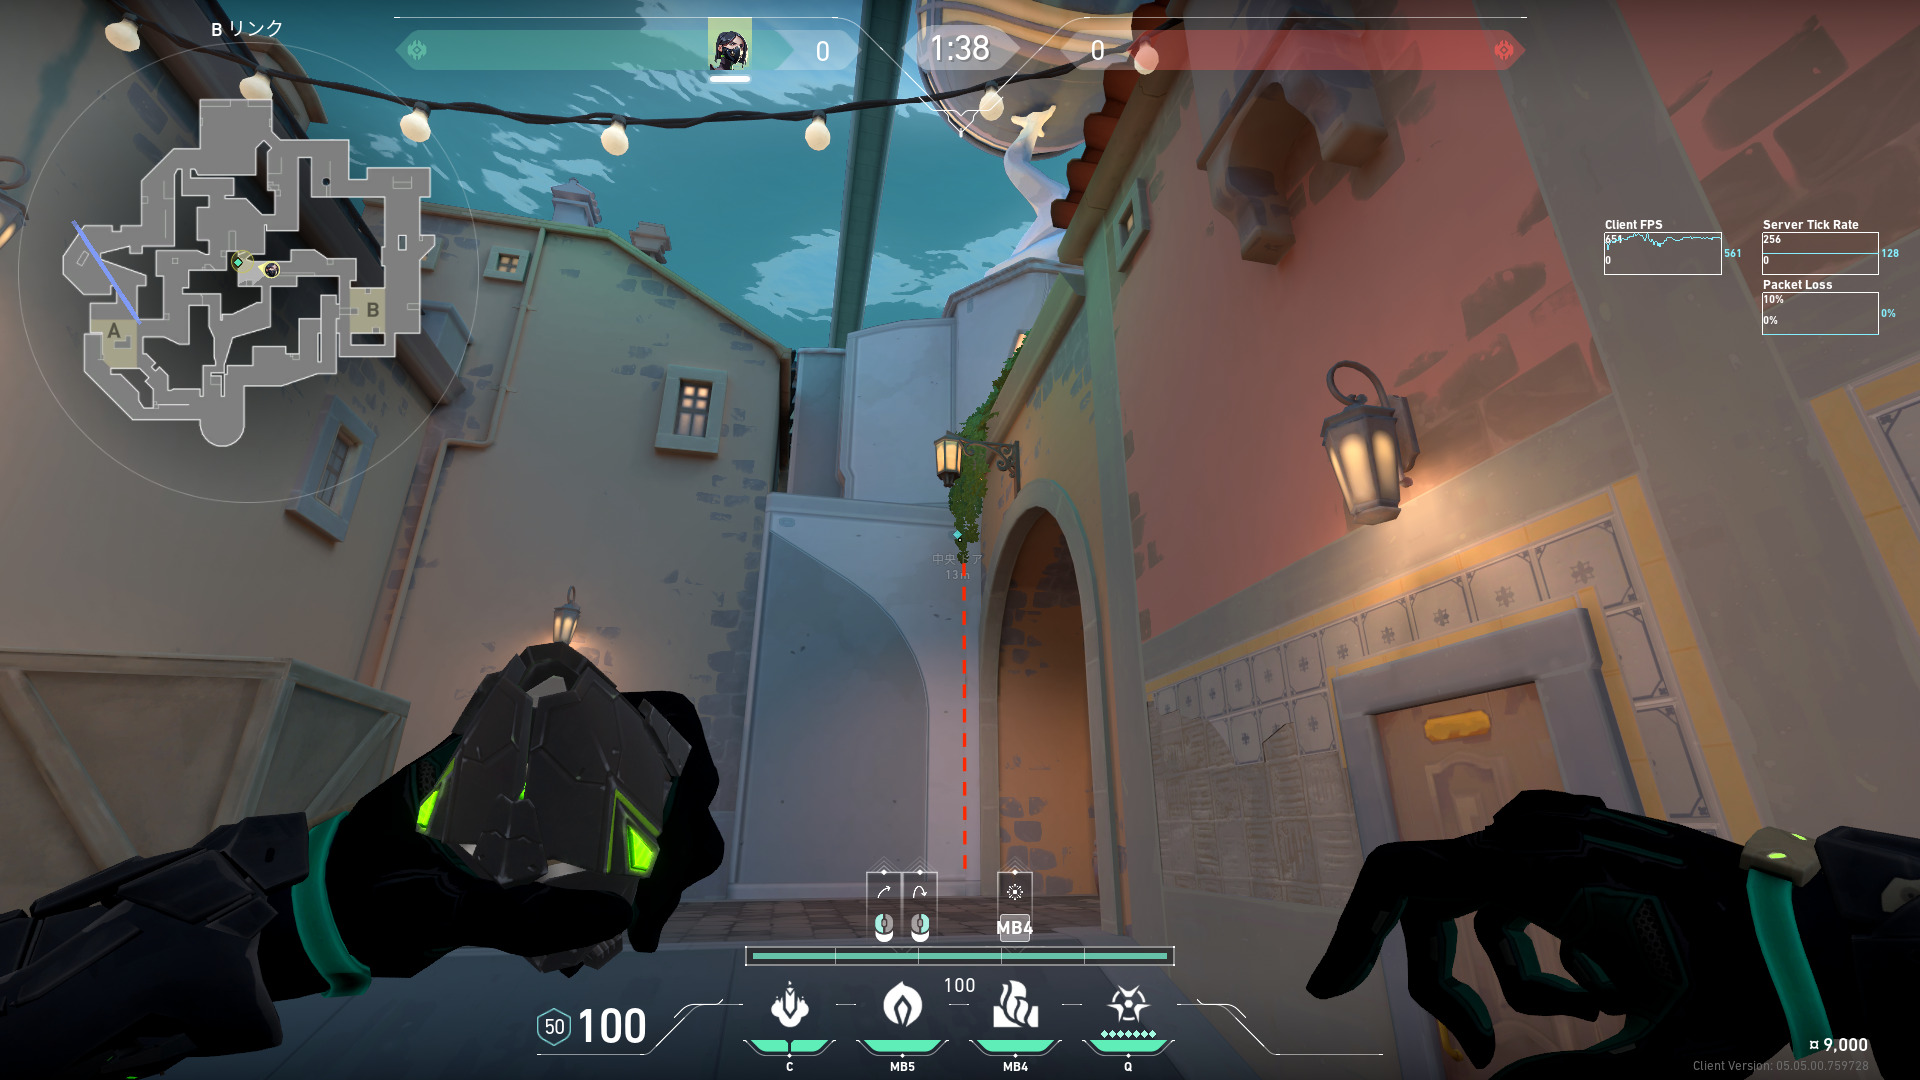 Preview 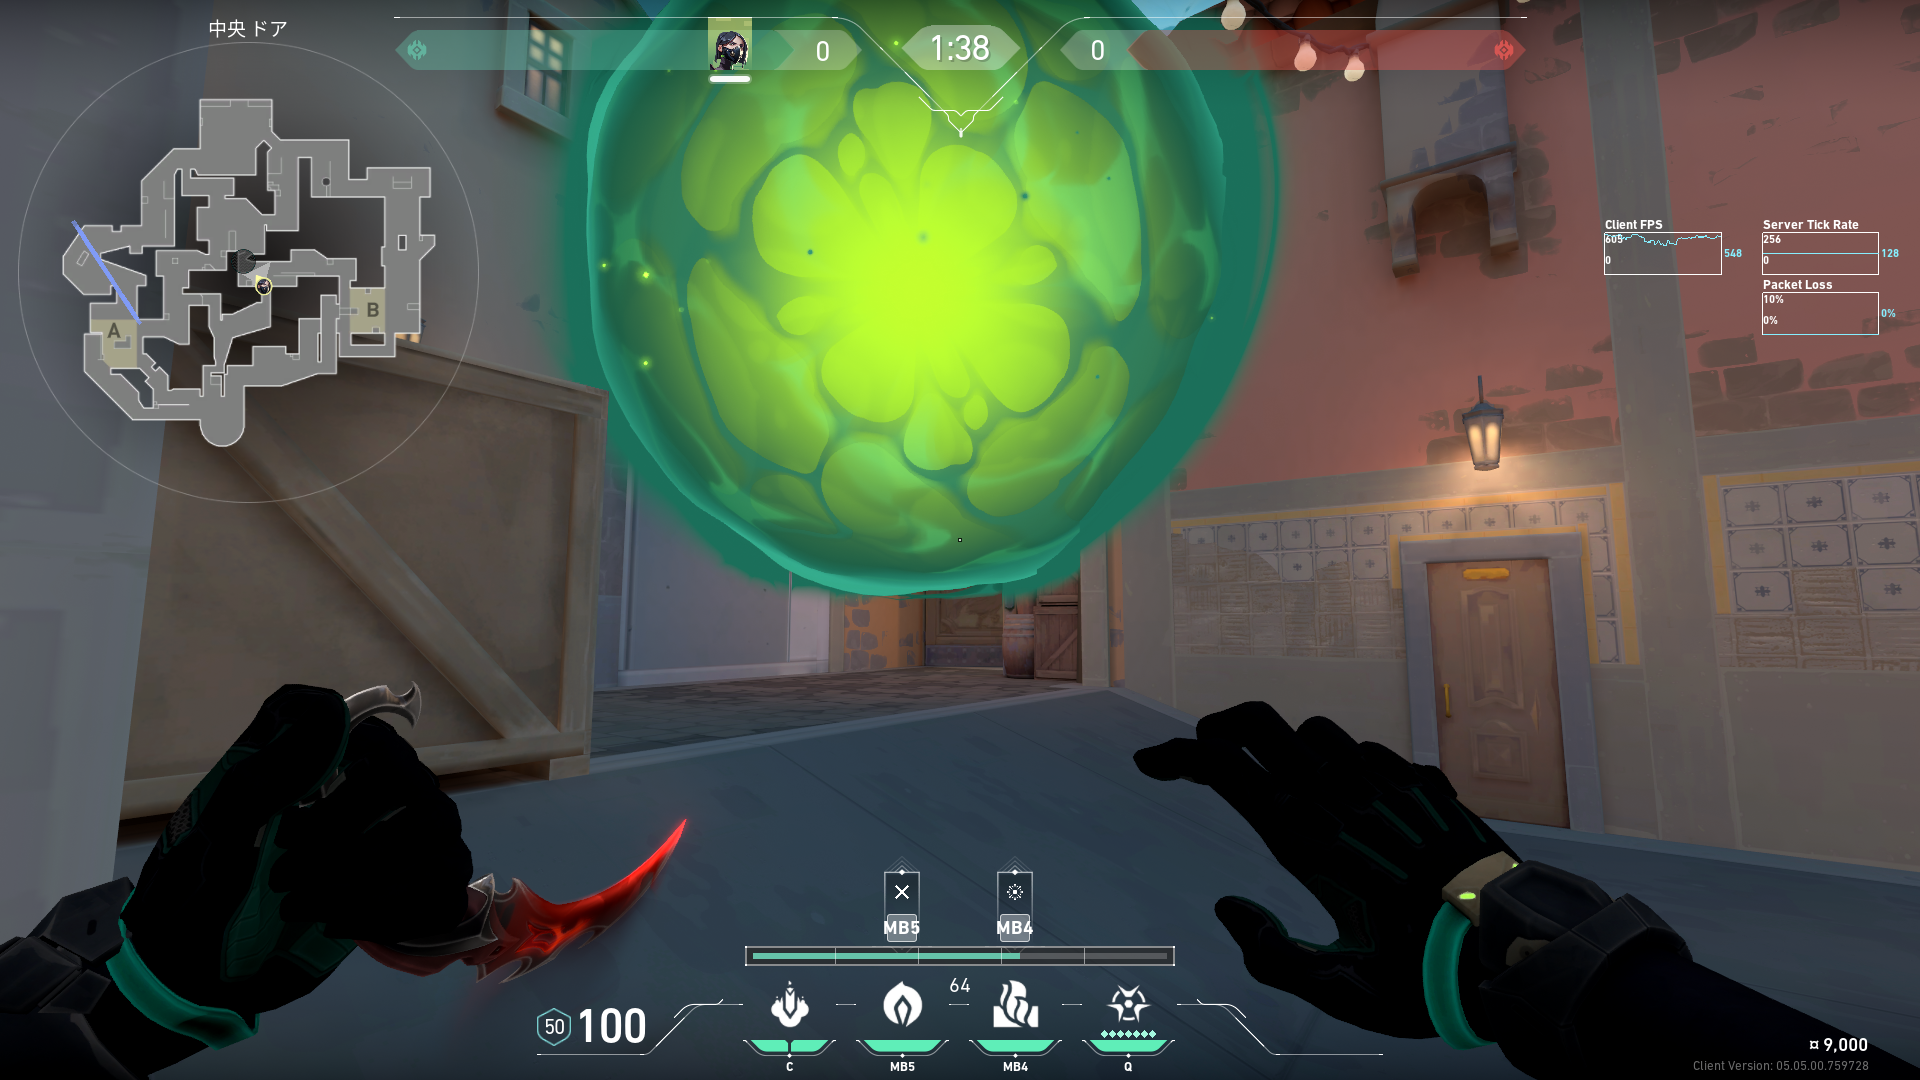 Preview | 守りのときのDDワンウェイスモーク。 |