BREEZE / VIPER
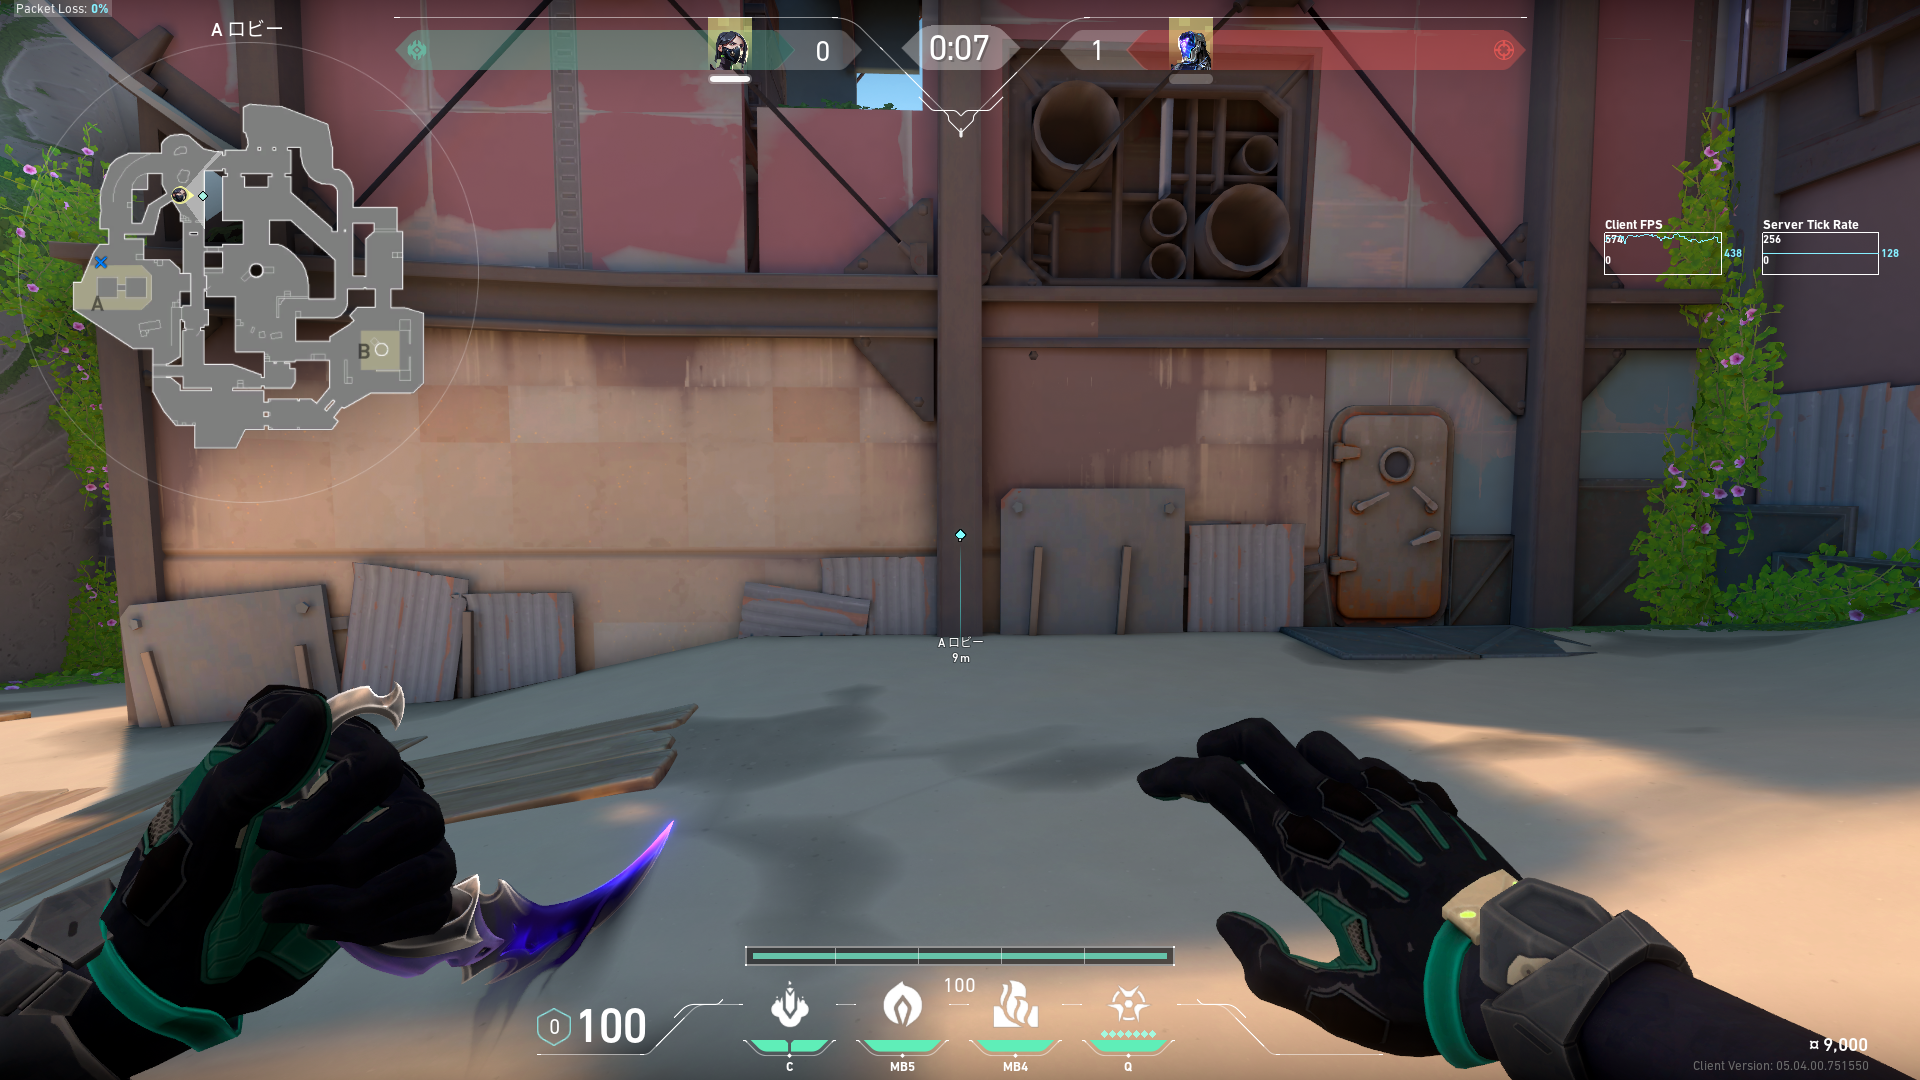
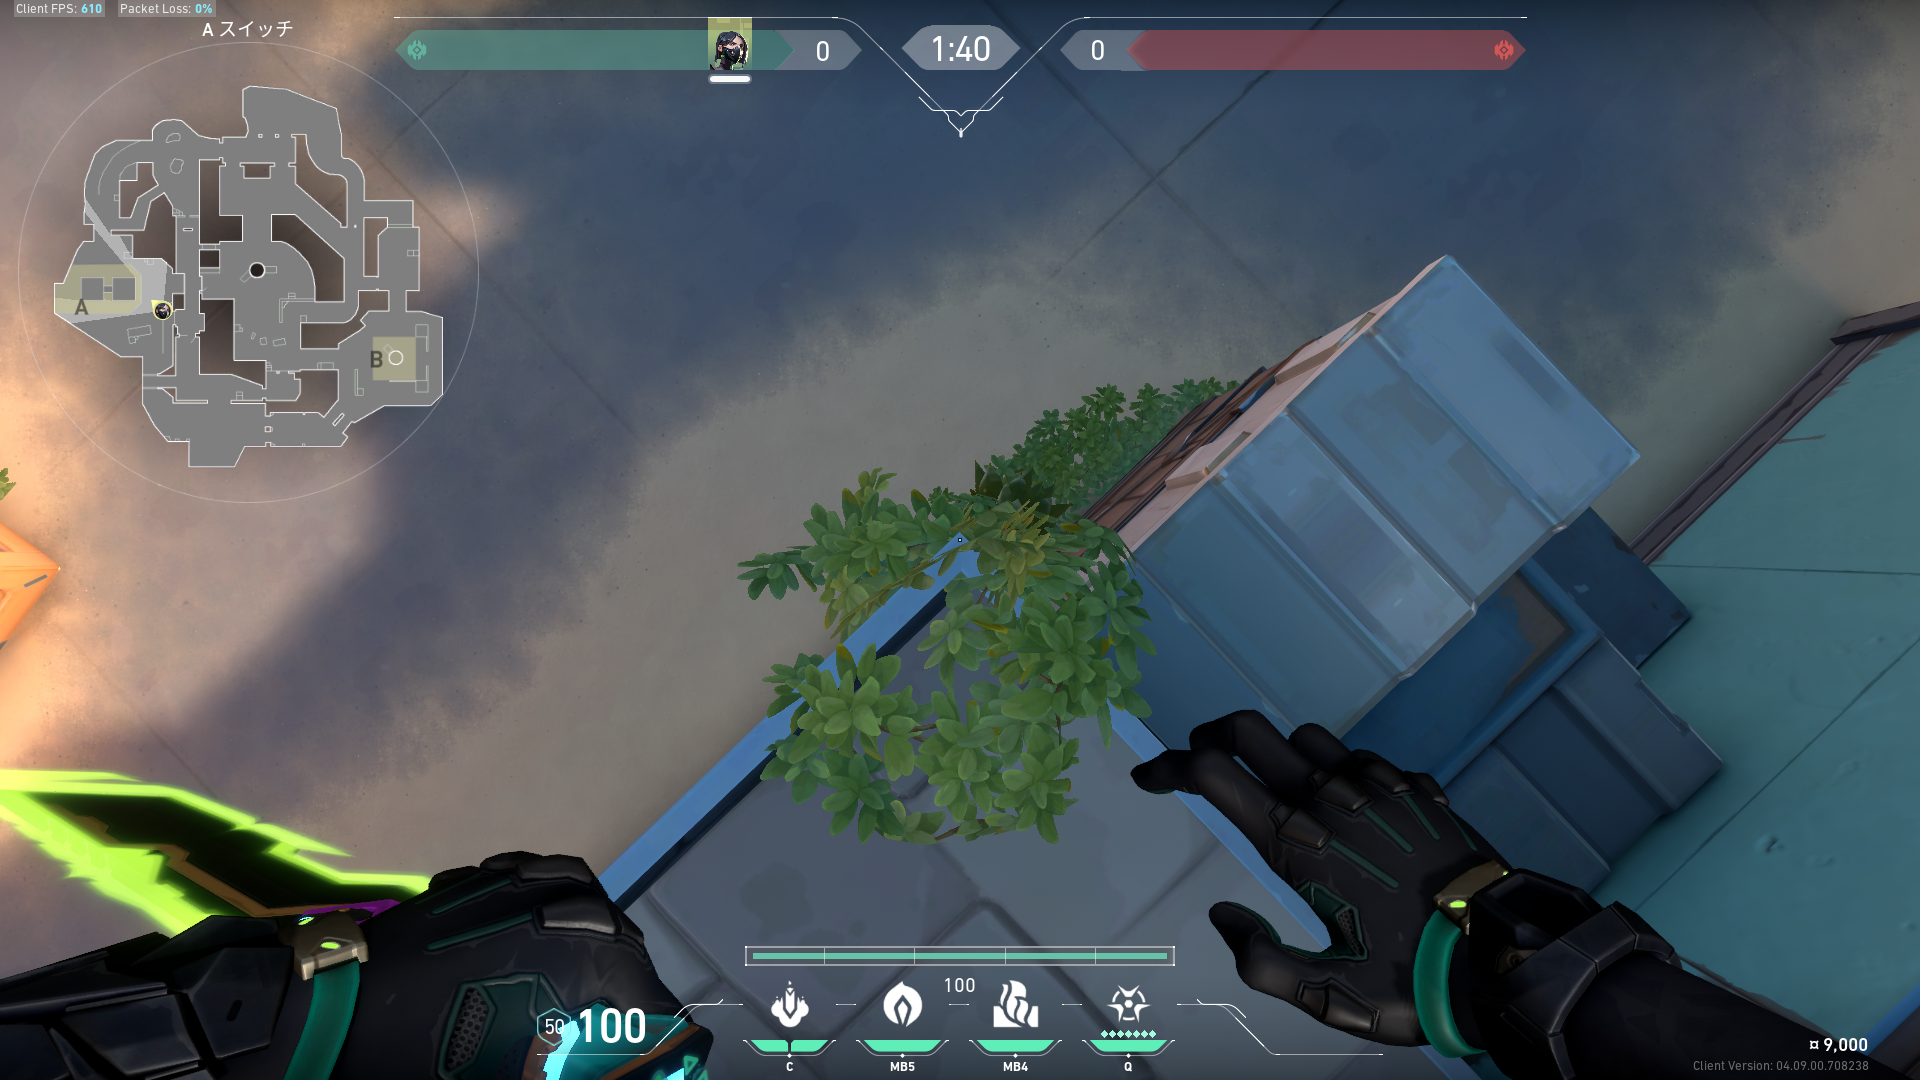 Preview 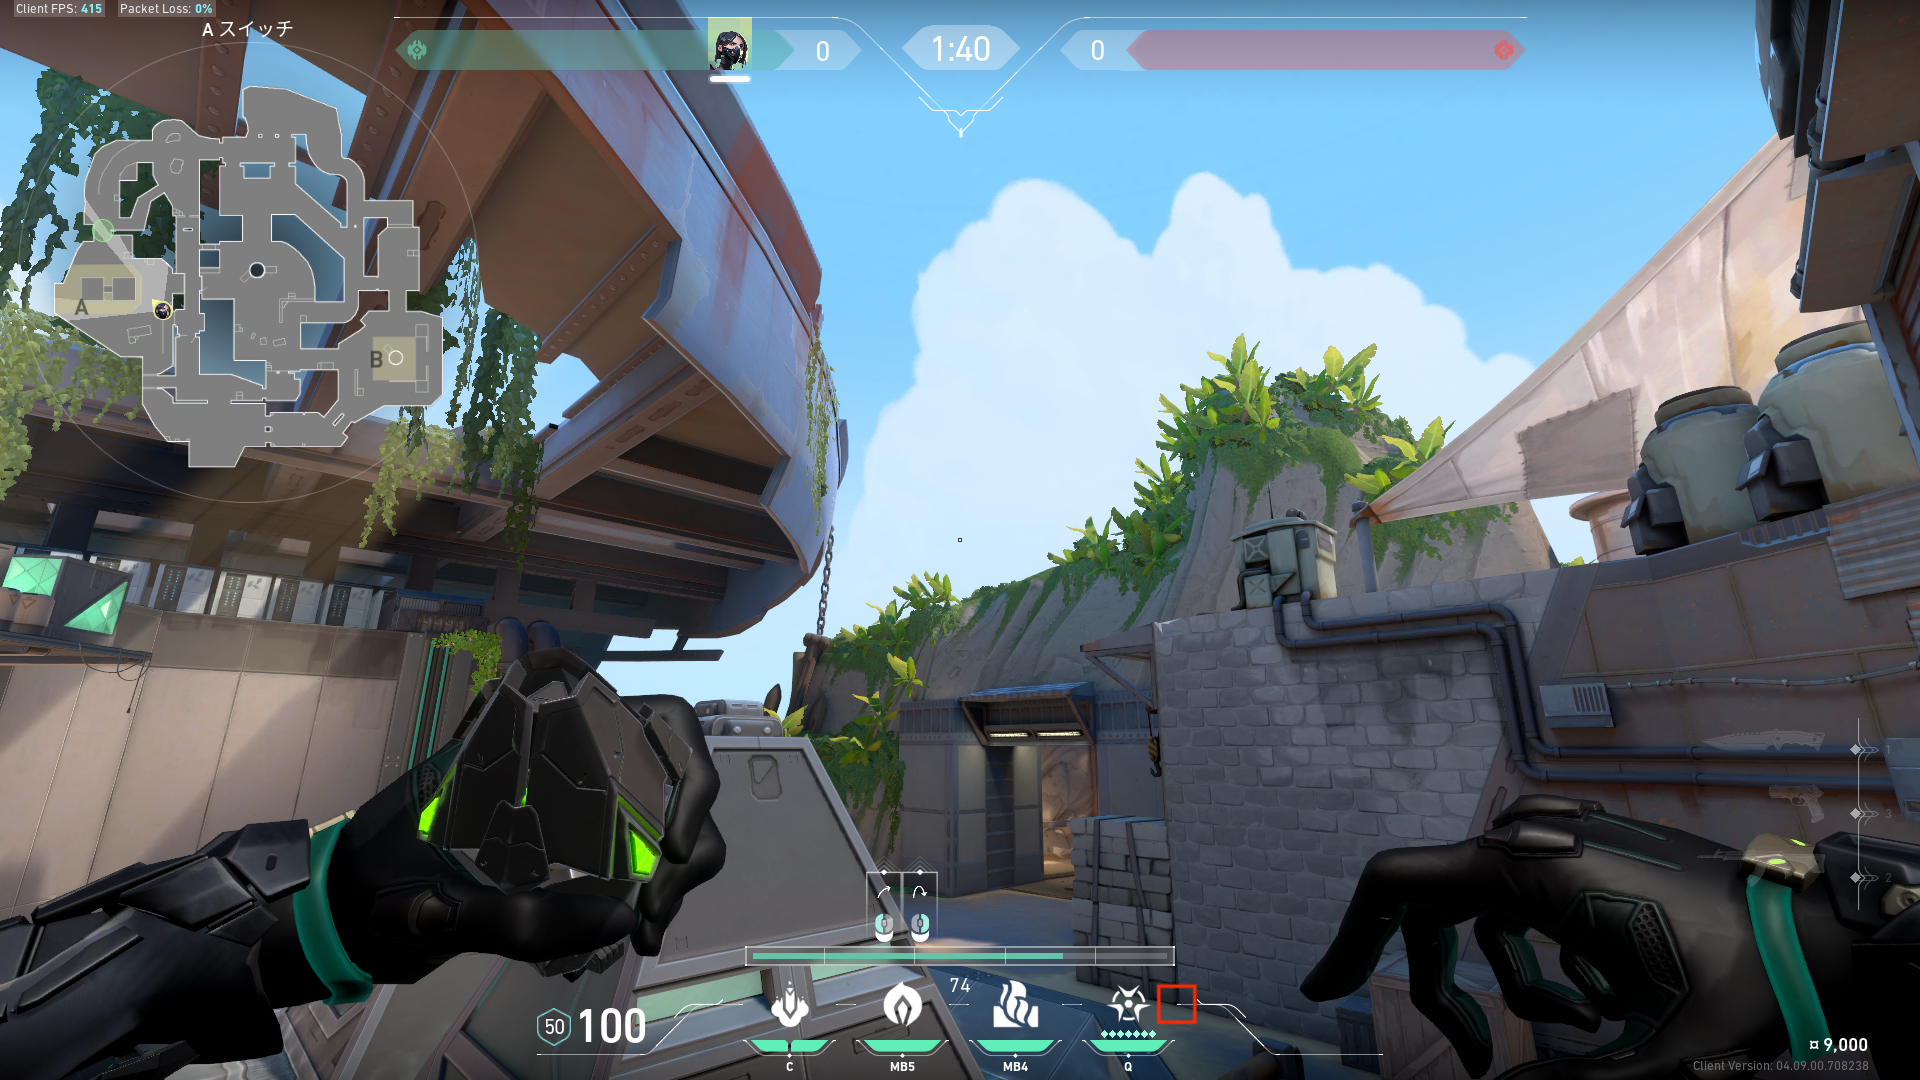 Preview | A側守りのときの階段から投げるメインスモーク |
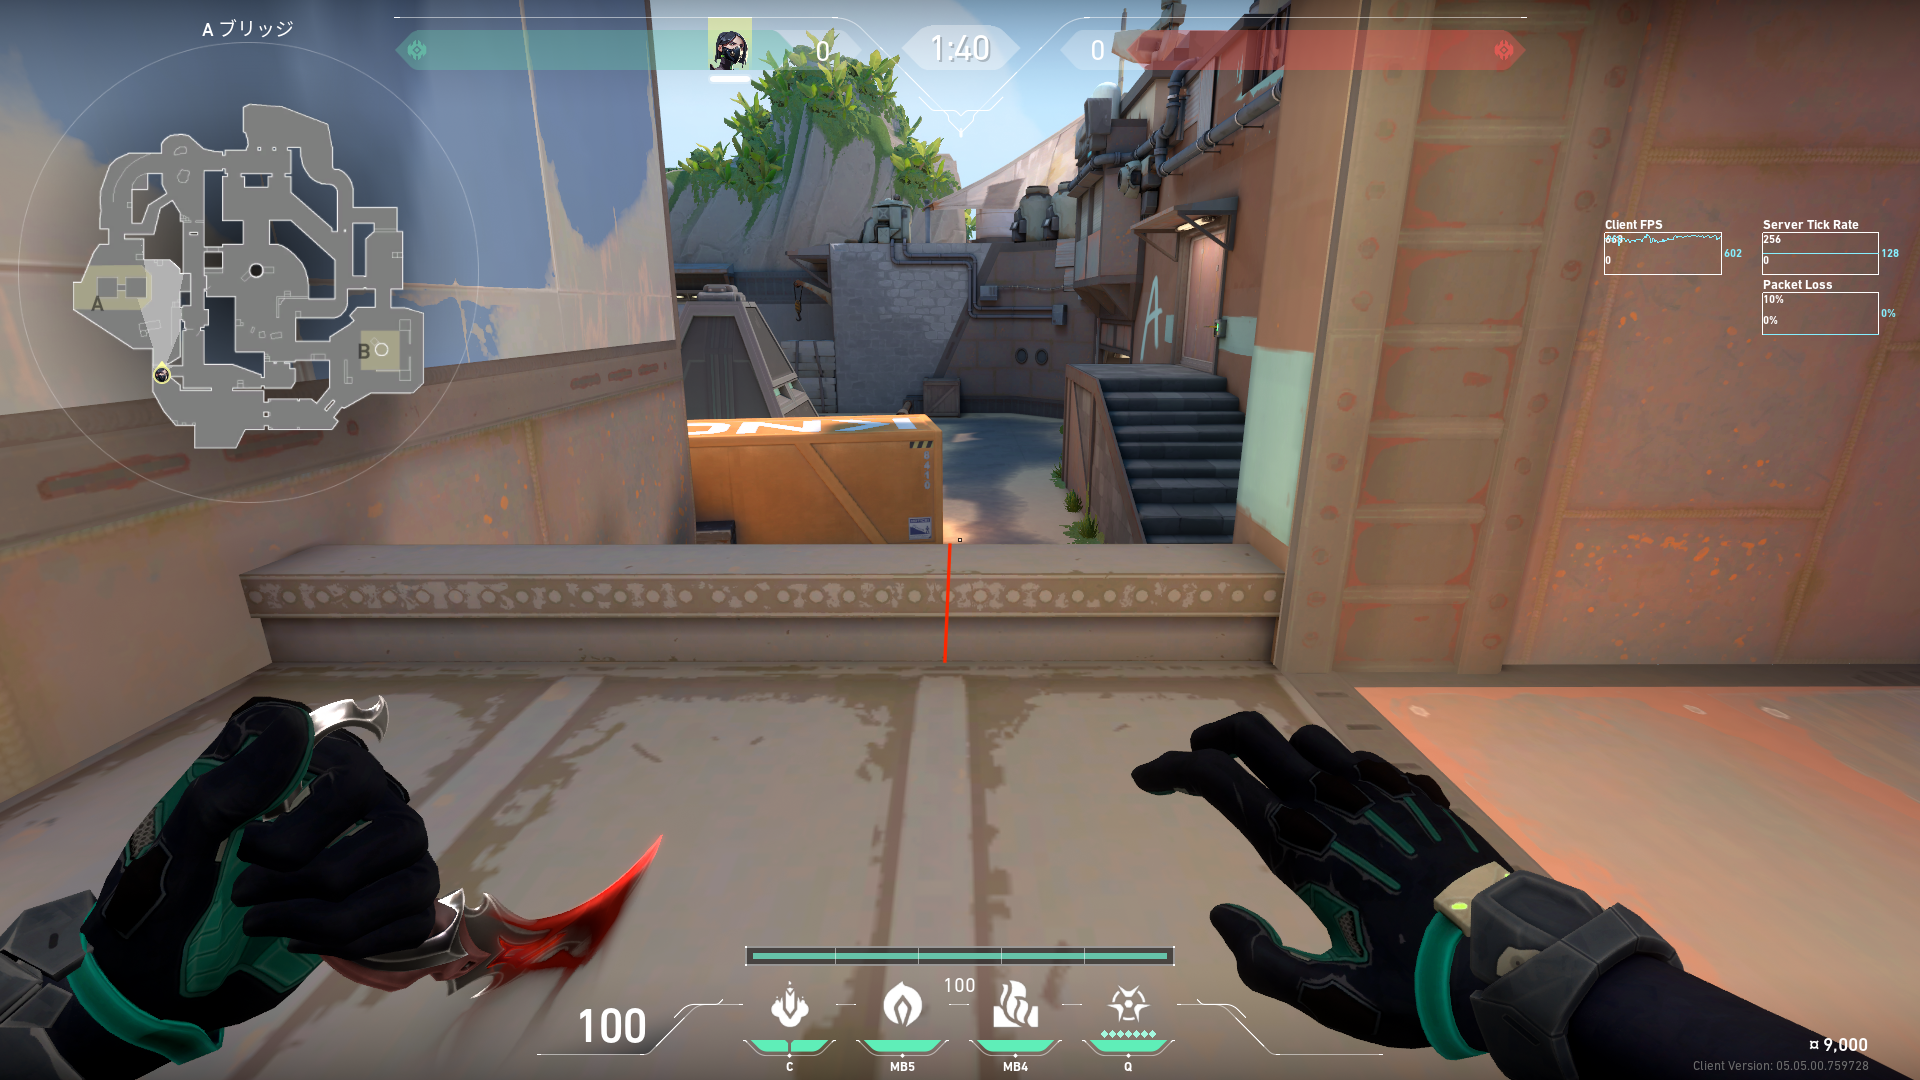 Preview 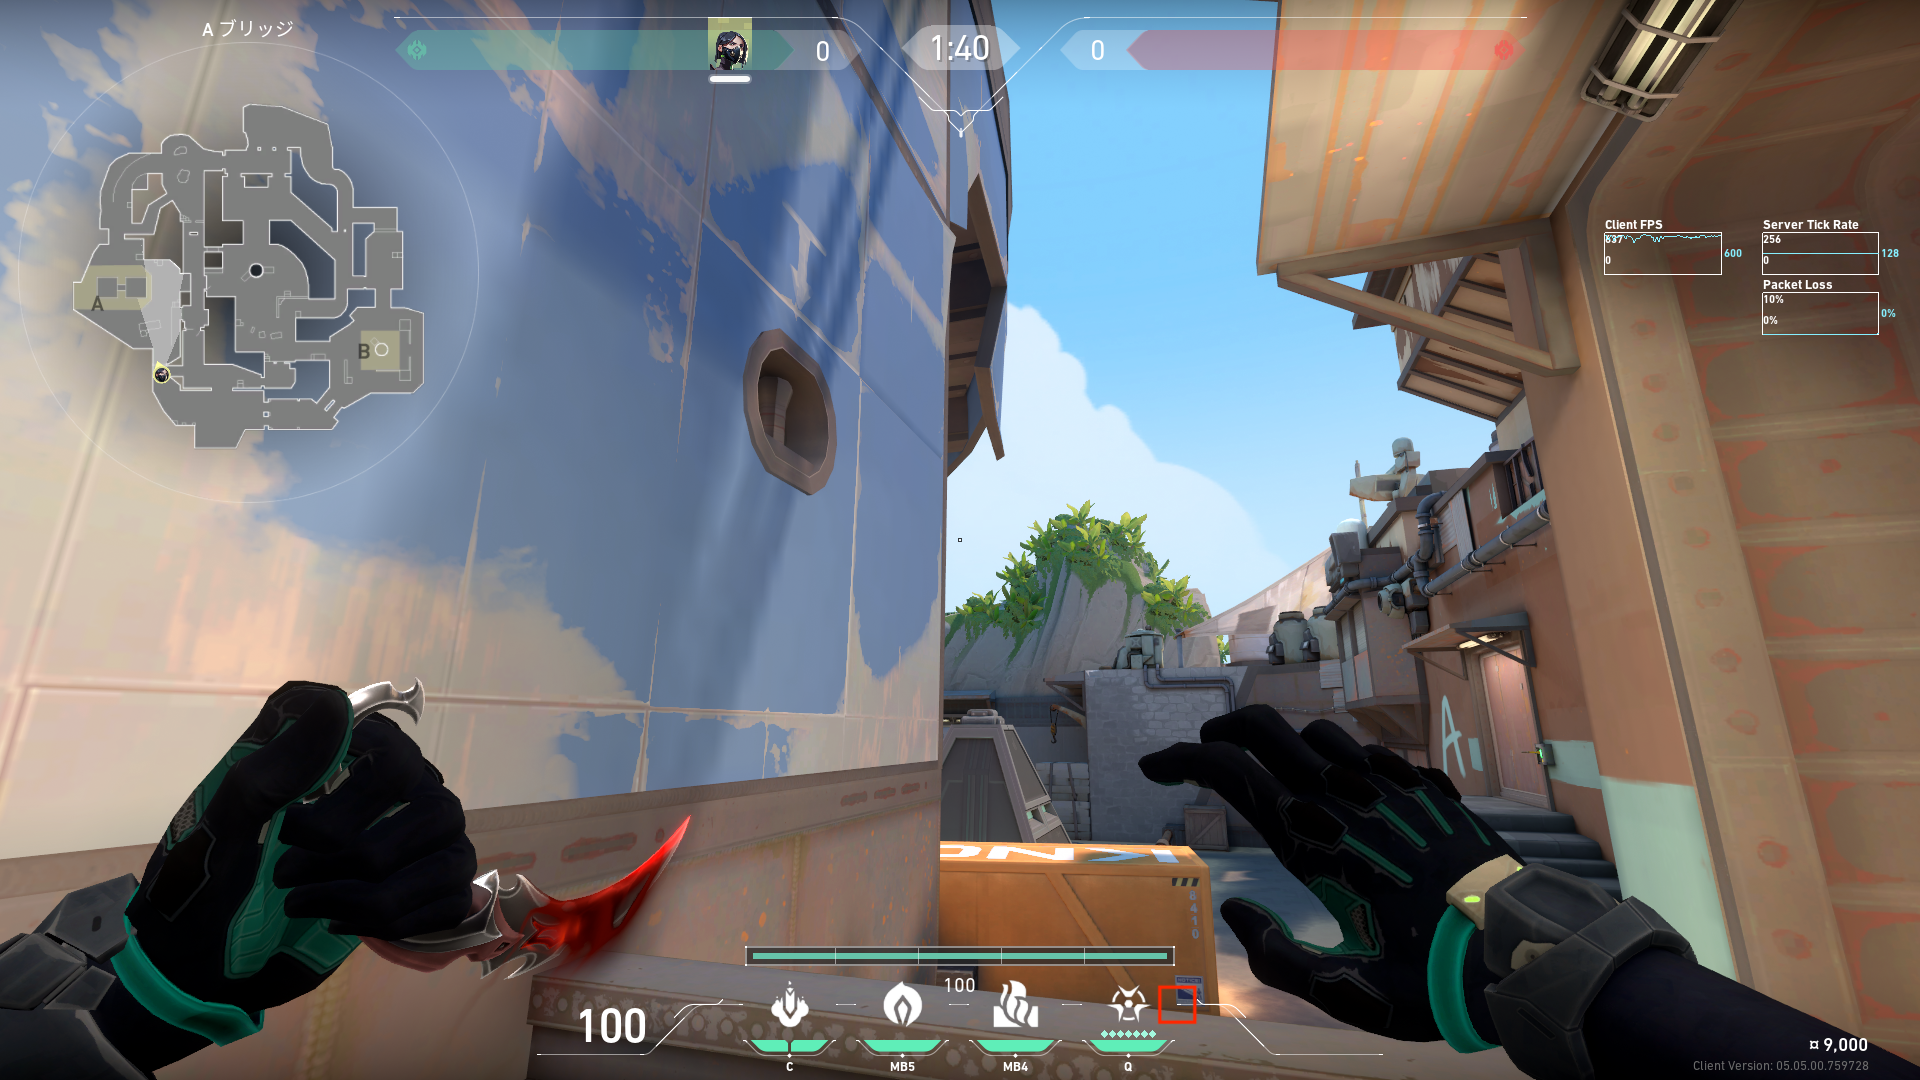 Preview 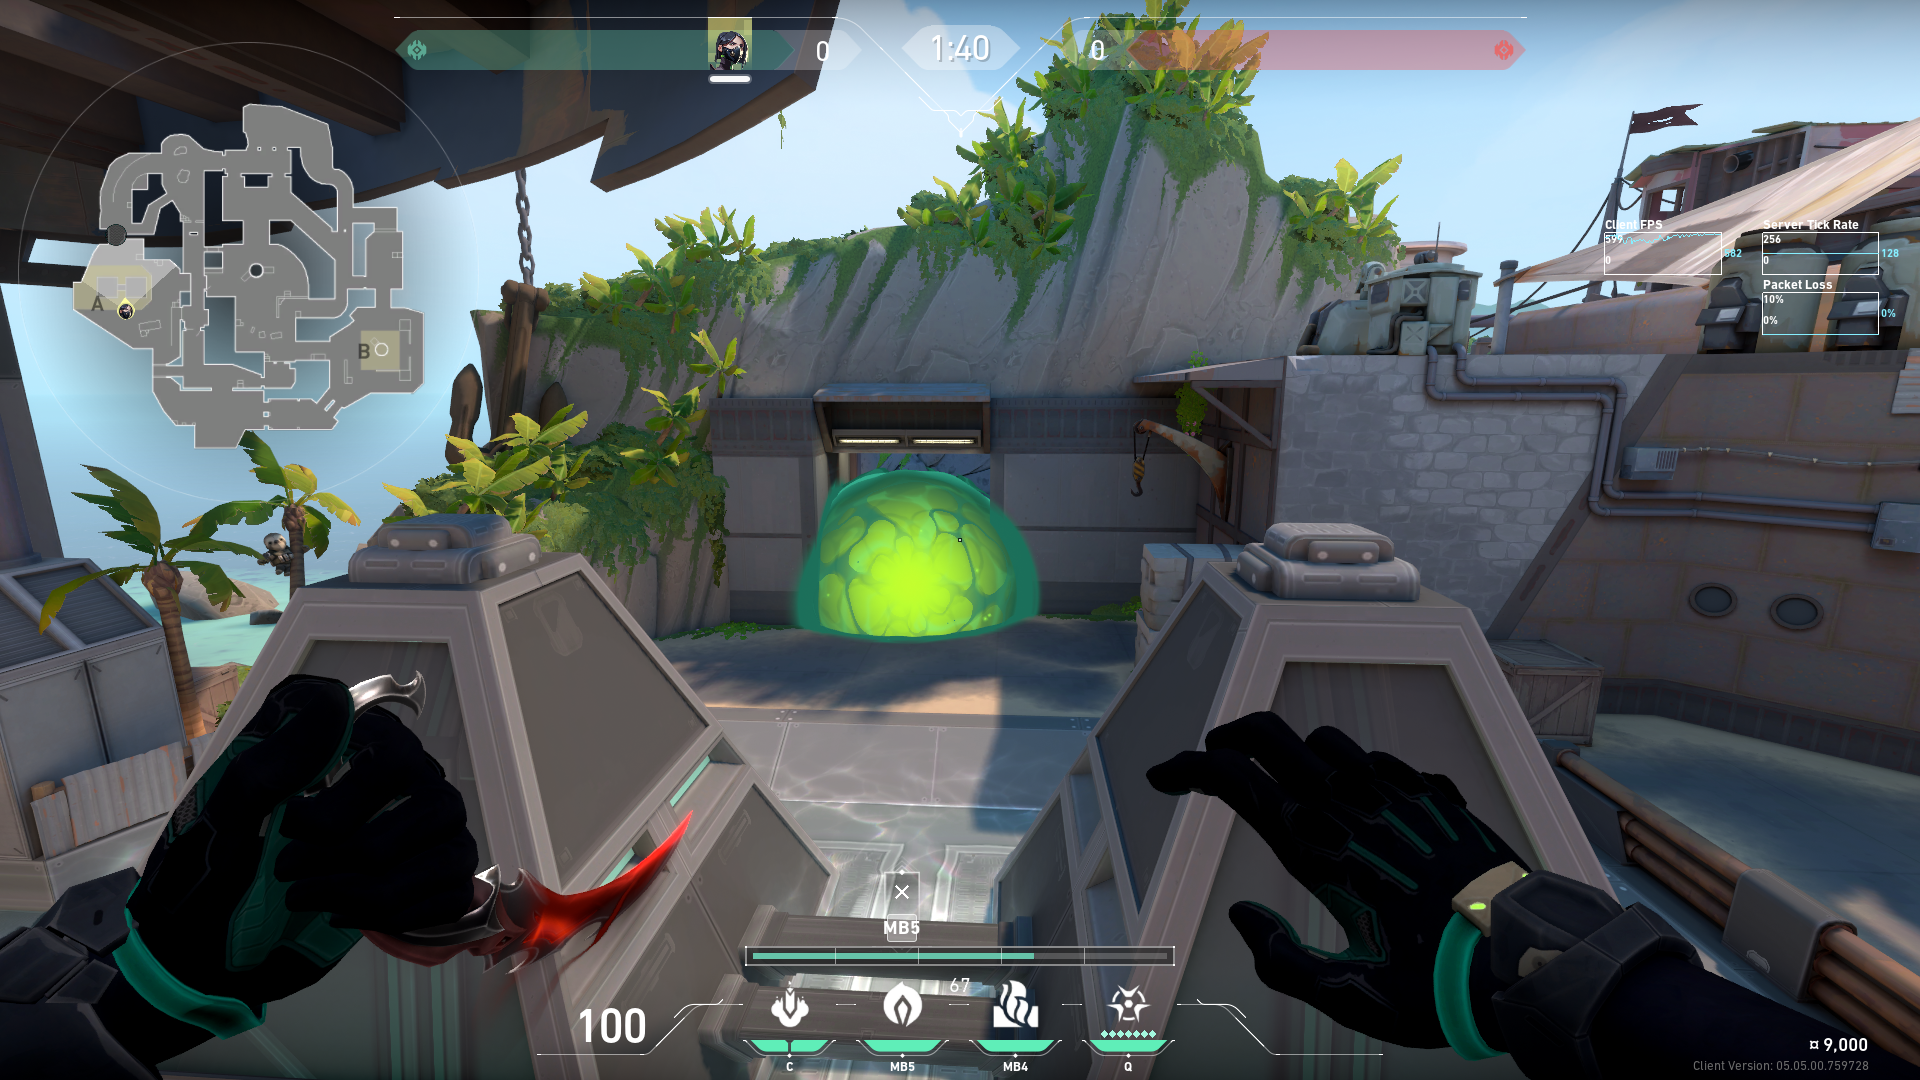 Preview | A側守りのときのブリッジから投げるメインスモーク。 |
 Preview | A側の階段からメインへのスネークバイト |
 Preview | 箱上からメインへのスネークバイト |
 Preview 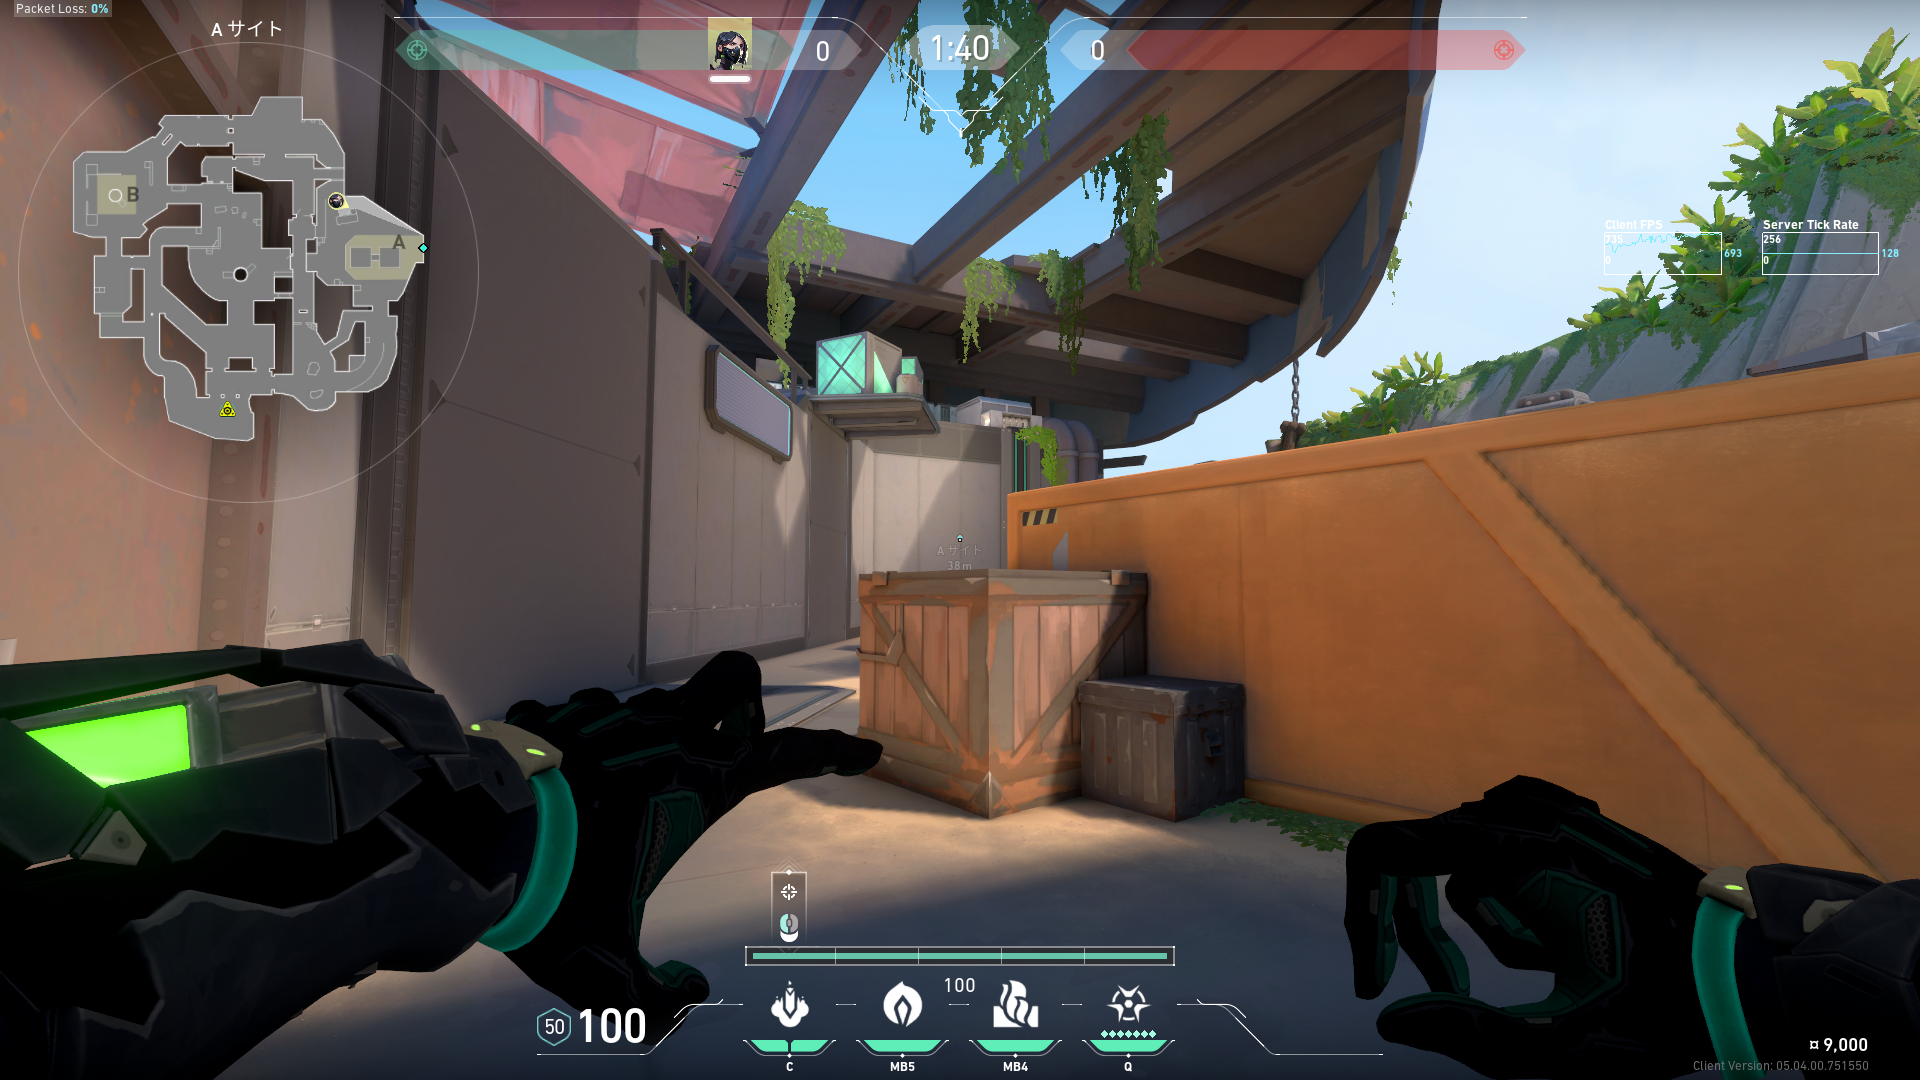 Preview 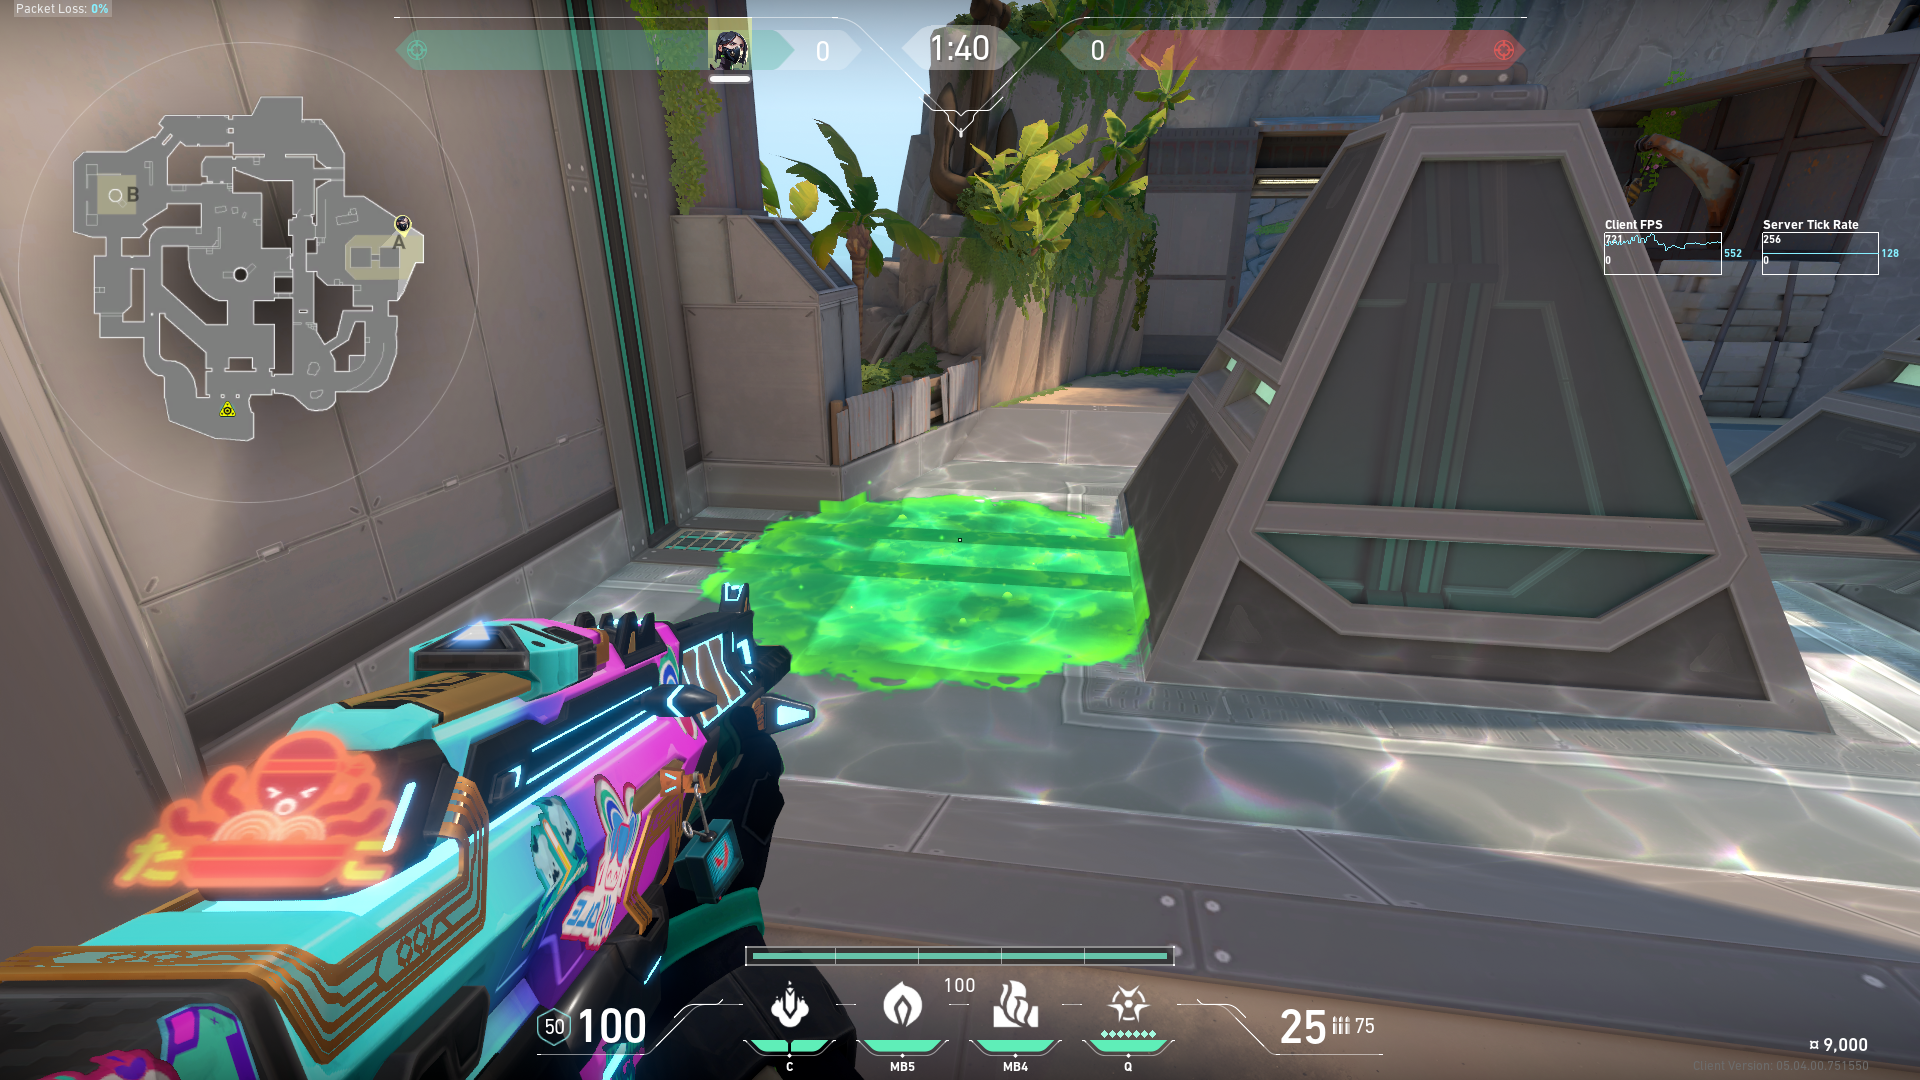 Preview | 外乳サイドへのスネークバイト |
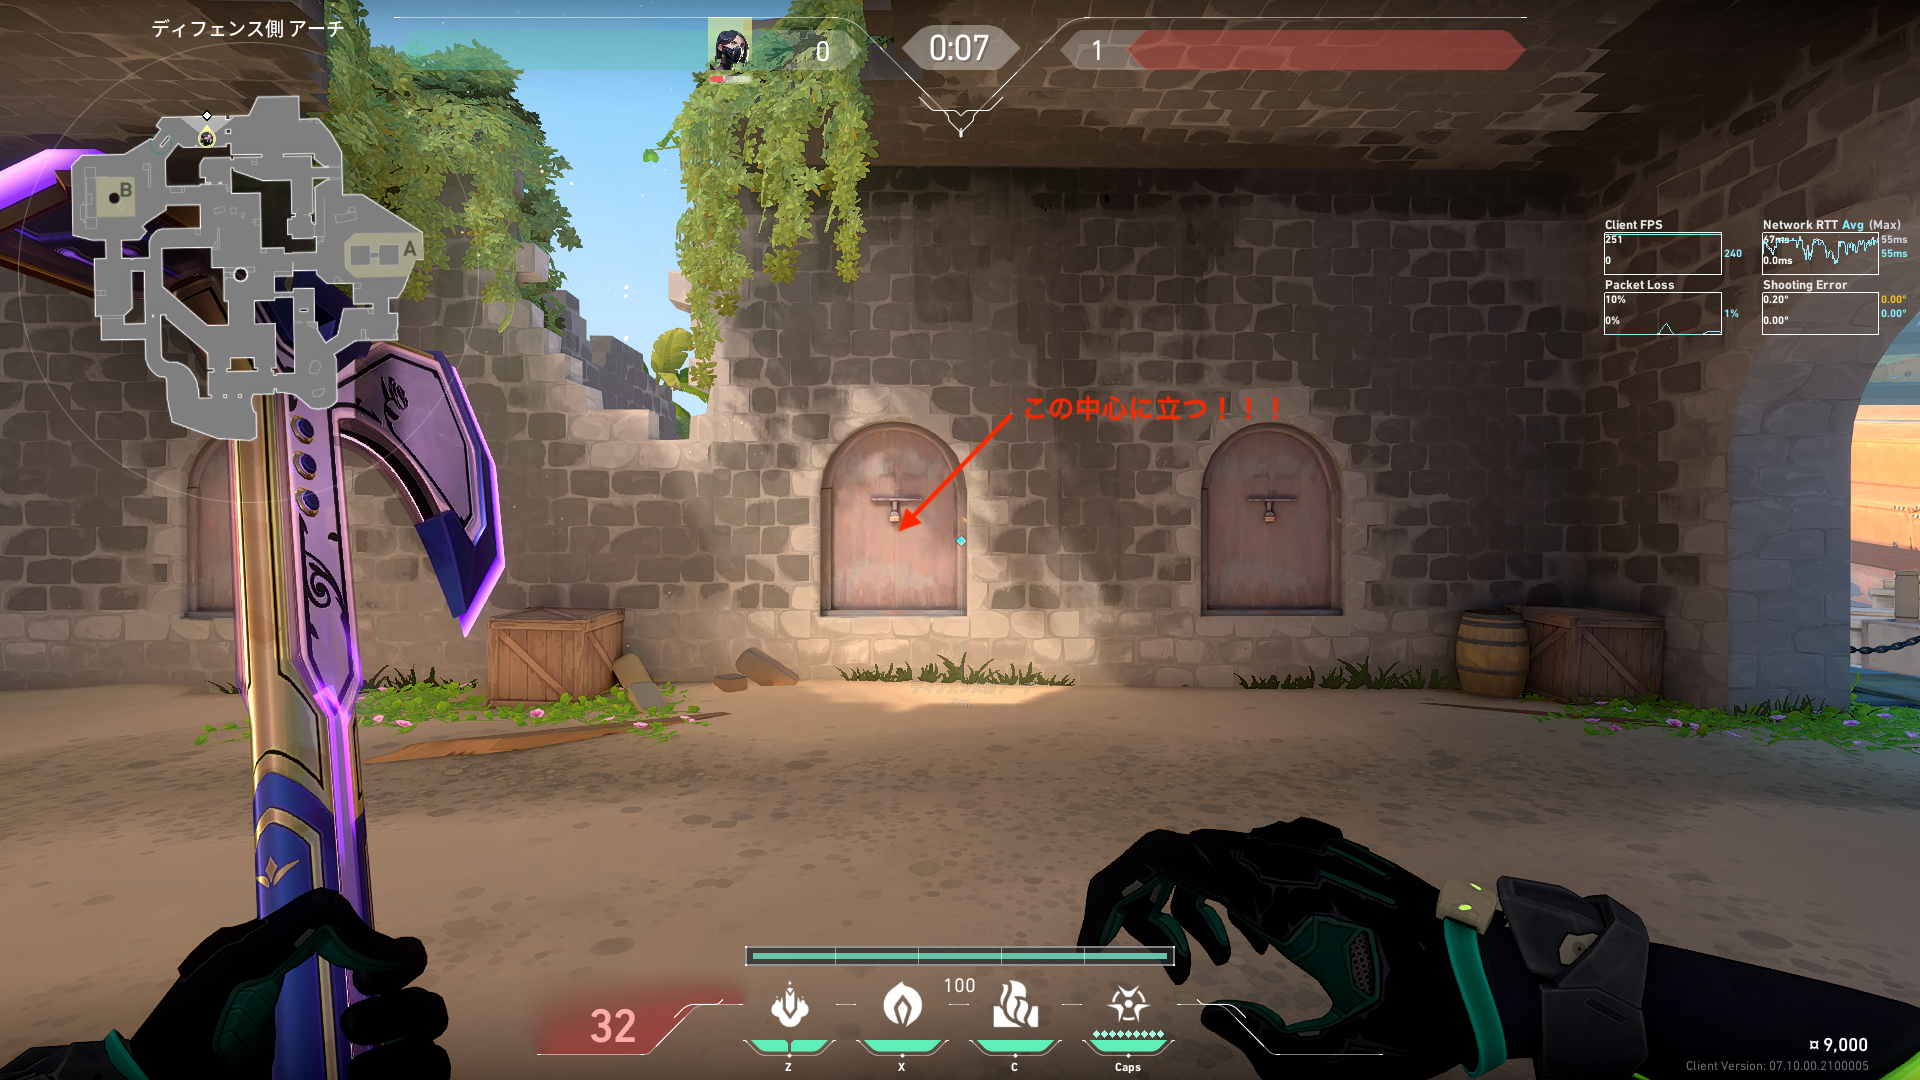
 Preview  Preview | A側リテイク時のポイズンクラウド。 |
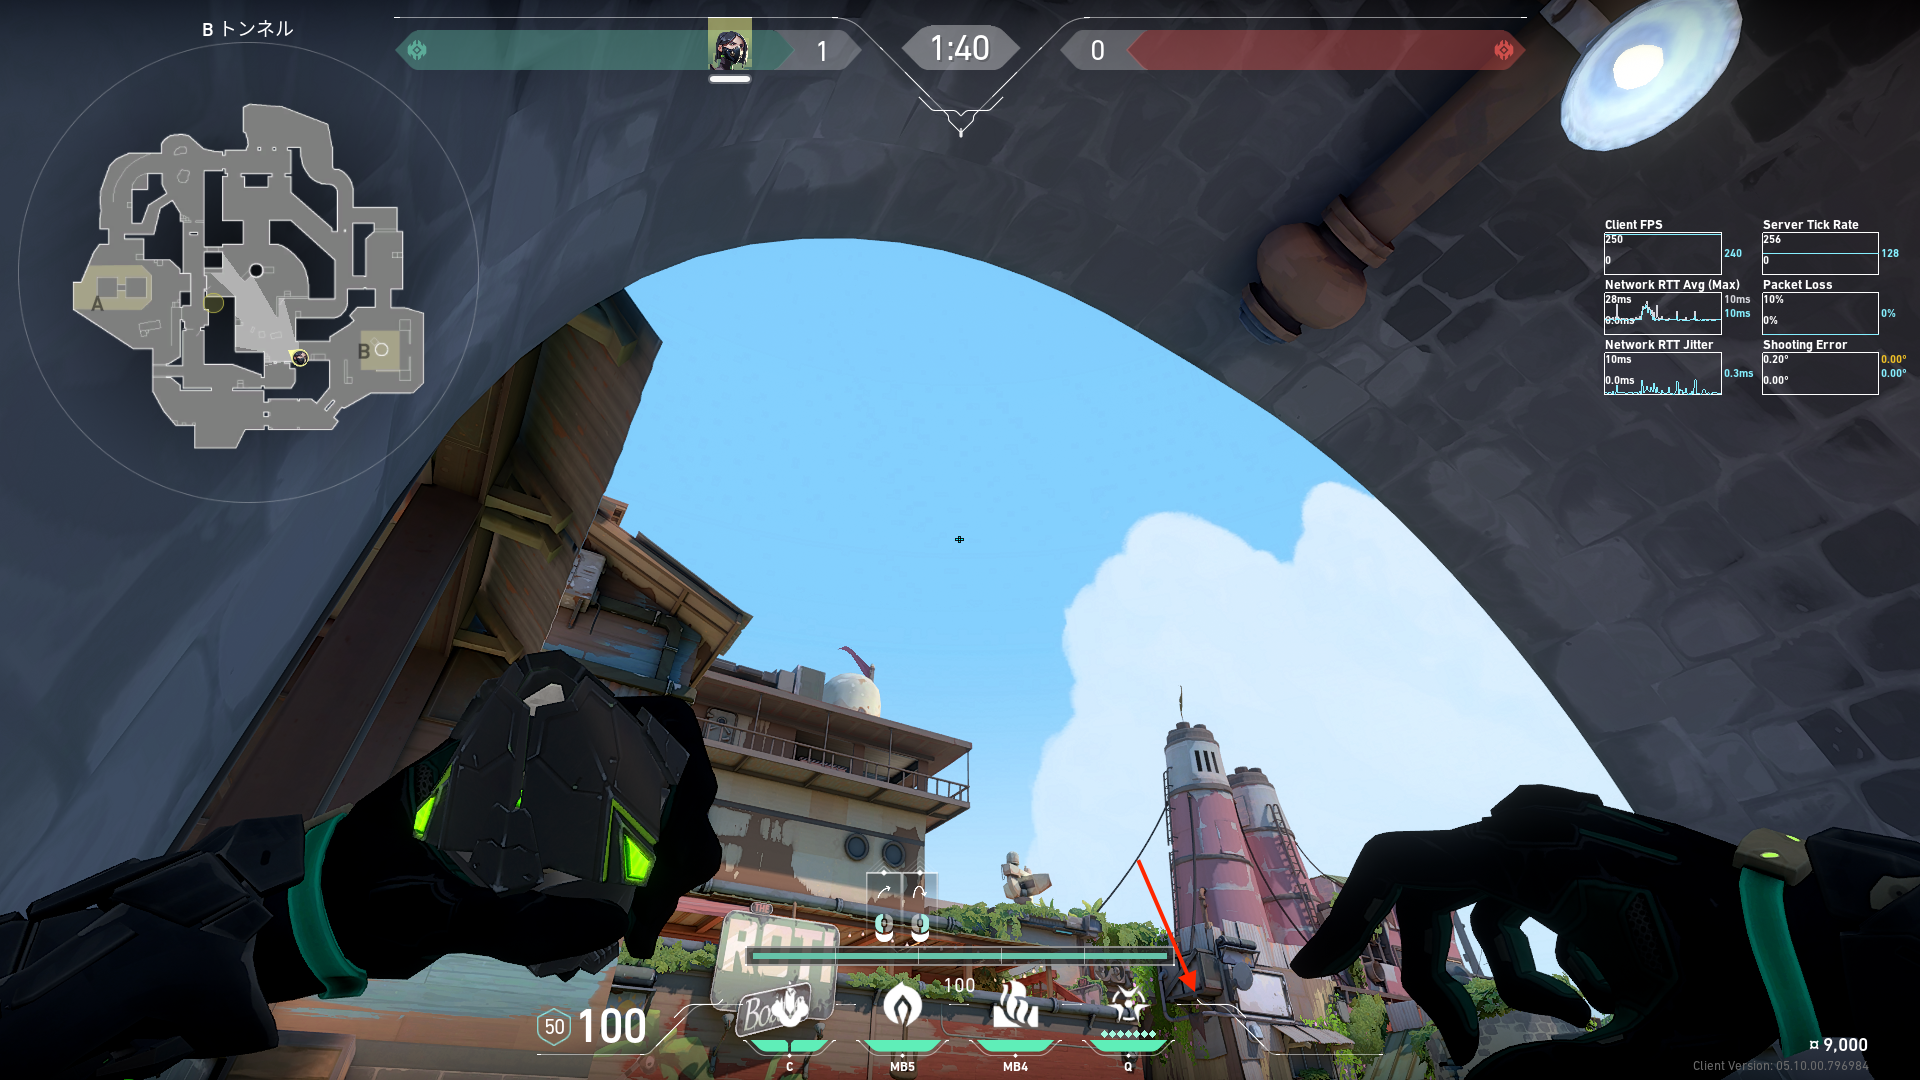
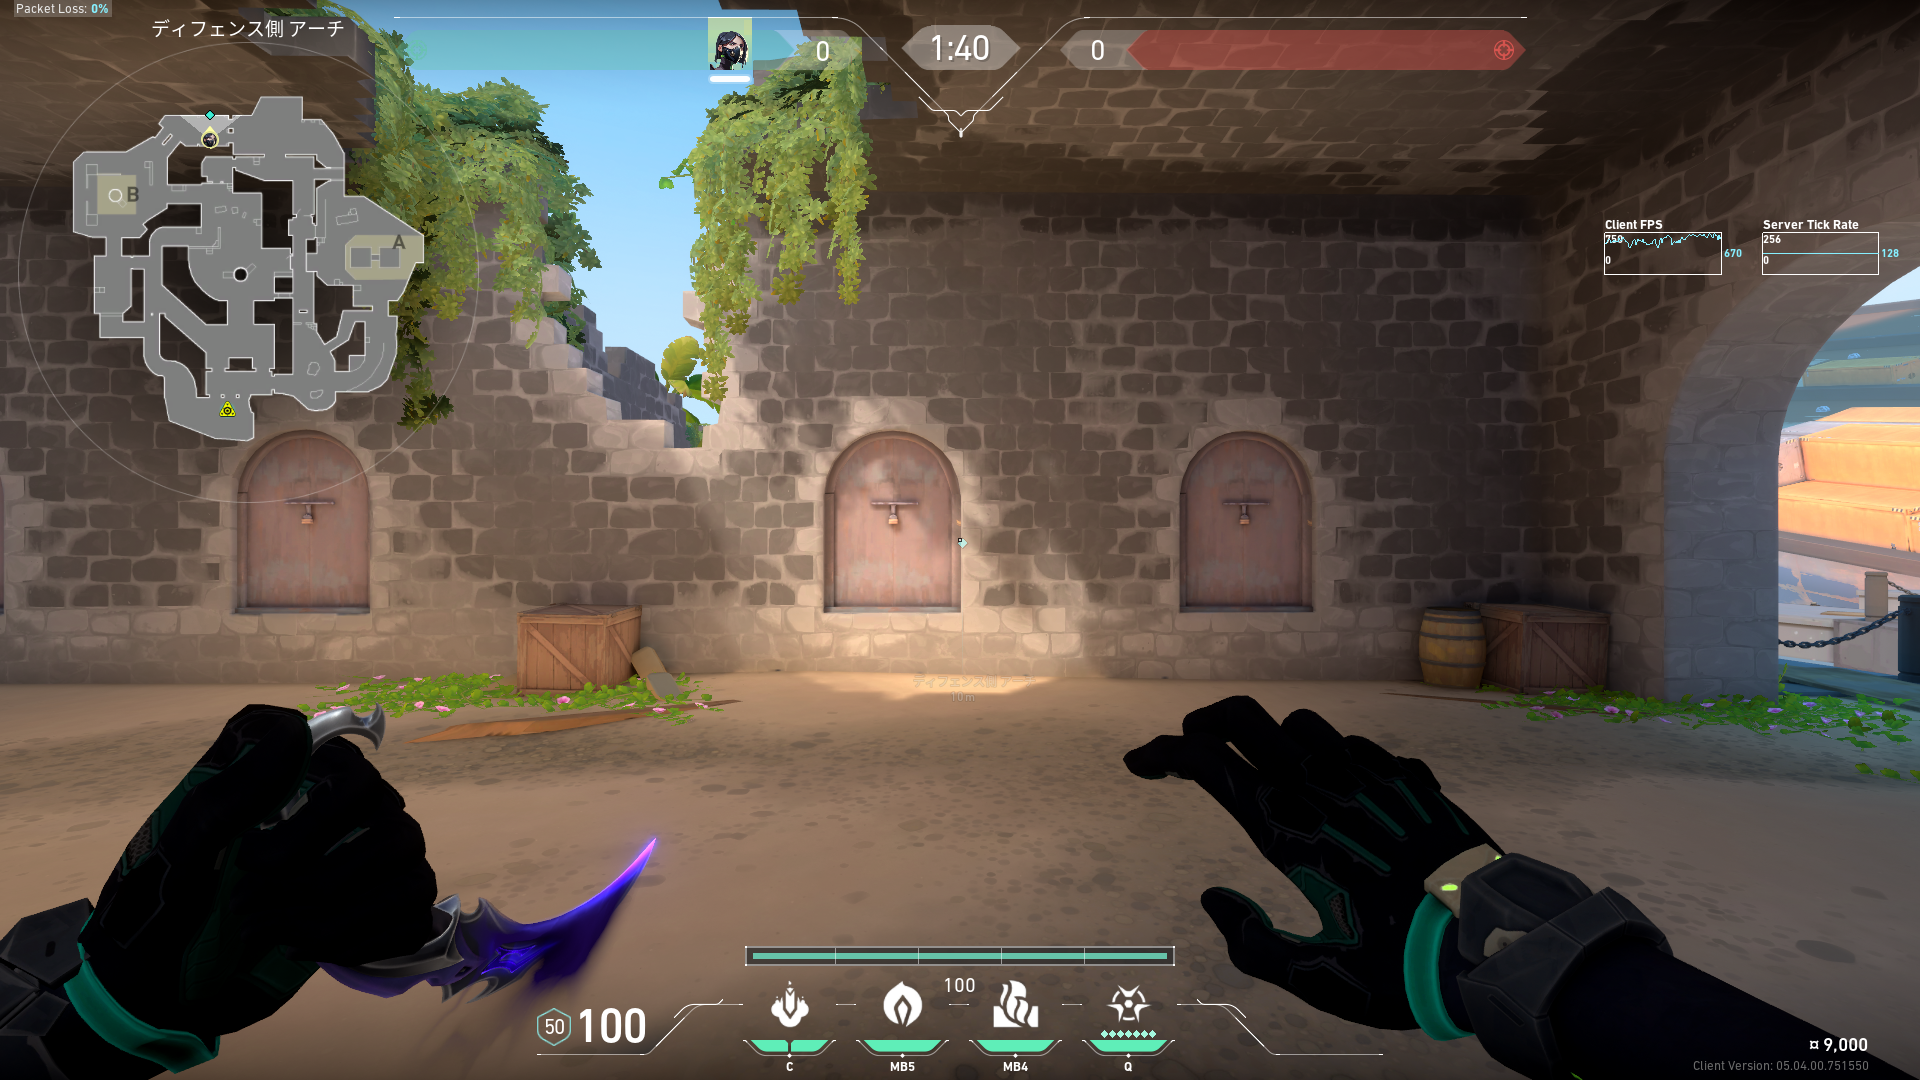 Preview 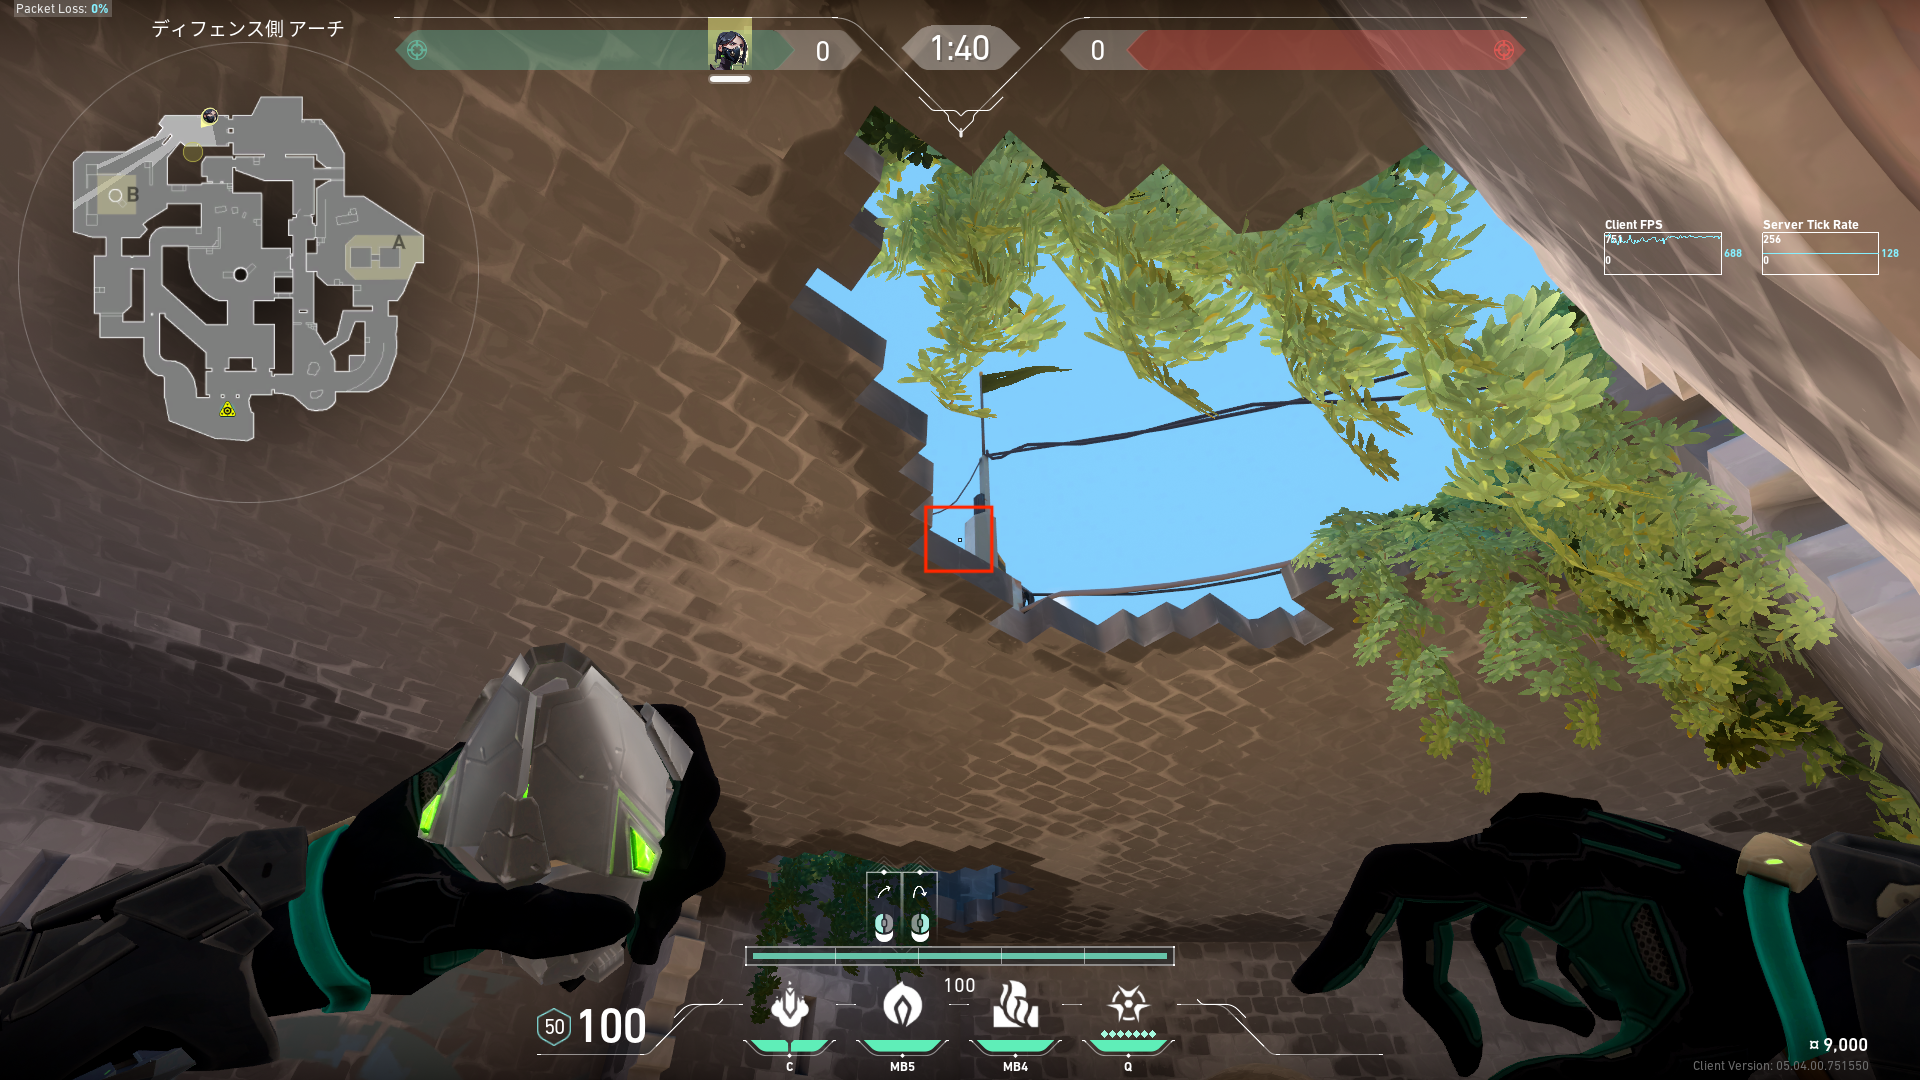 Preview 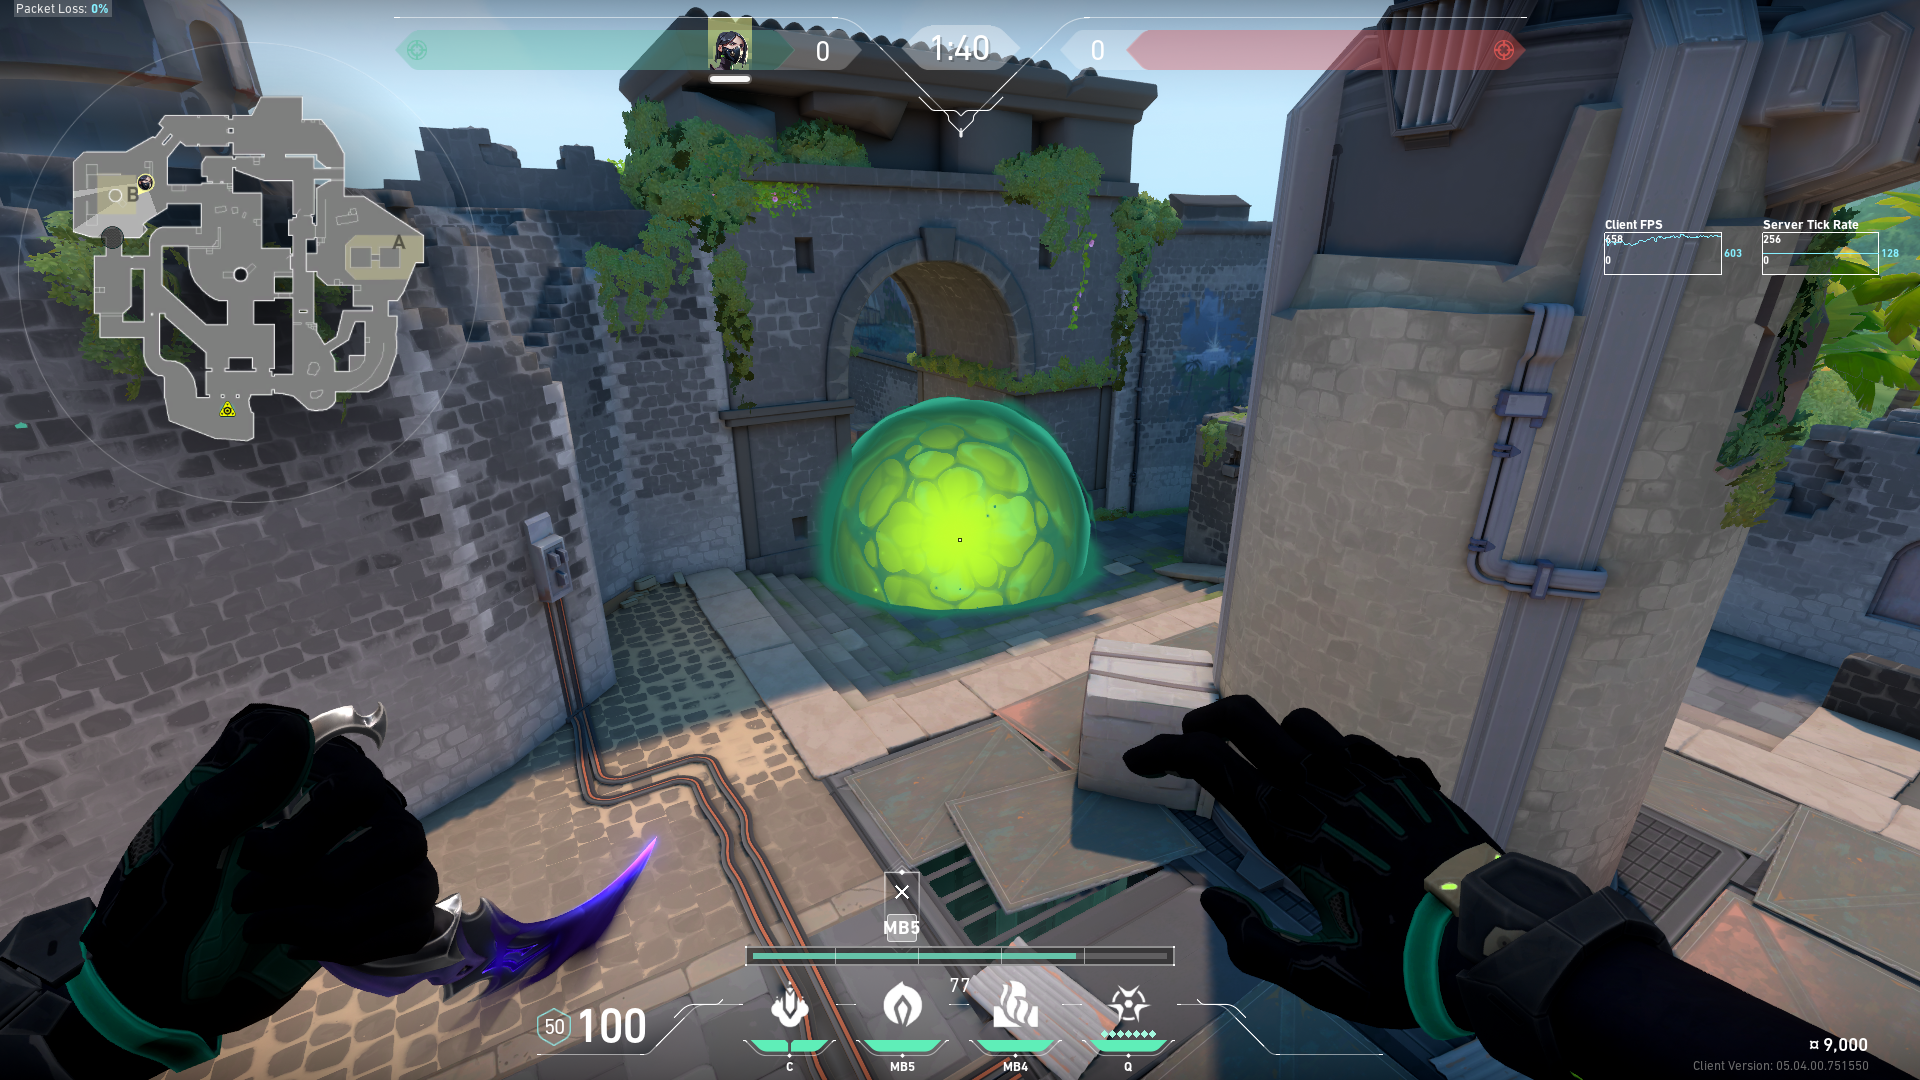 Preview | B側メインへのポイズンクラウド |
 Preview 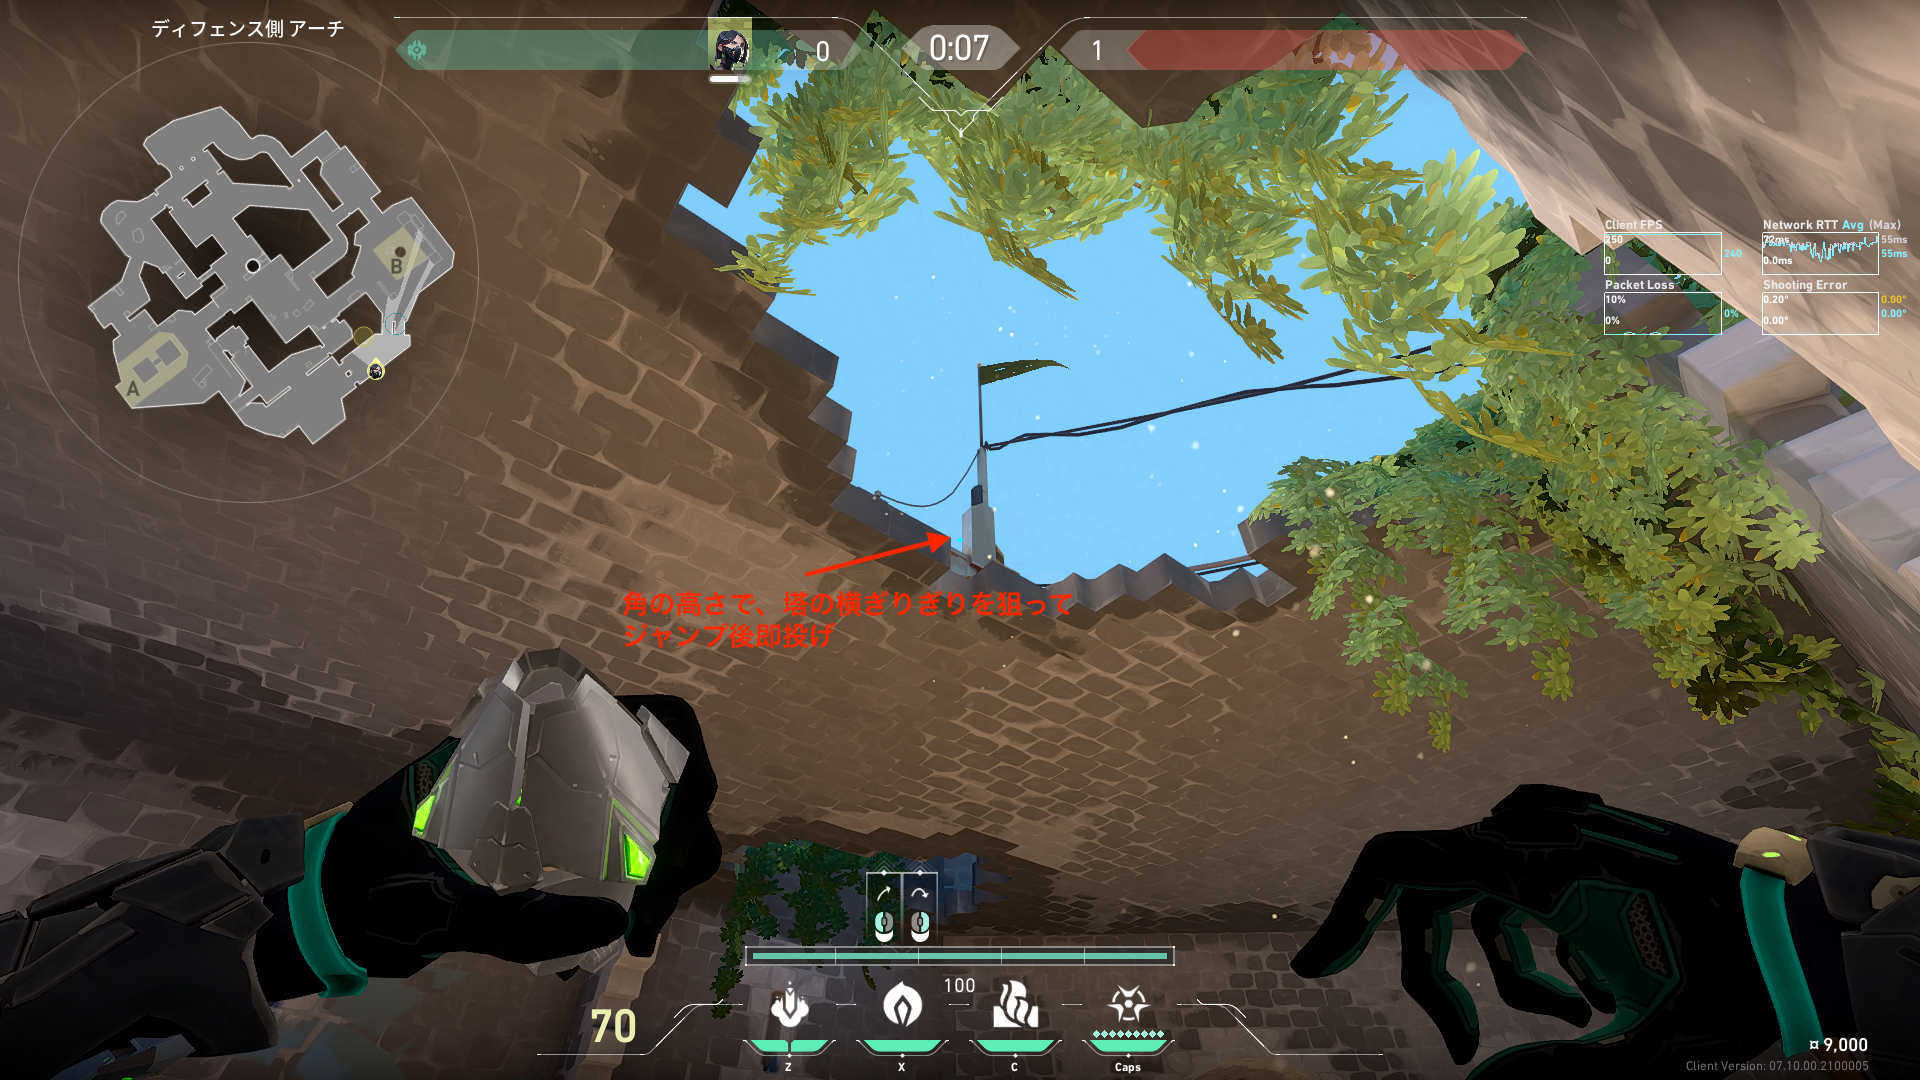 Preview 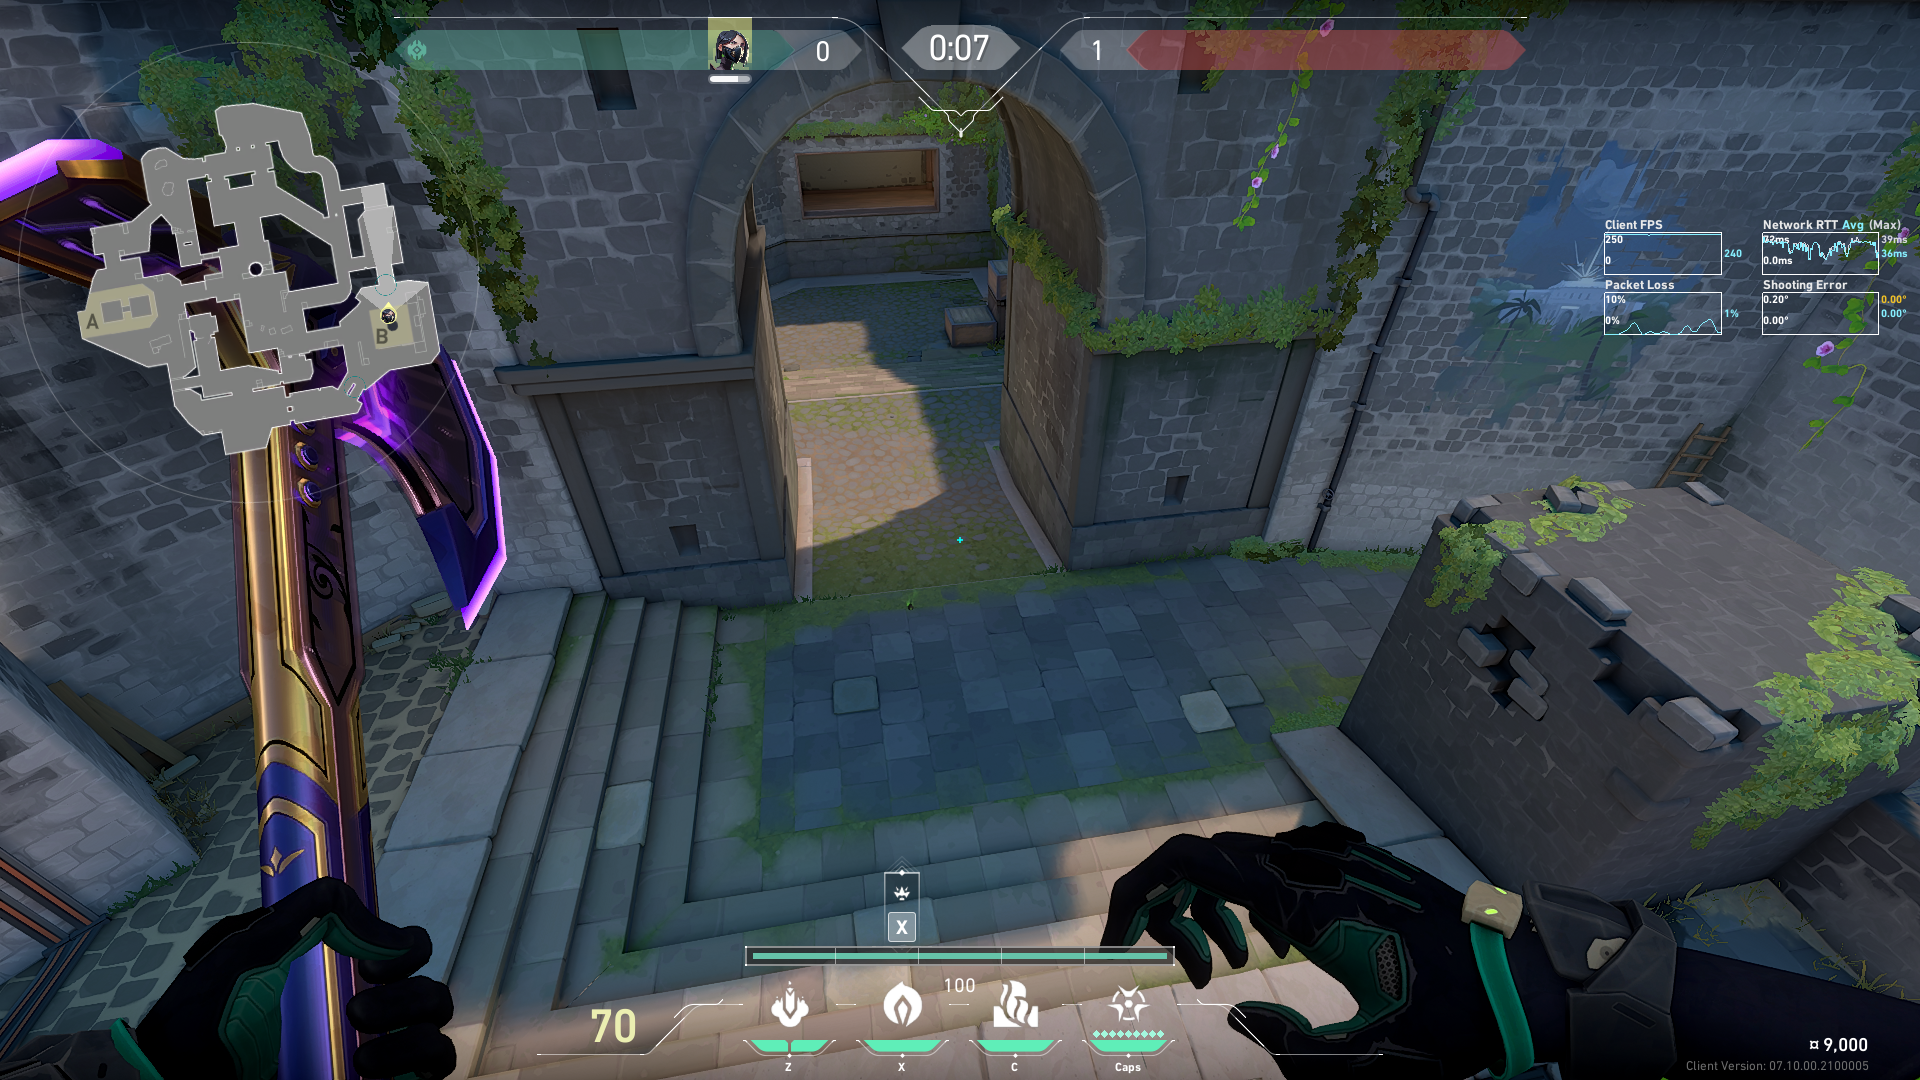 Preview | B側メインへのポイズンクラウドその2 |
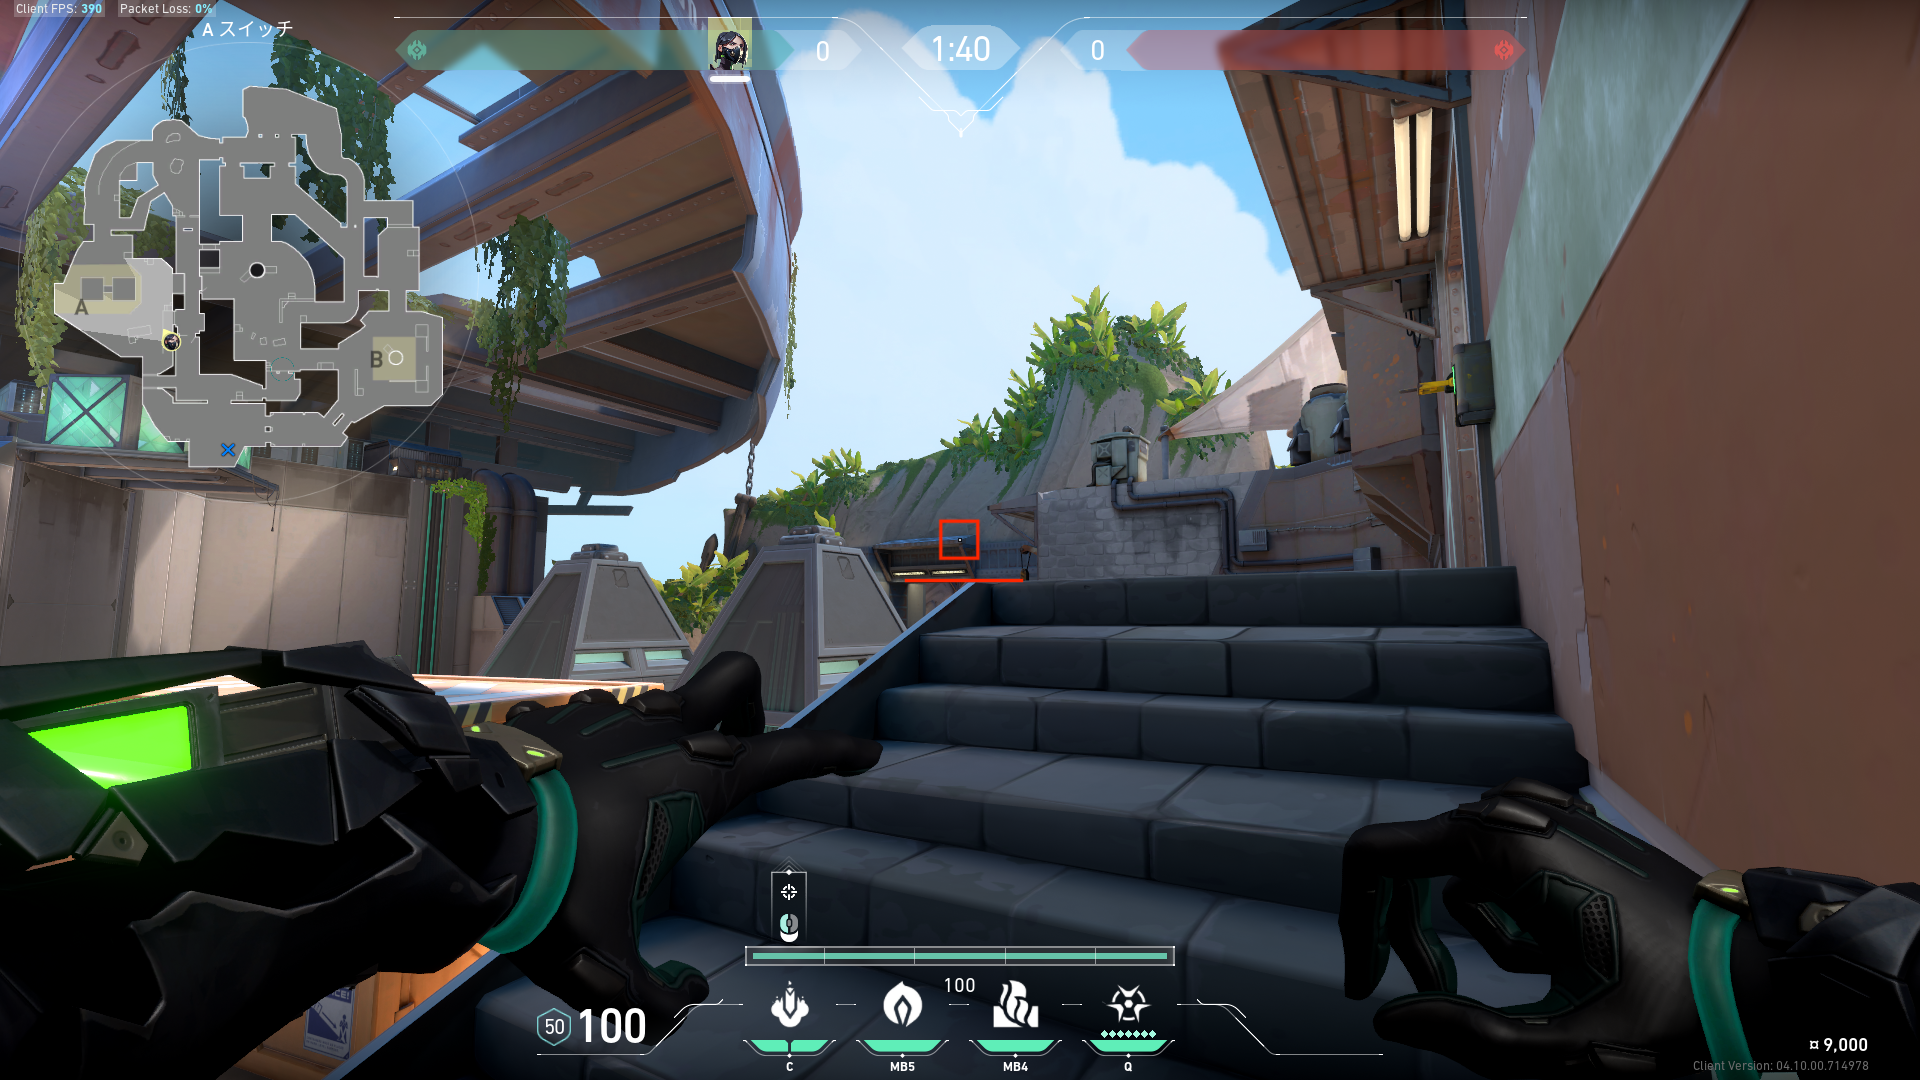
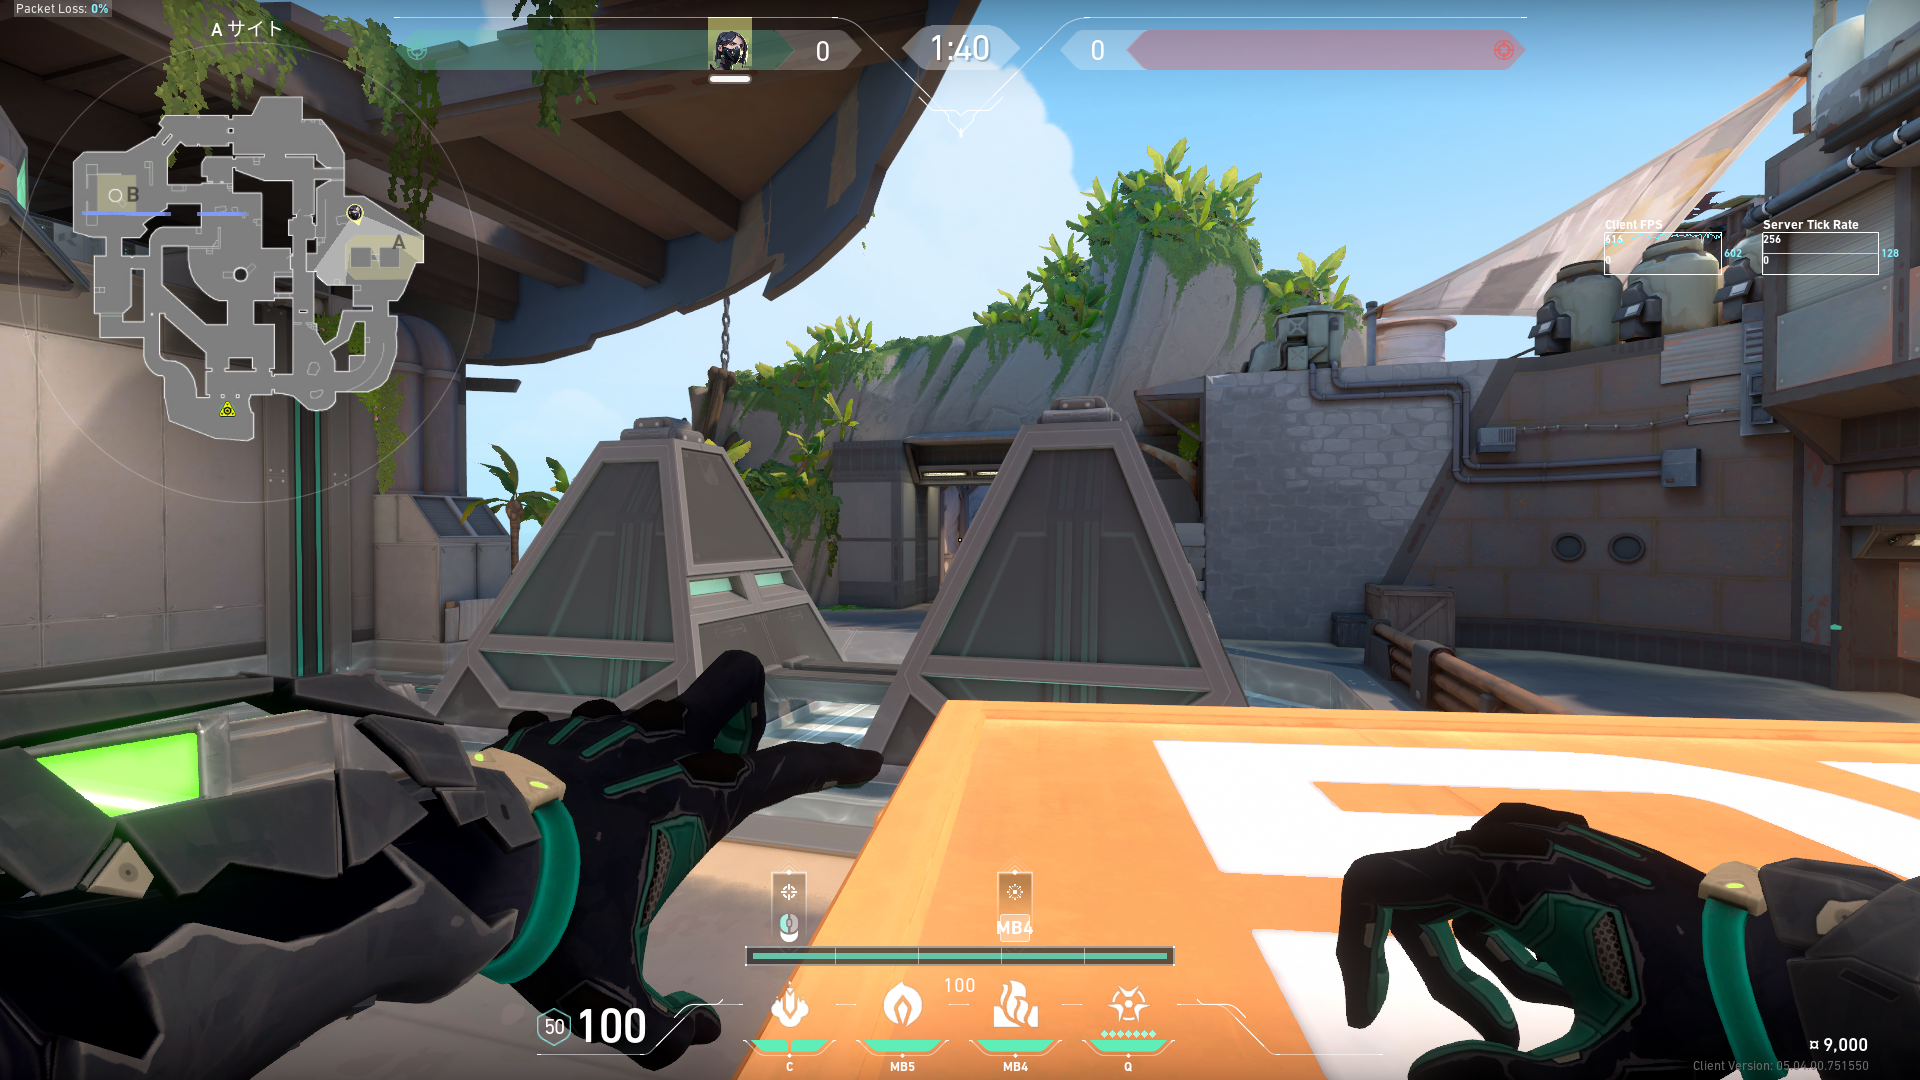
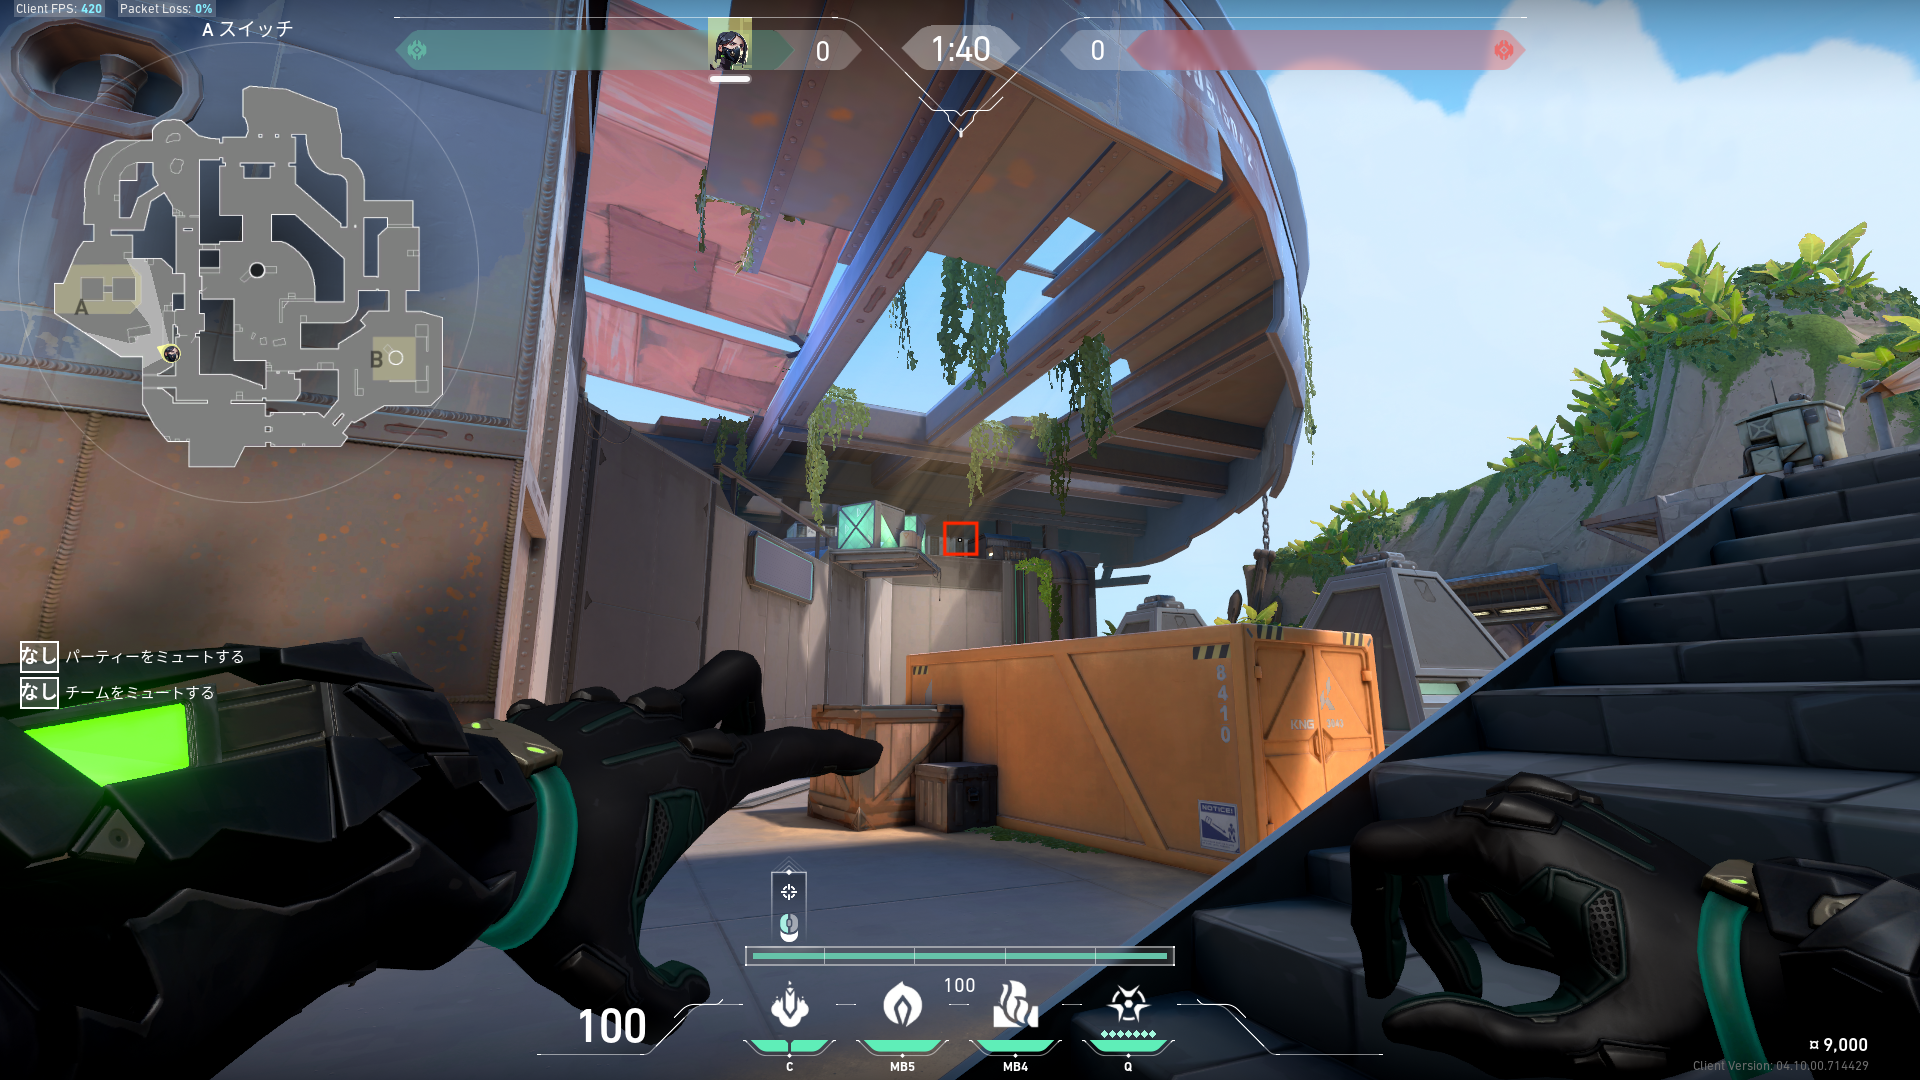
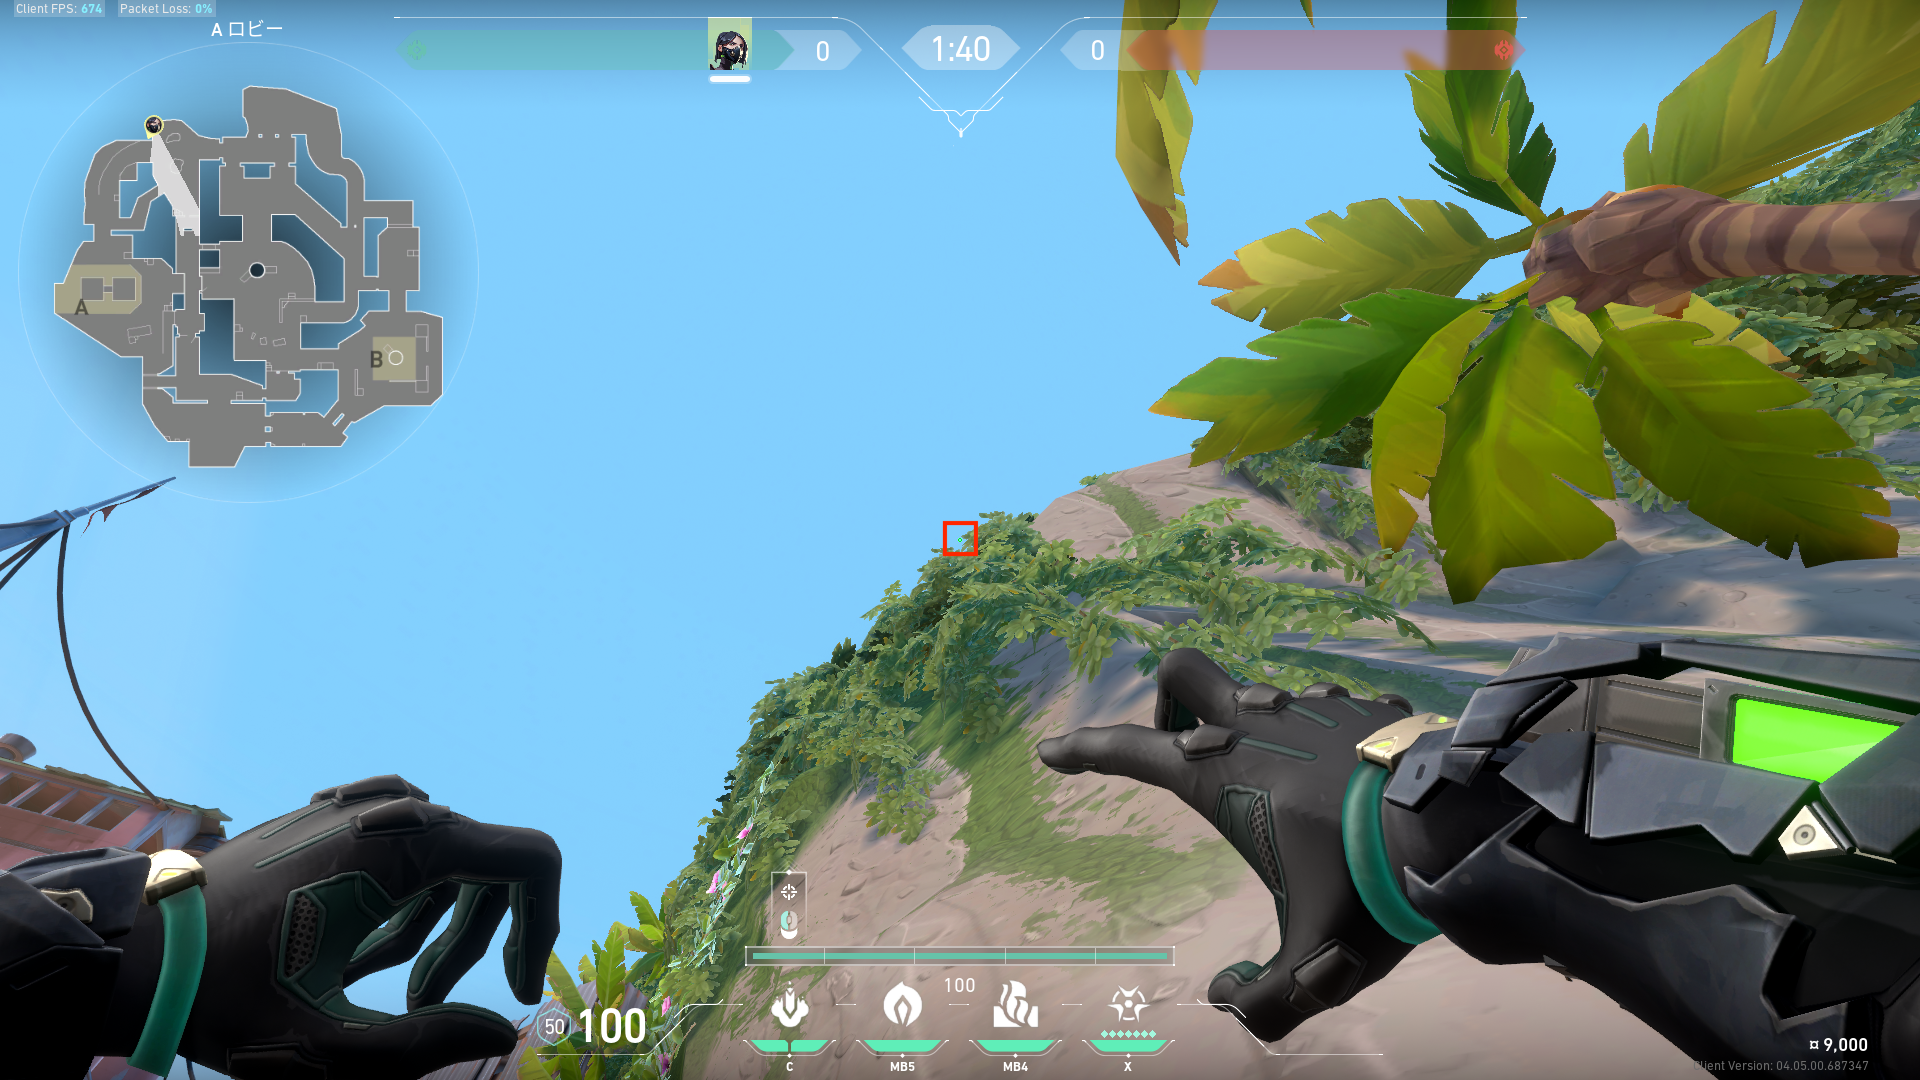
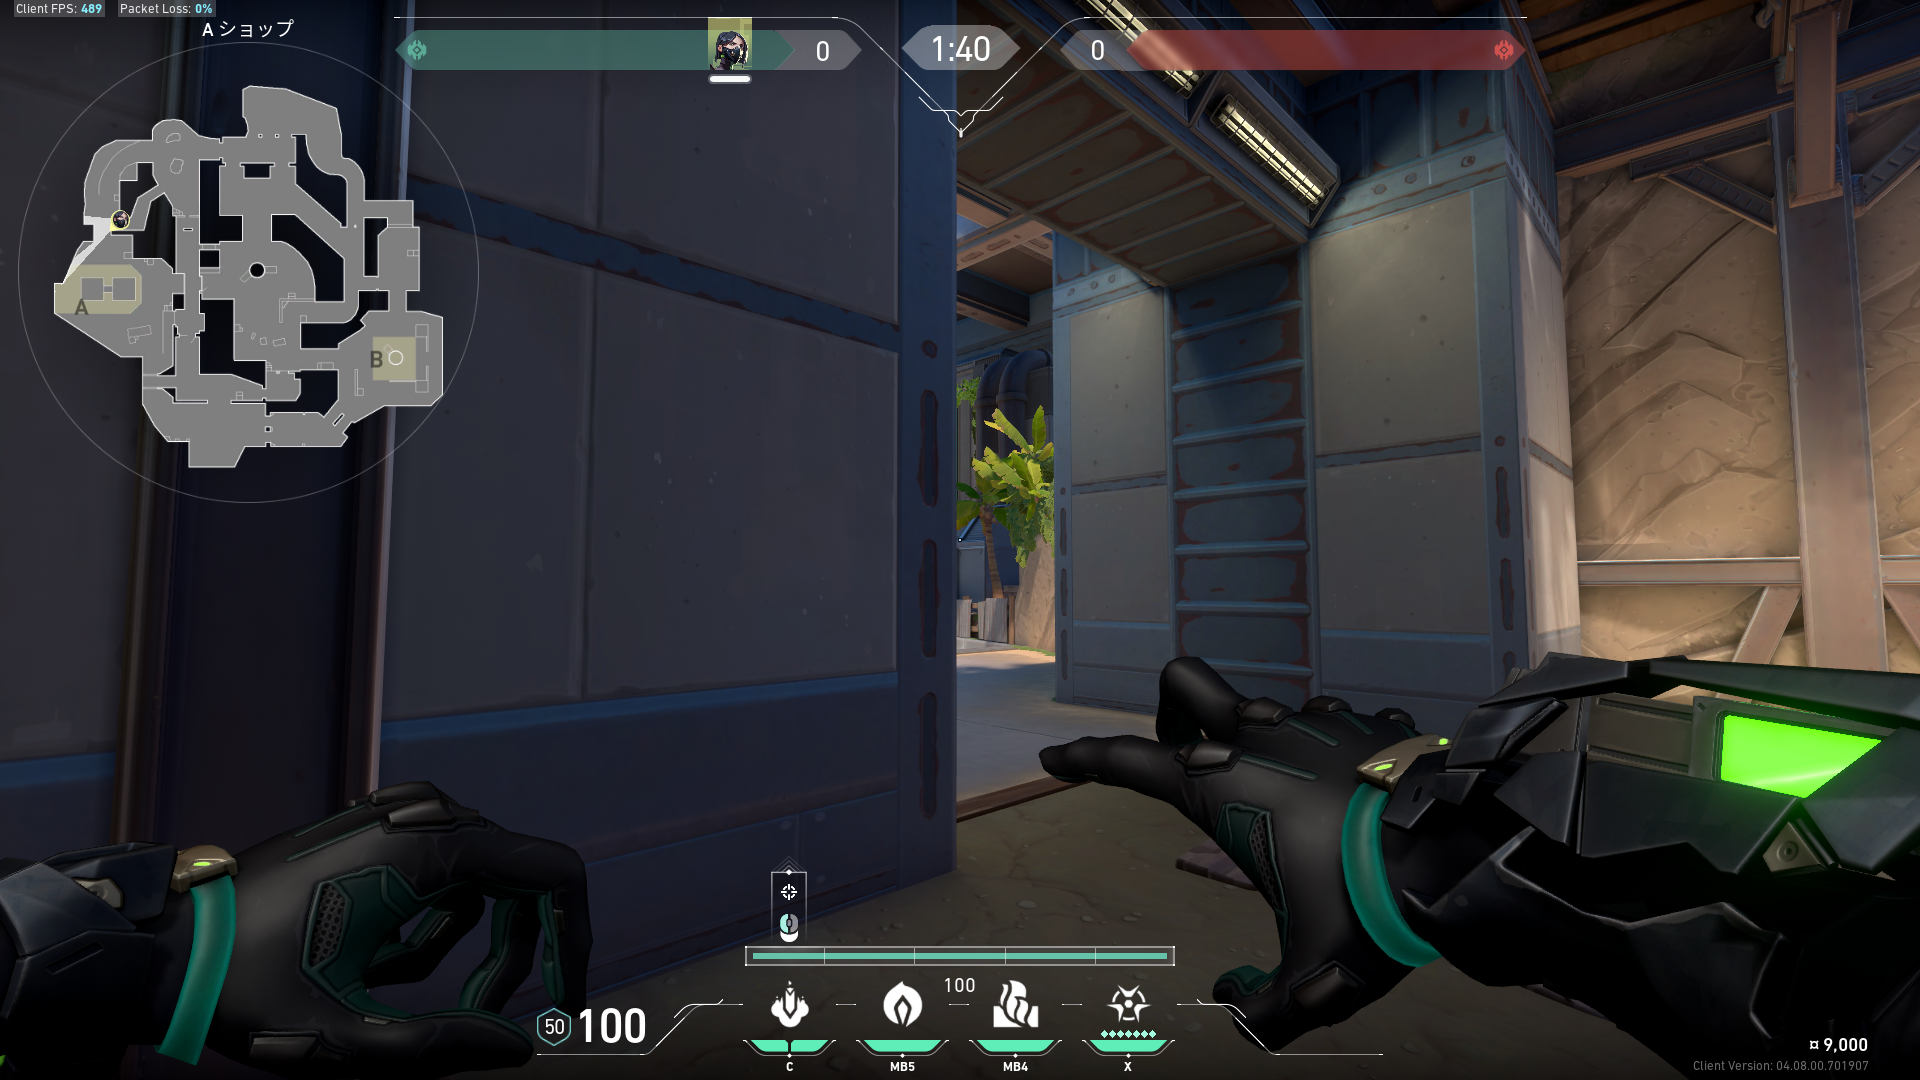
 Preview 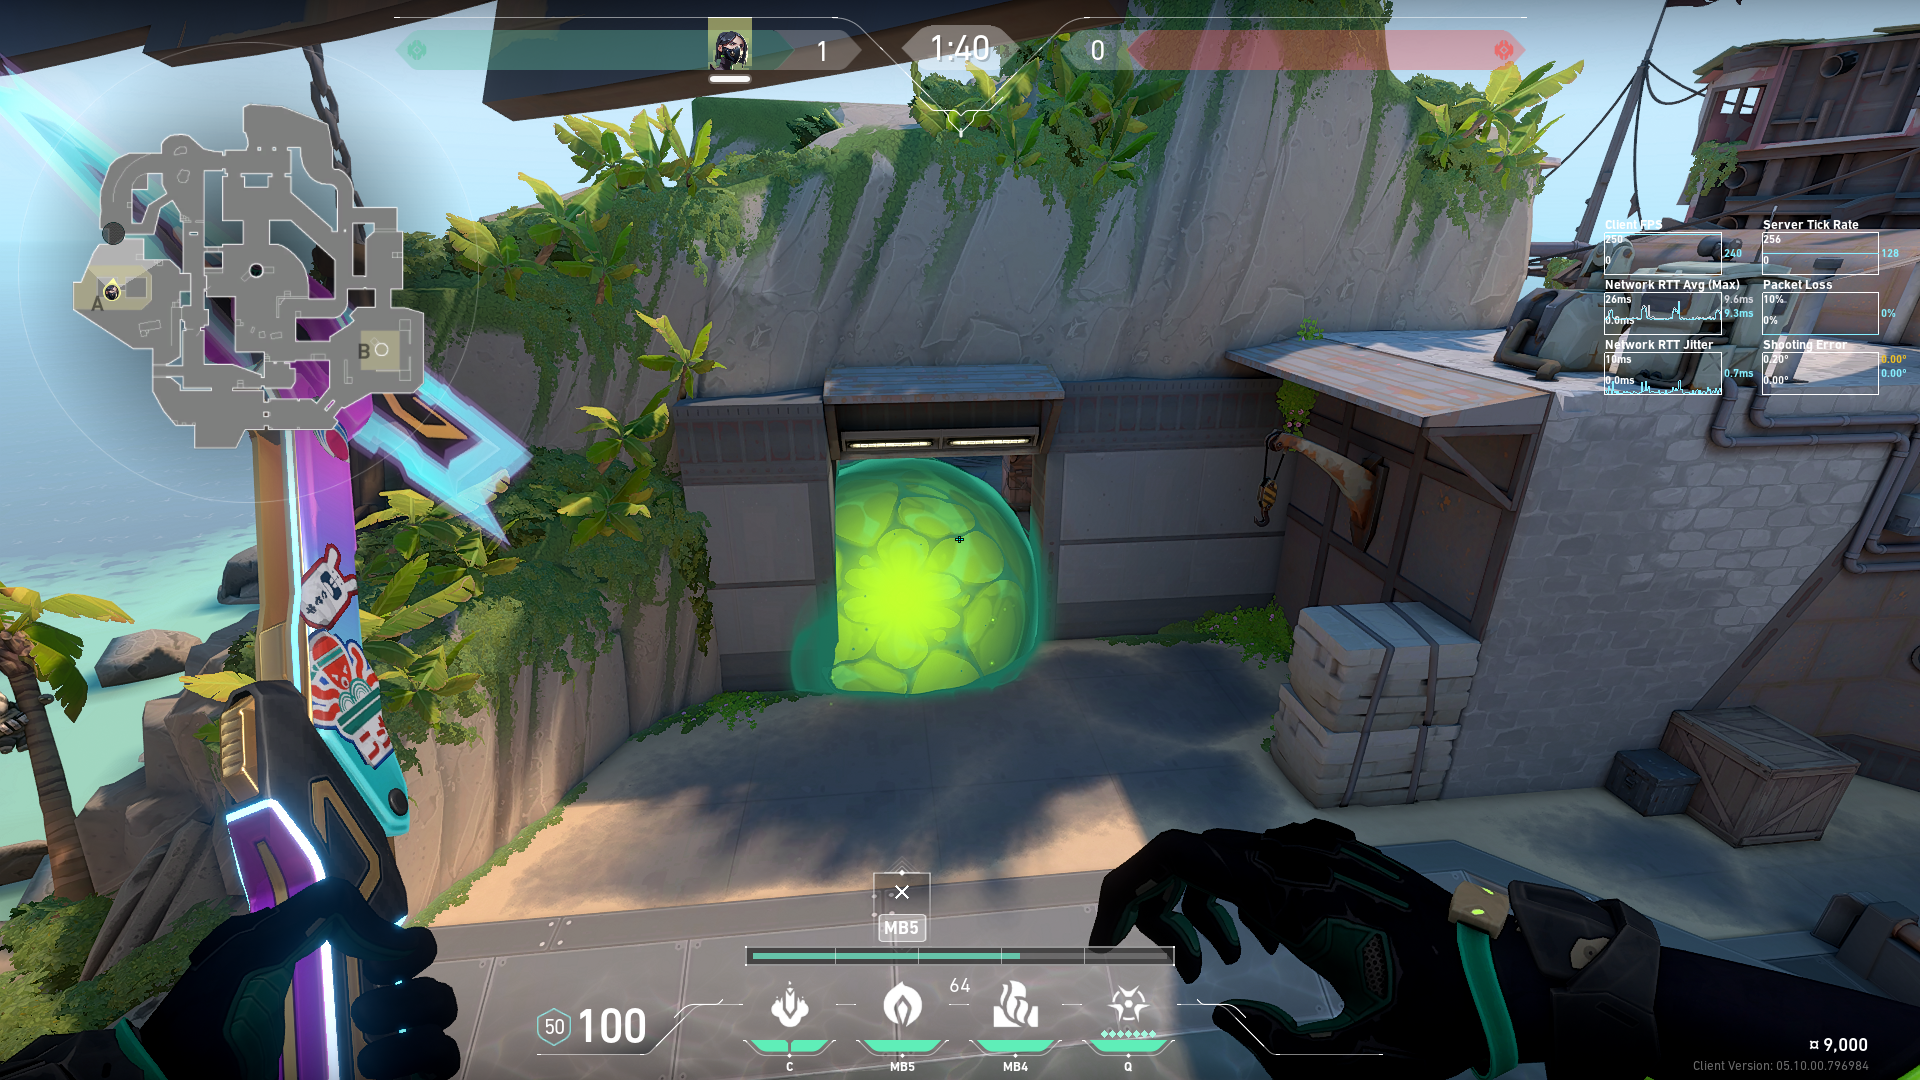 Preview | A側メインへのポイズンクラウド |
 Preview 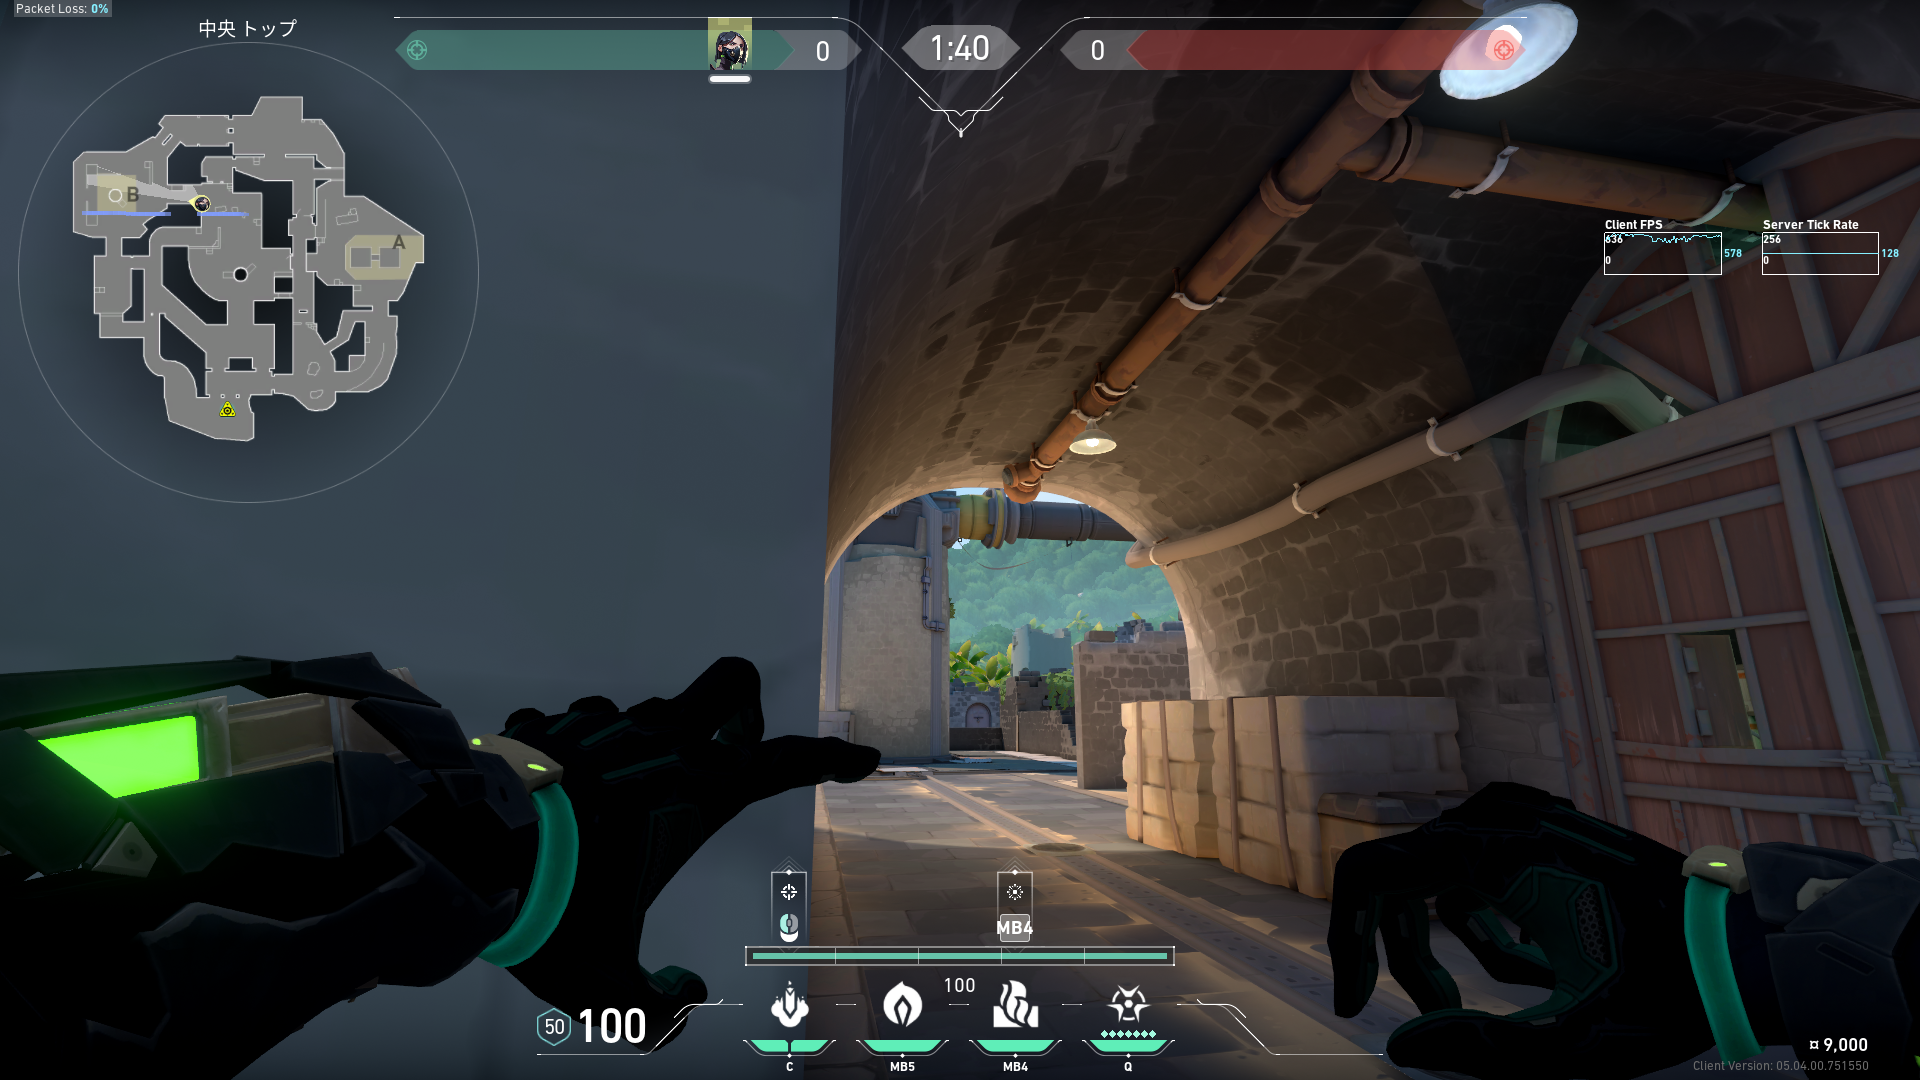 Preview 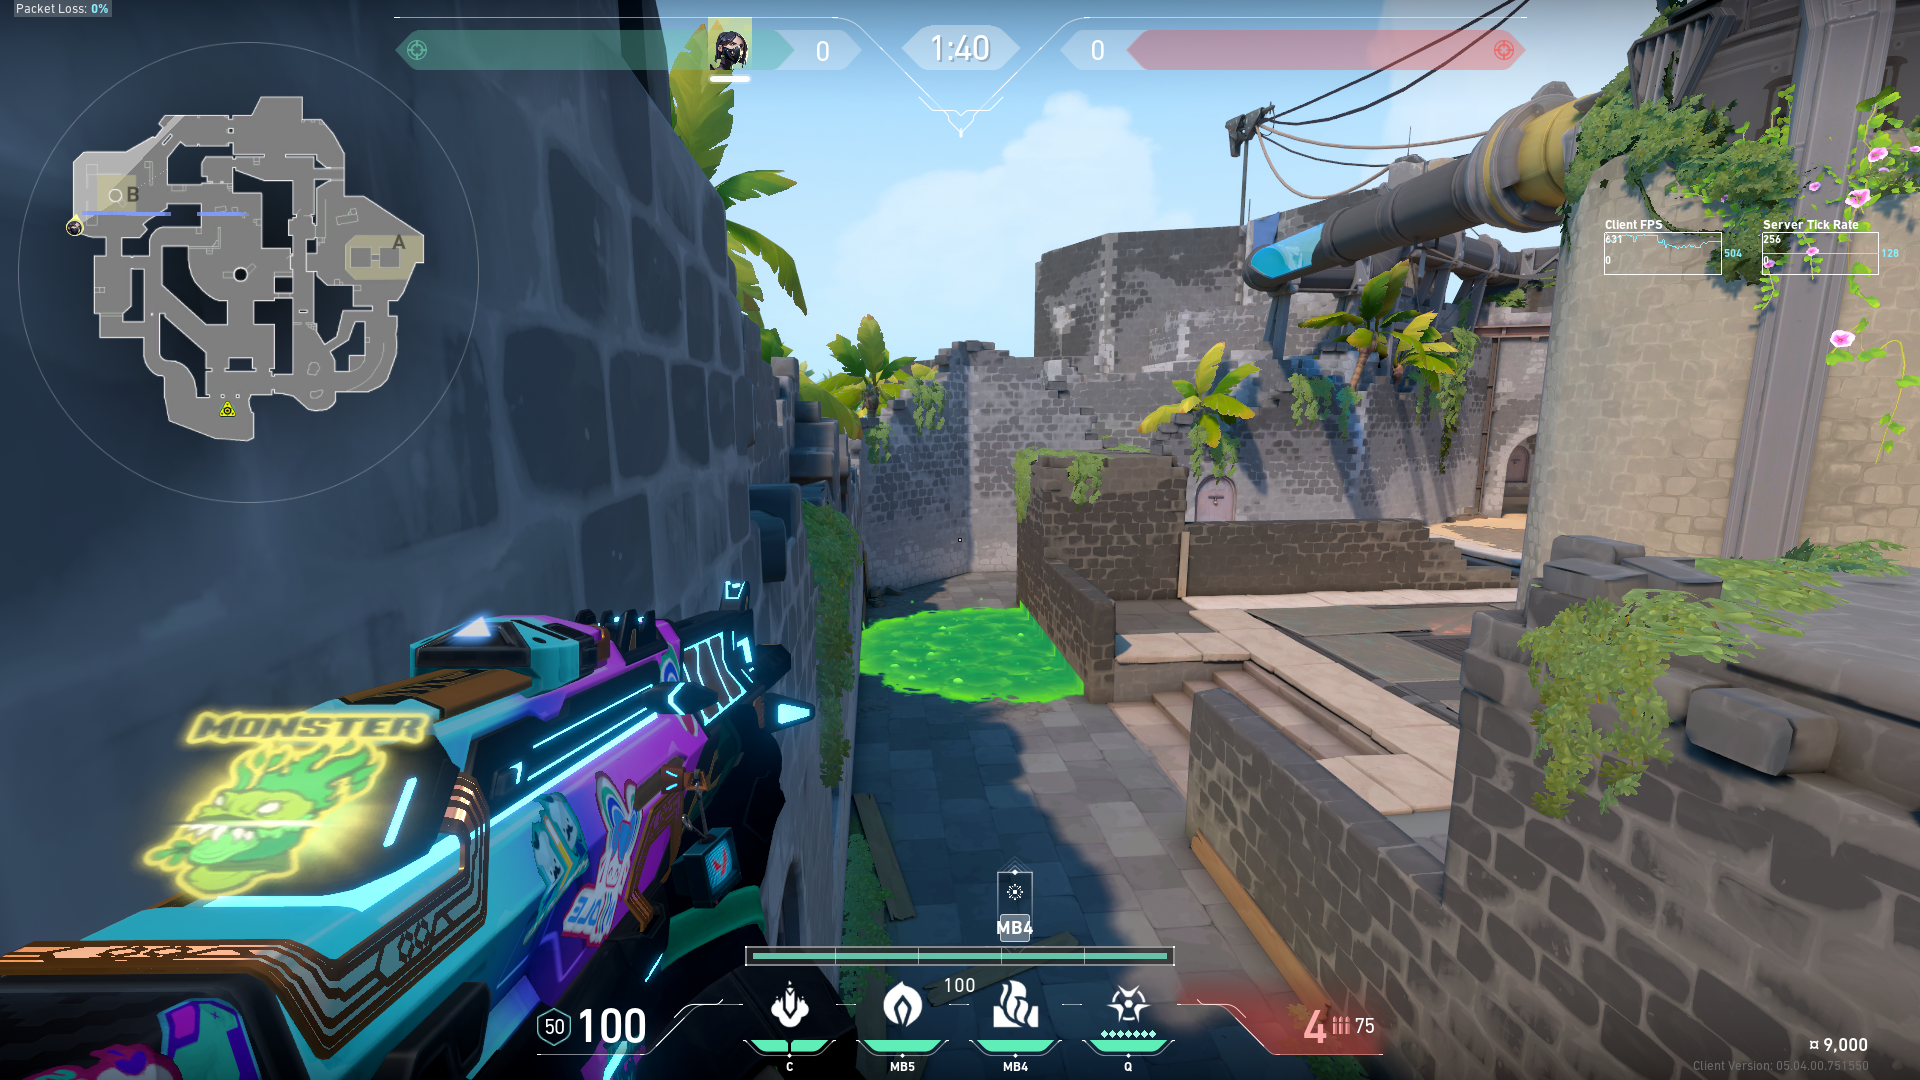 Preview  Preview  Preview 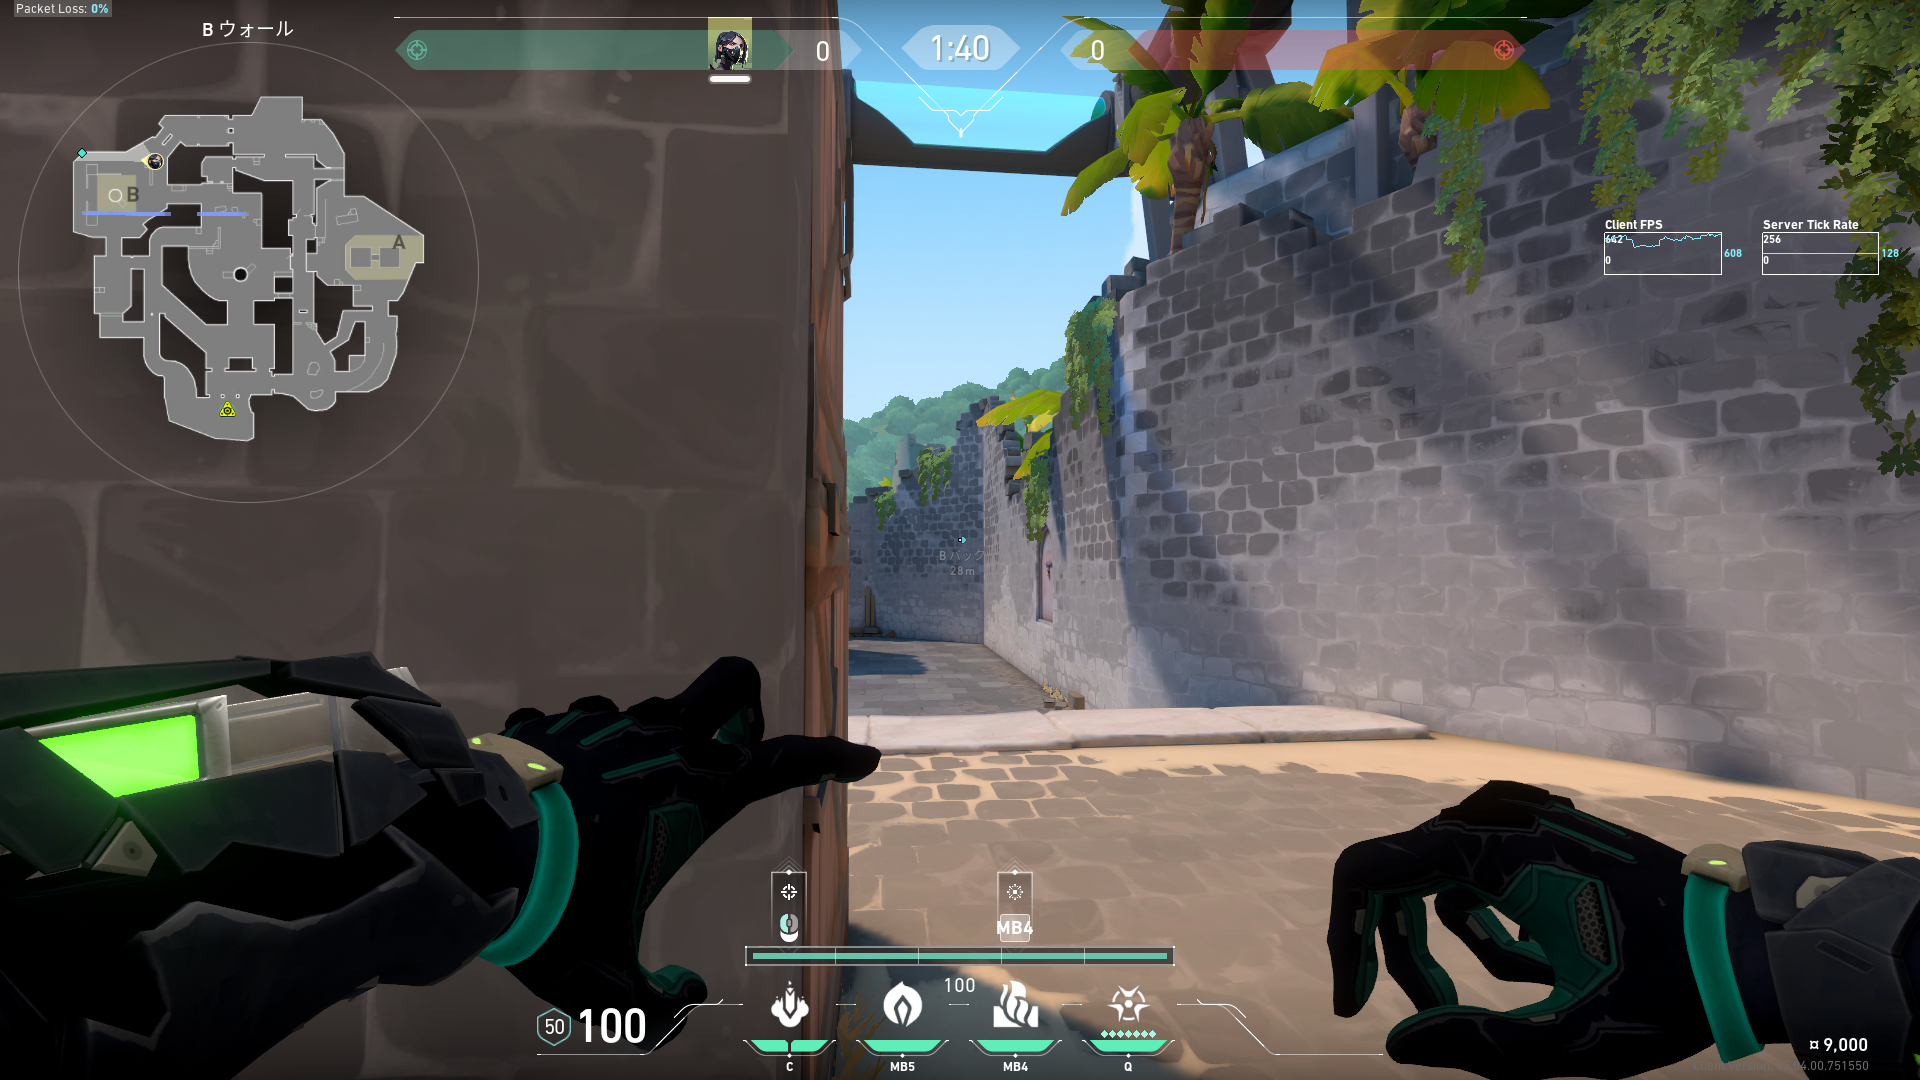 Preview  Preview | B側リテイク時のスネークバイト集。 |
 Preview 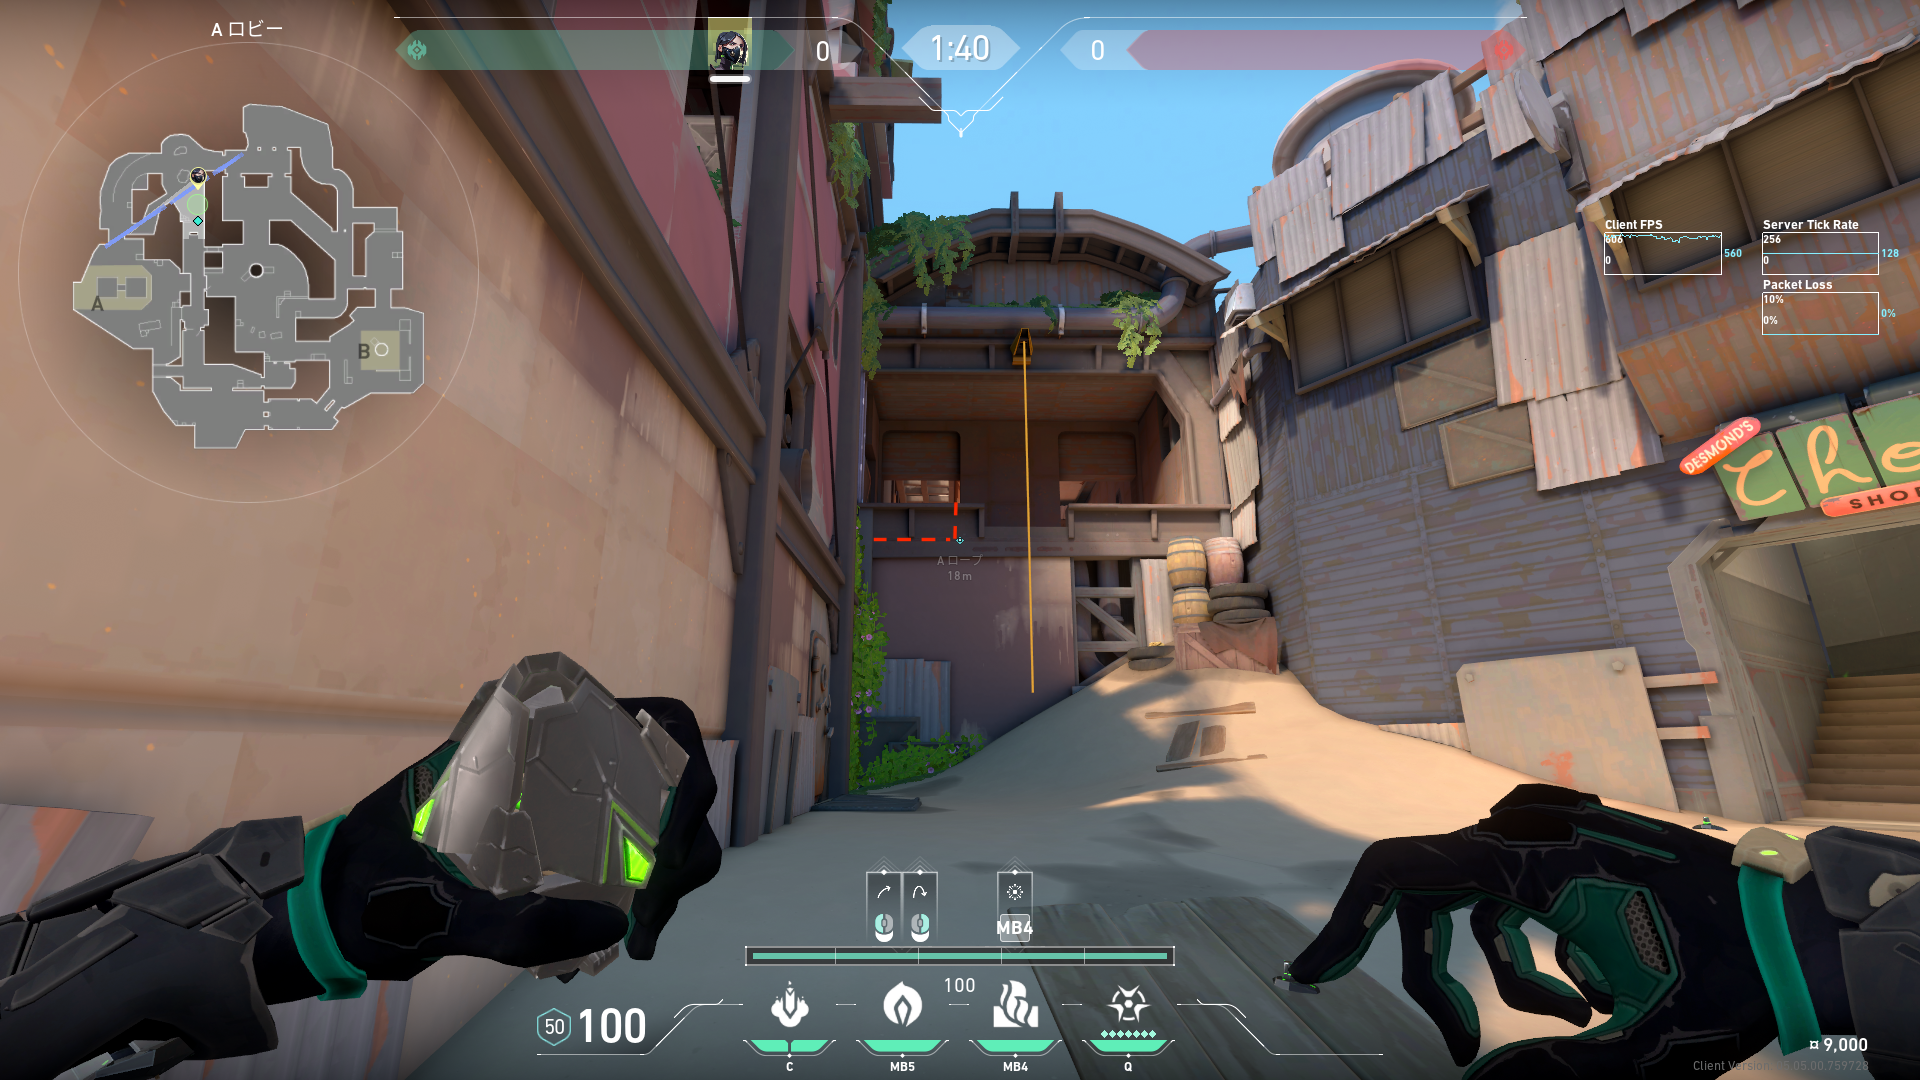 Preview | メタルを塞ぐポイズンクラウド |
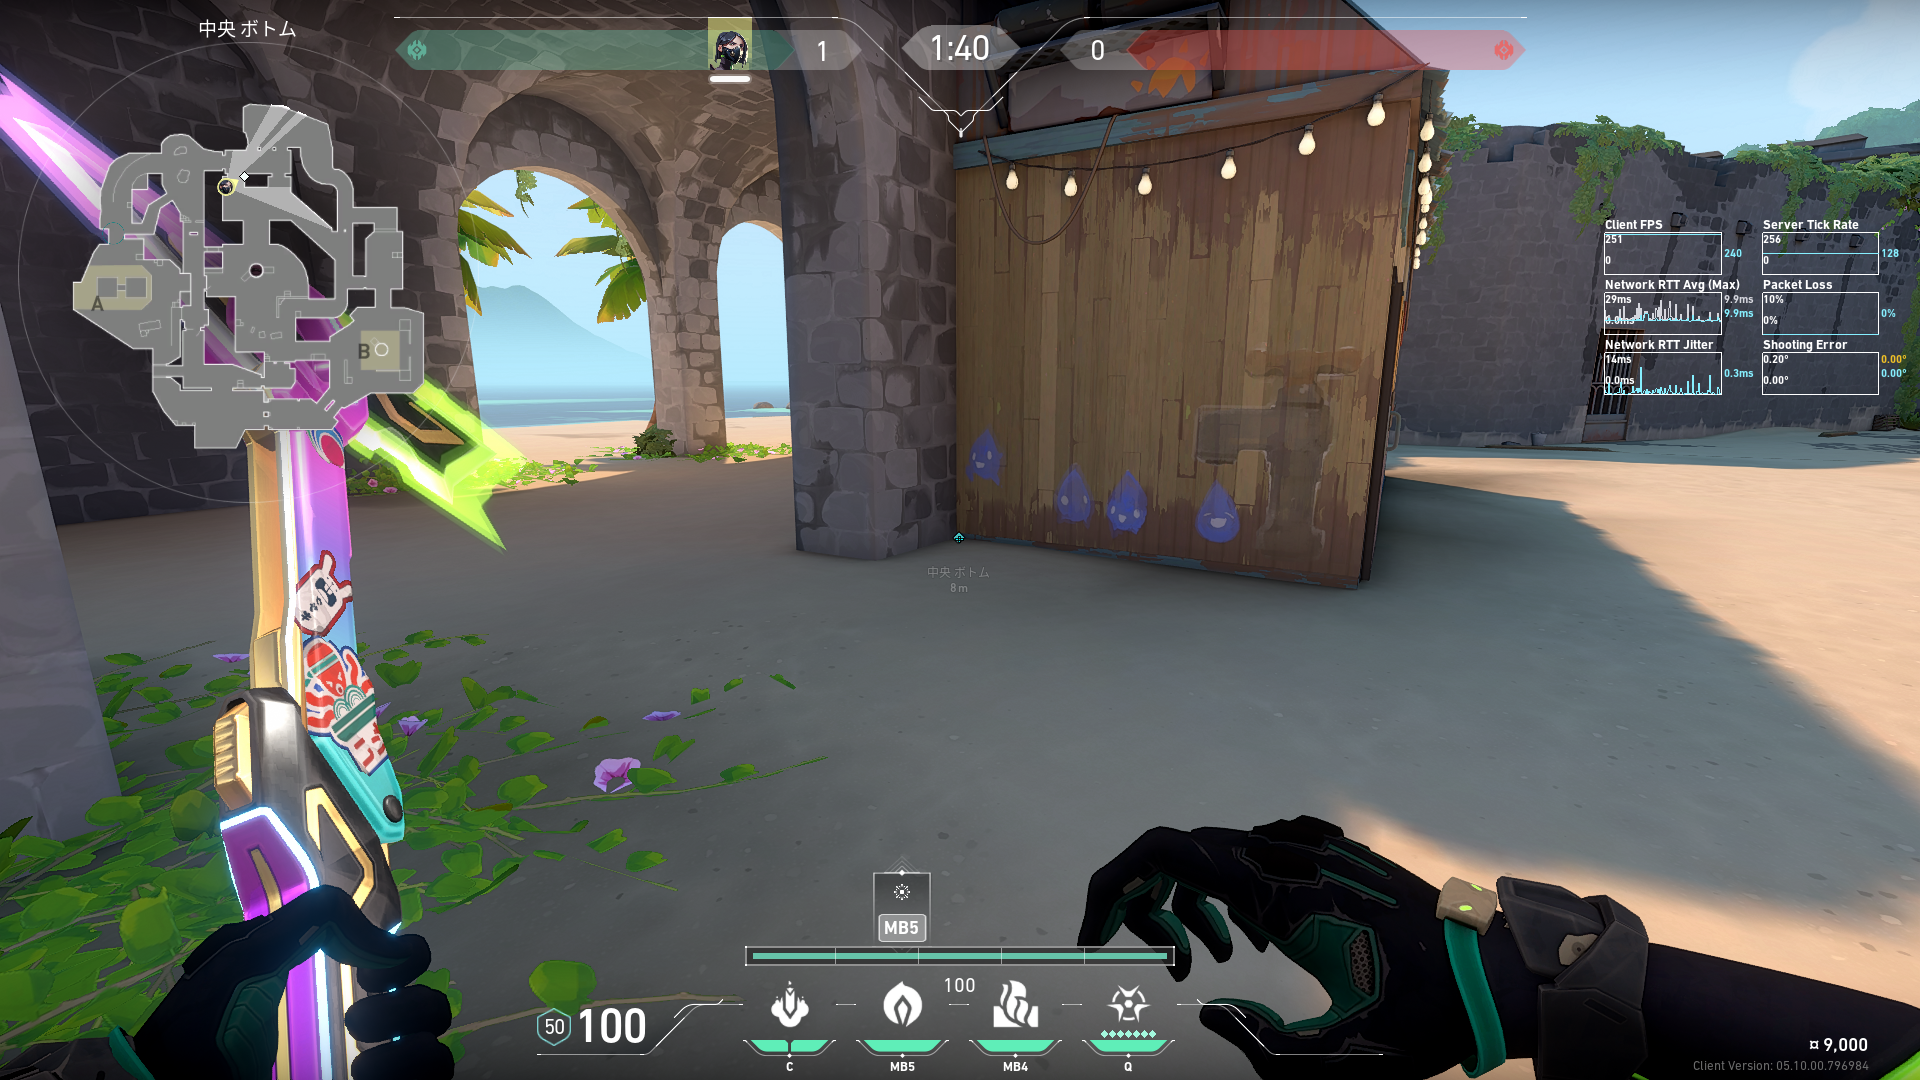
 Preview 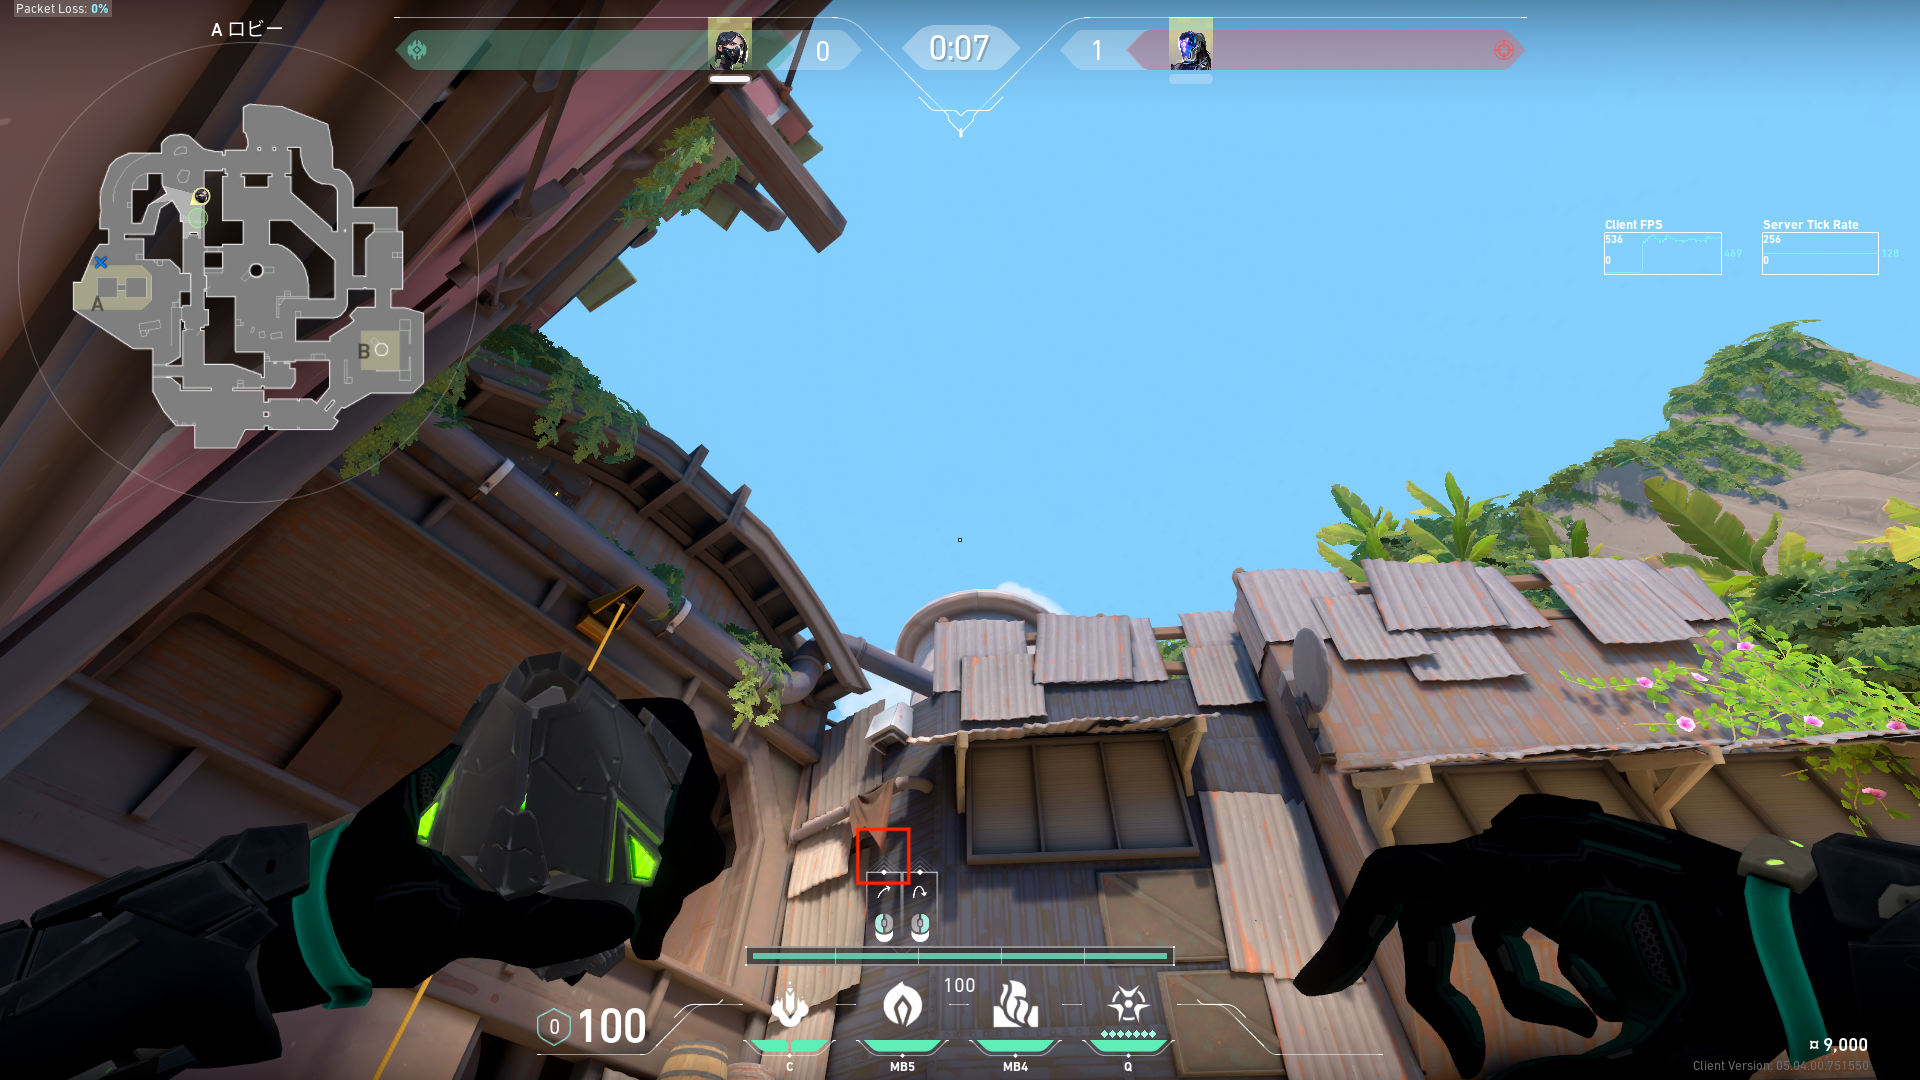 Preview | ピラミッド横の射線を塞ぐポイズンクラウド |
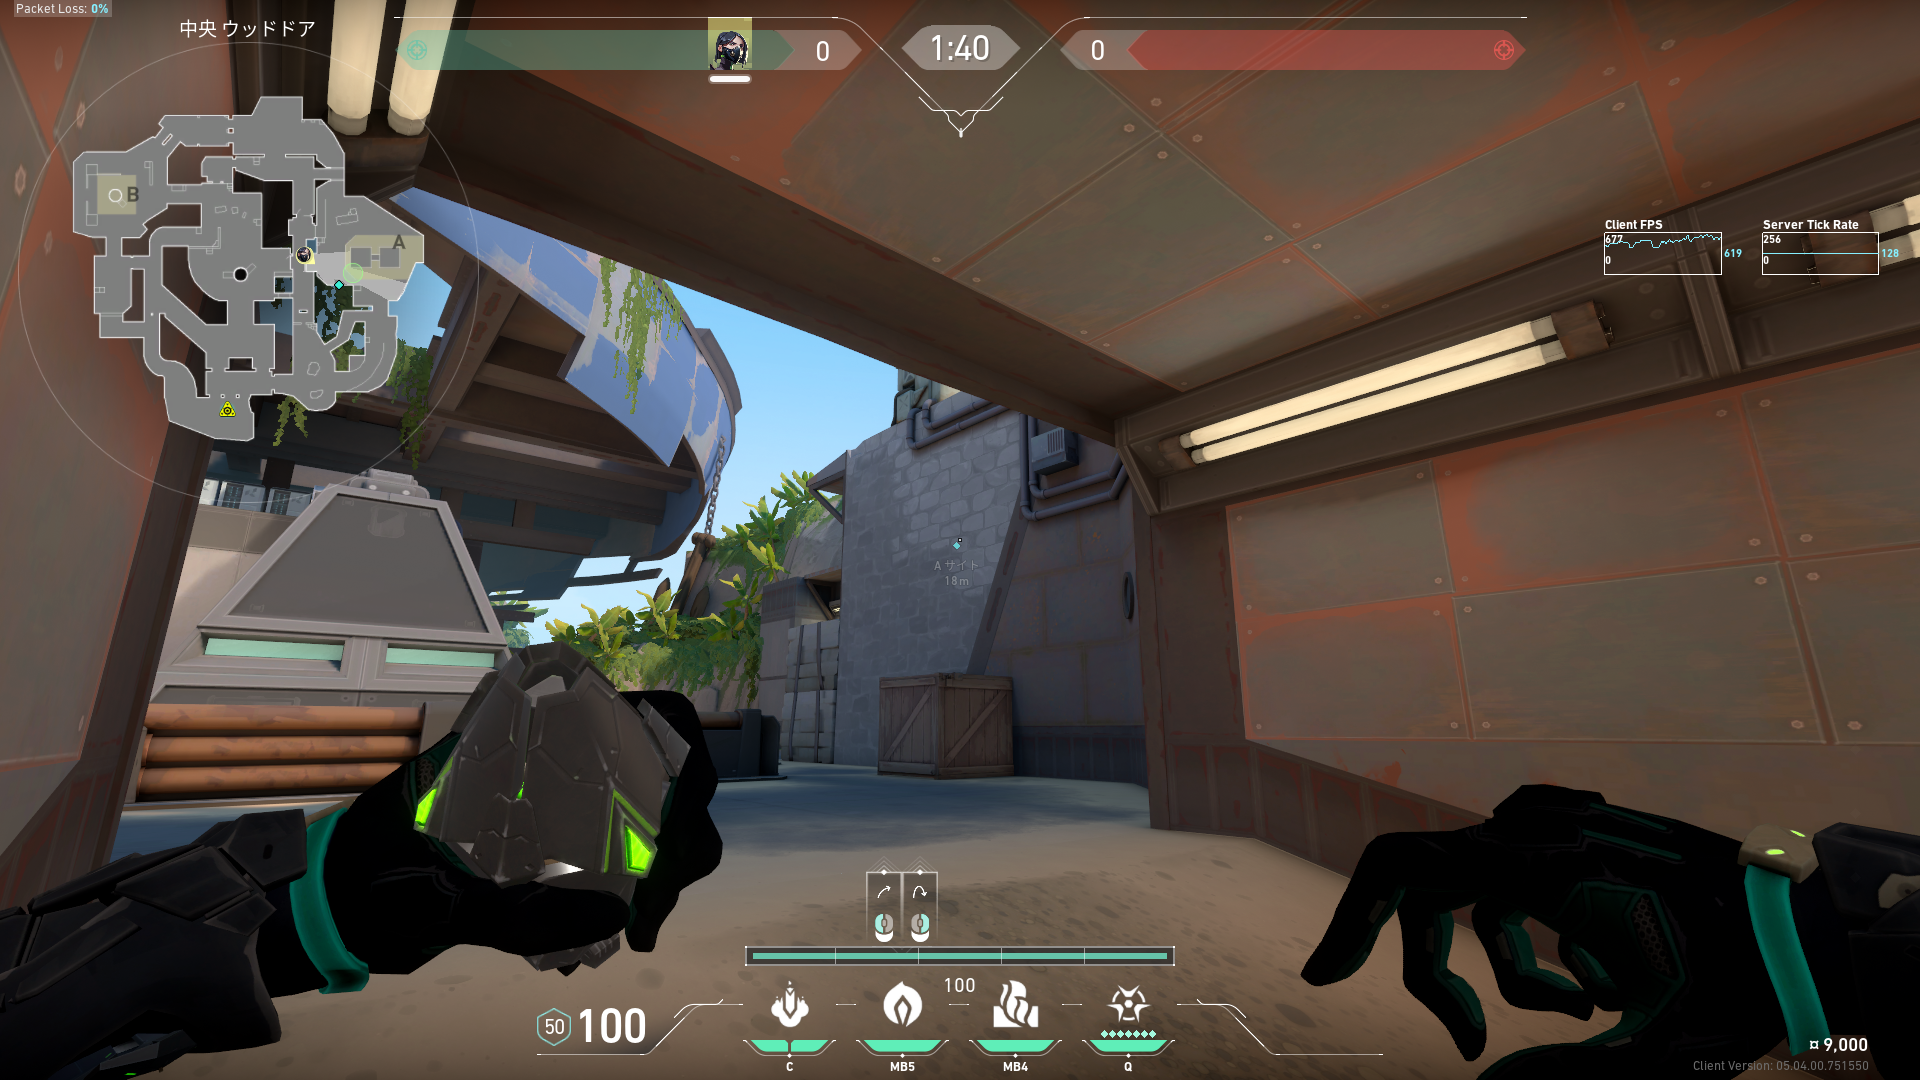
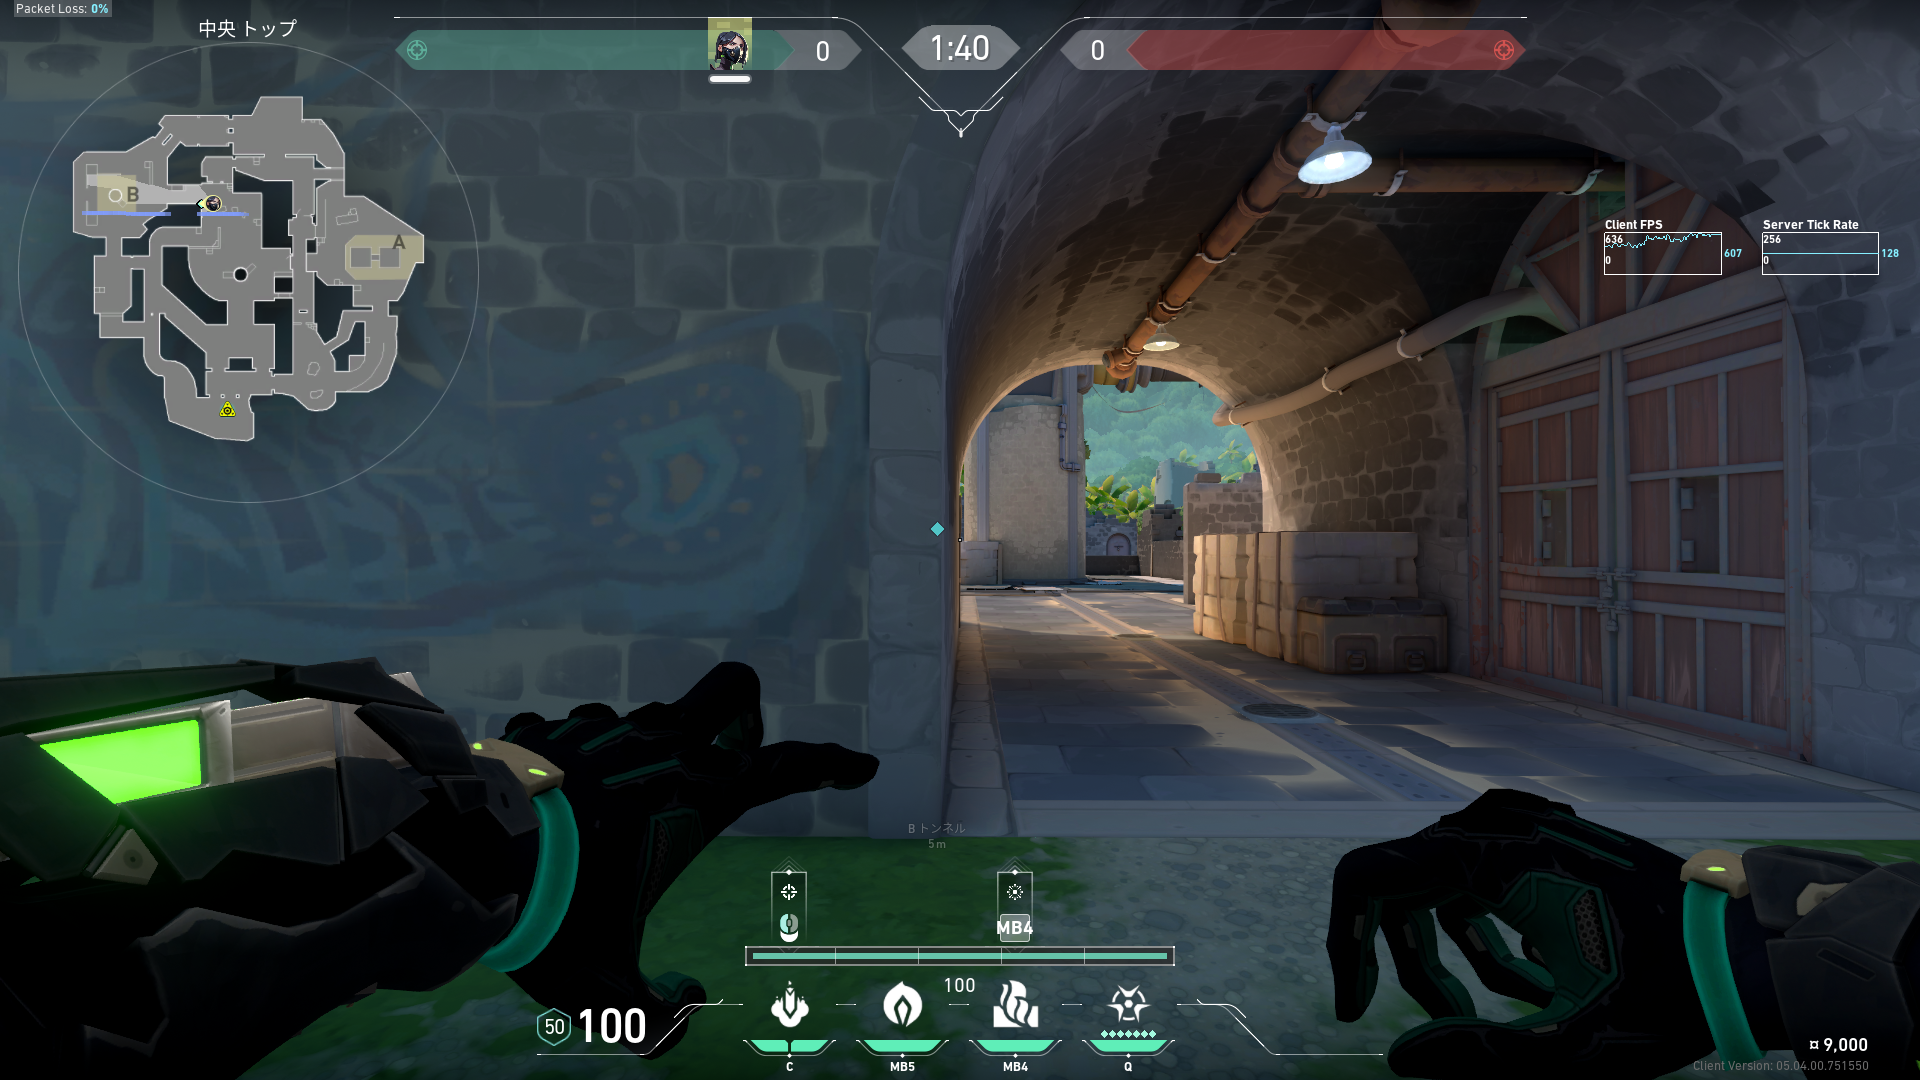
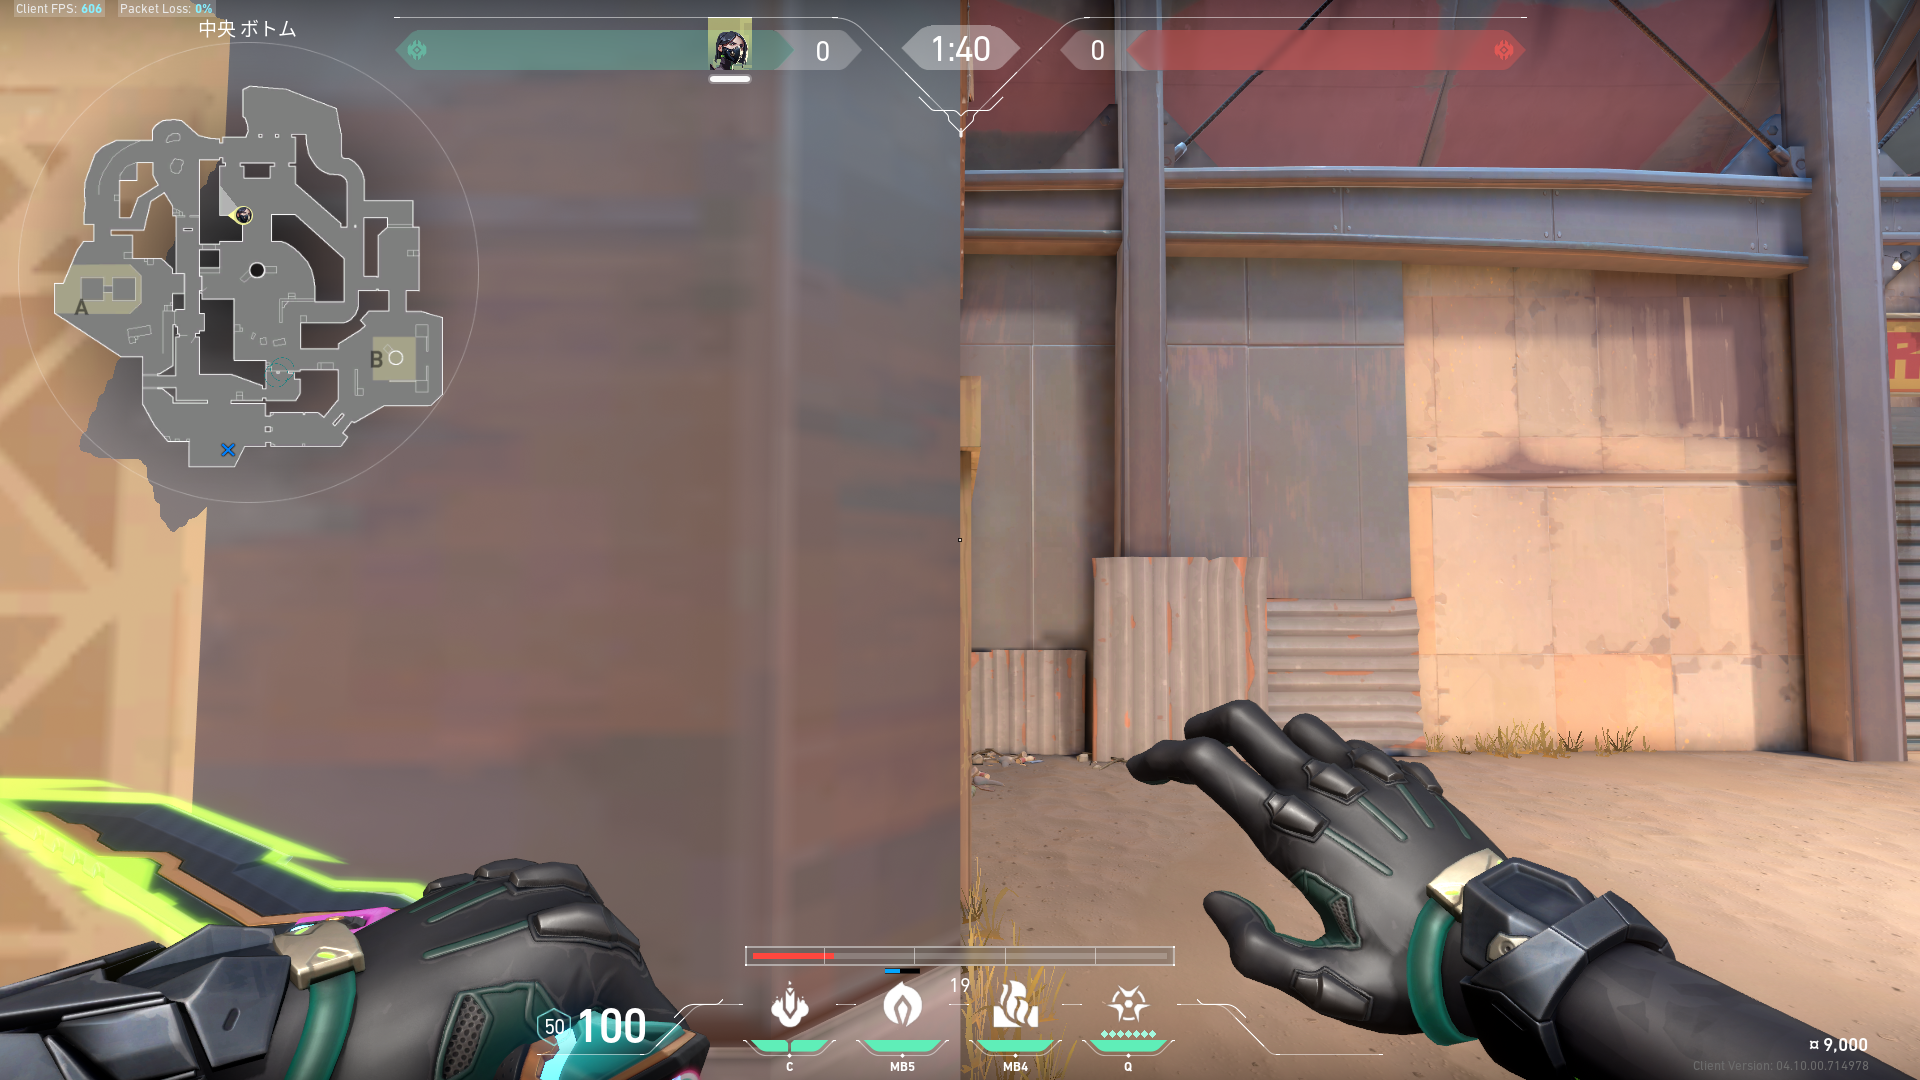 Preview 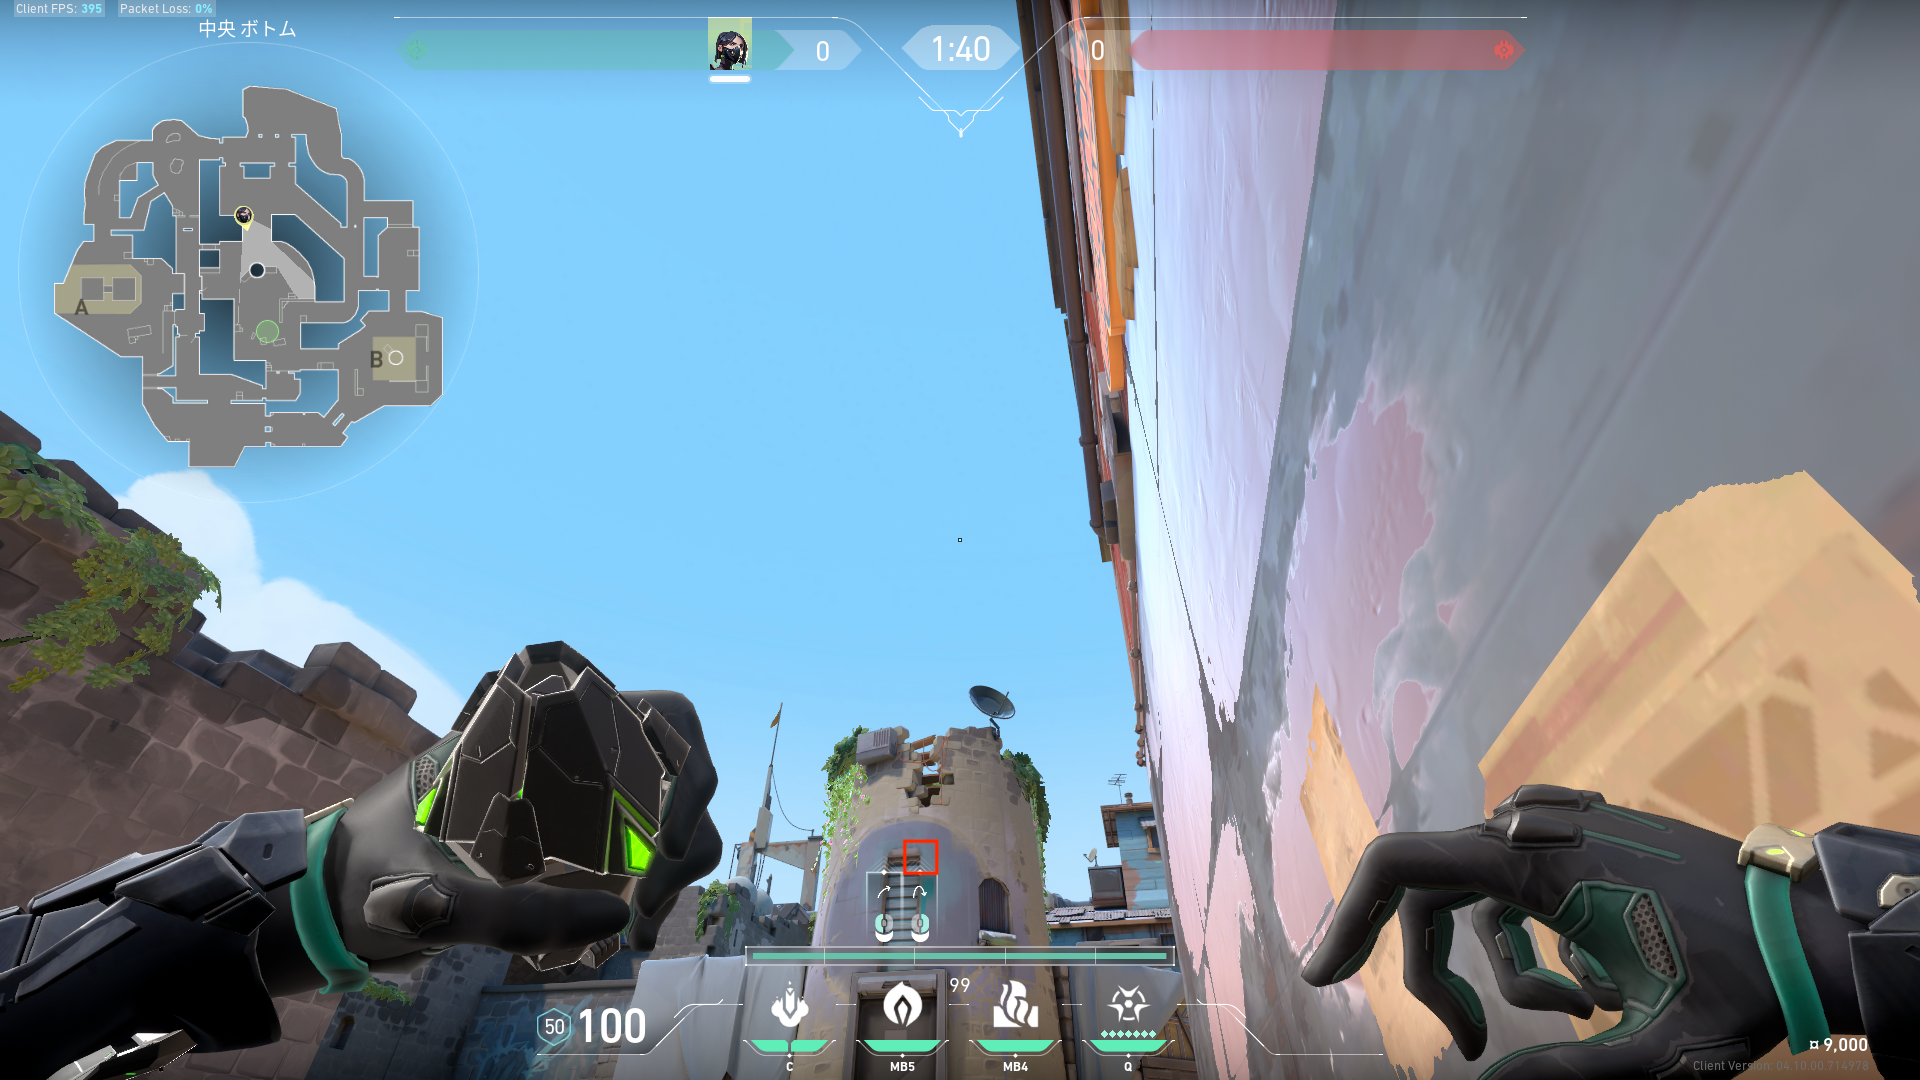 Preview | ミッドスモークその1 |
 Preview 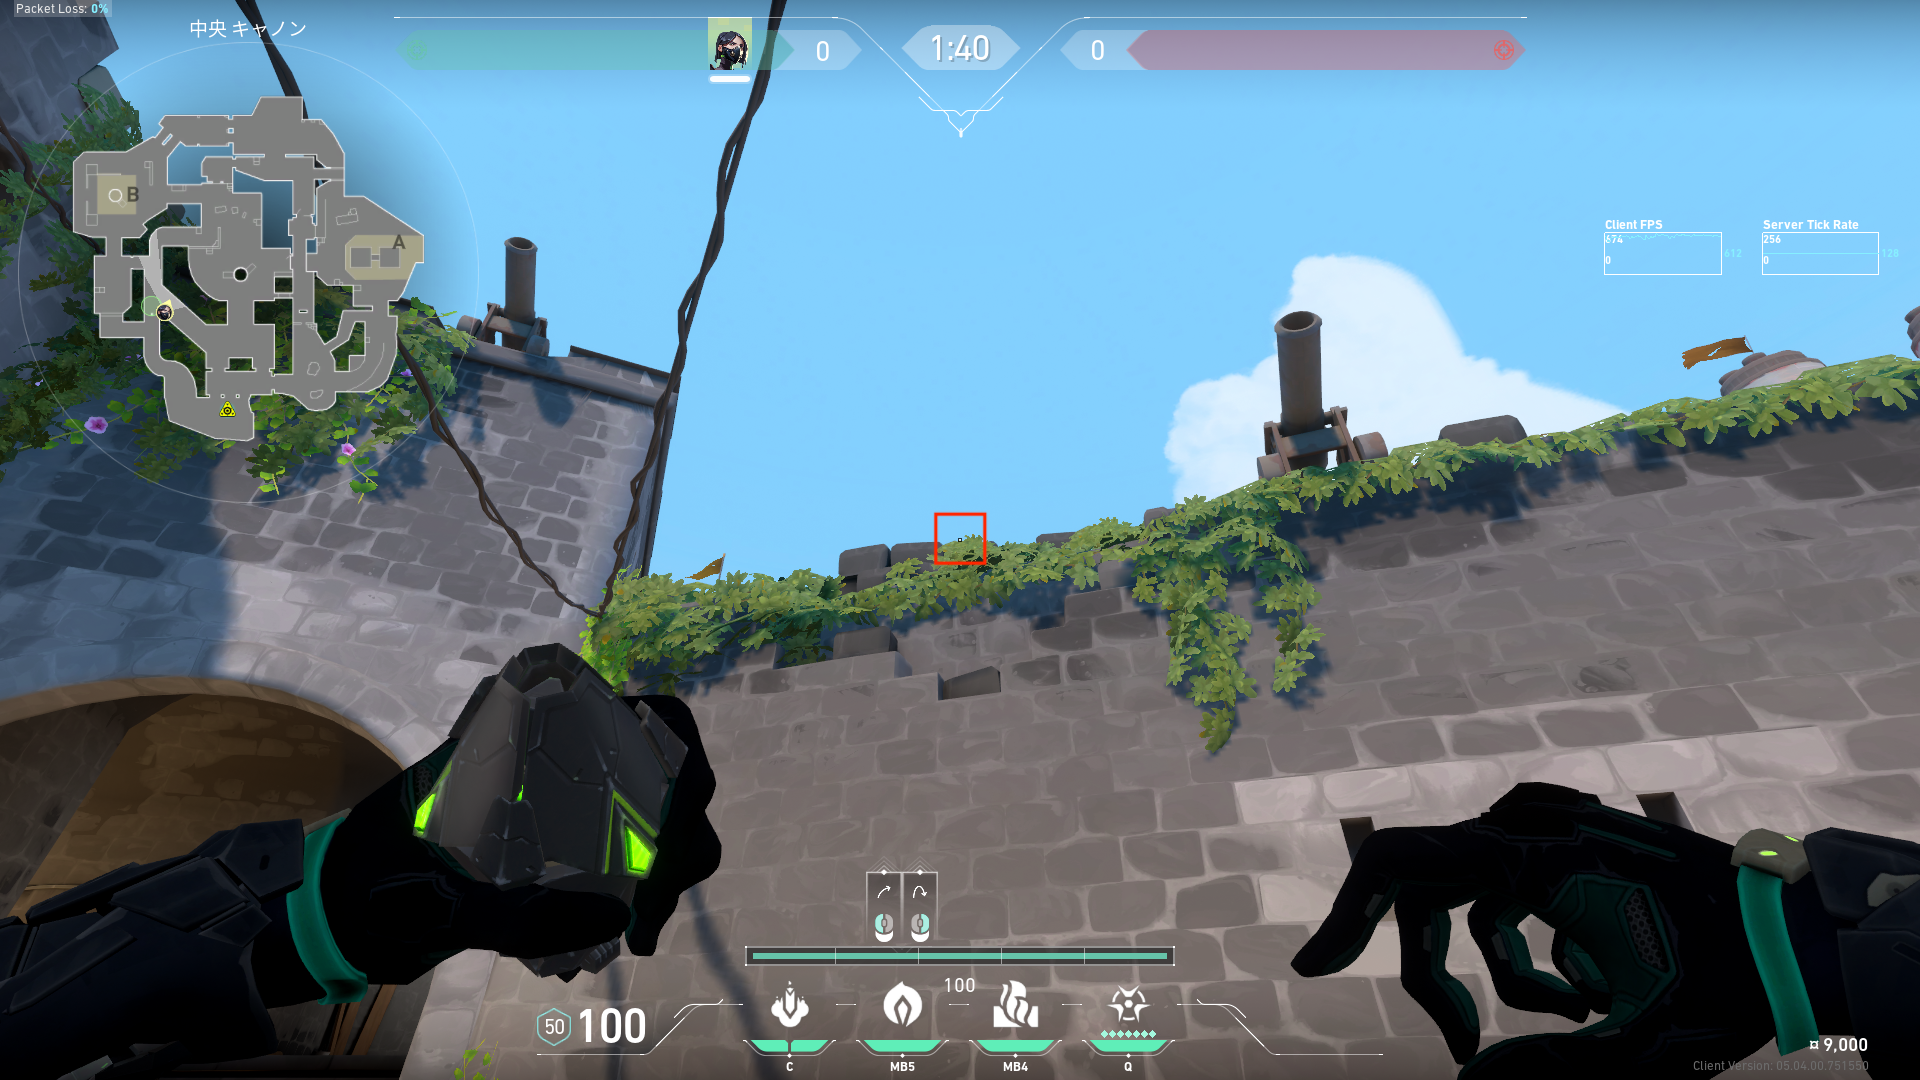 Preview 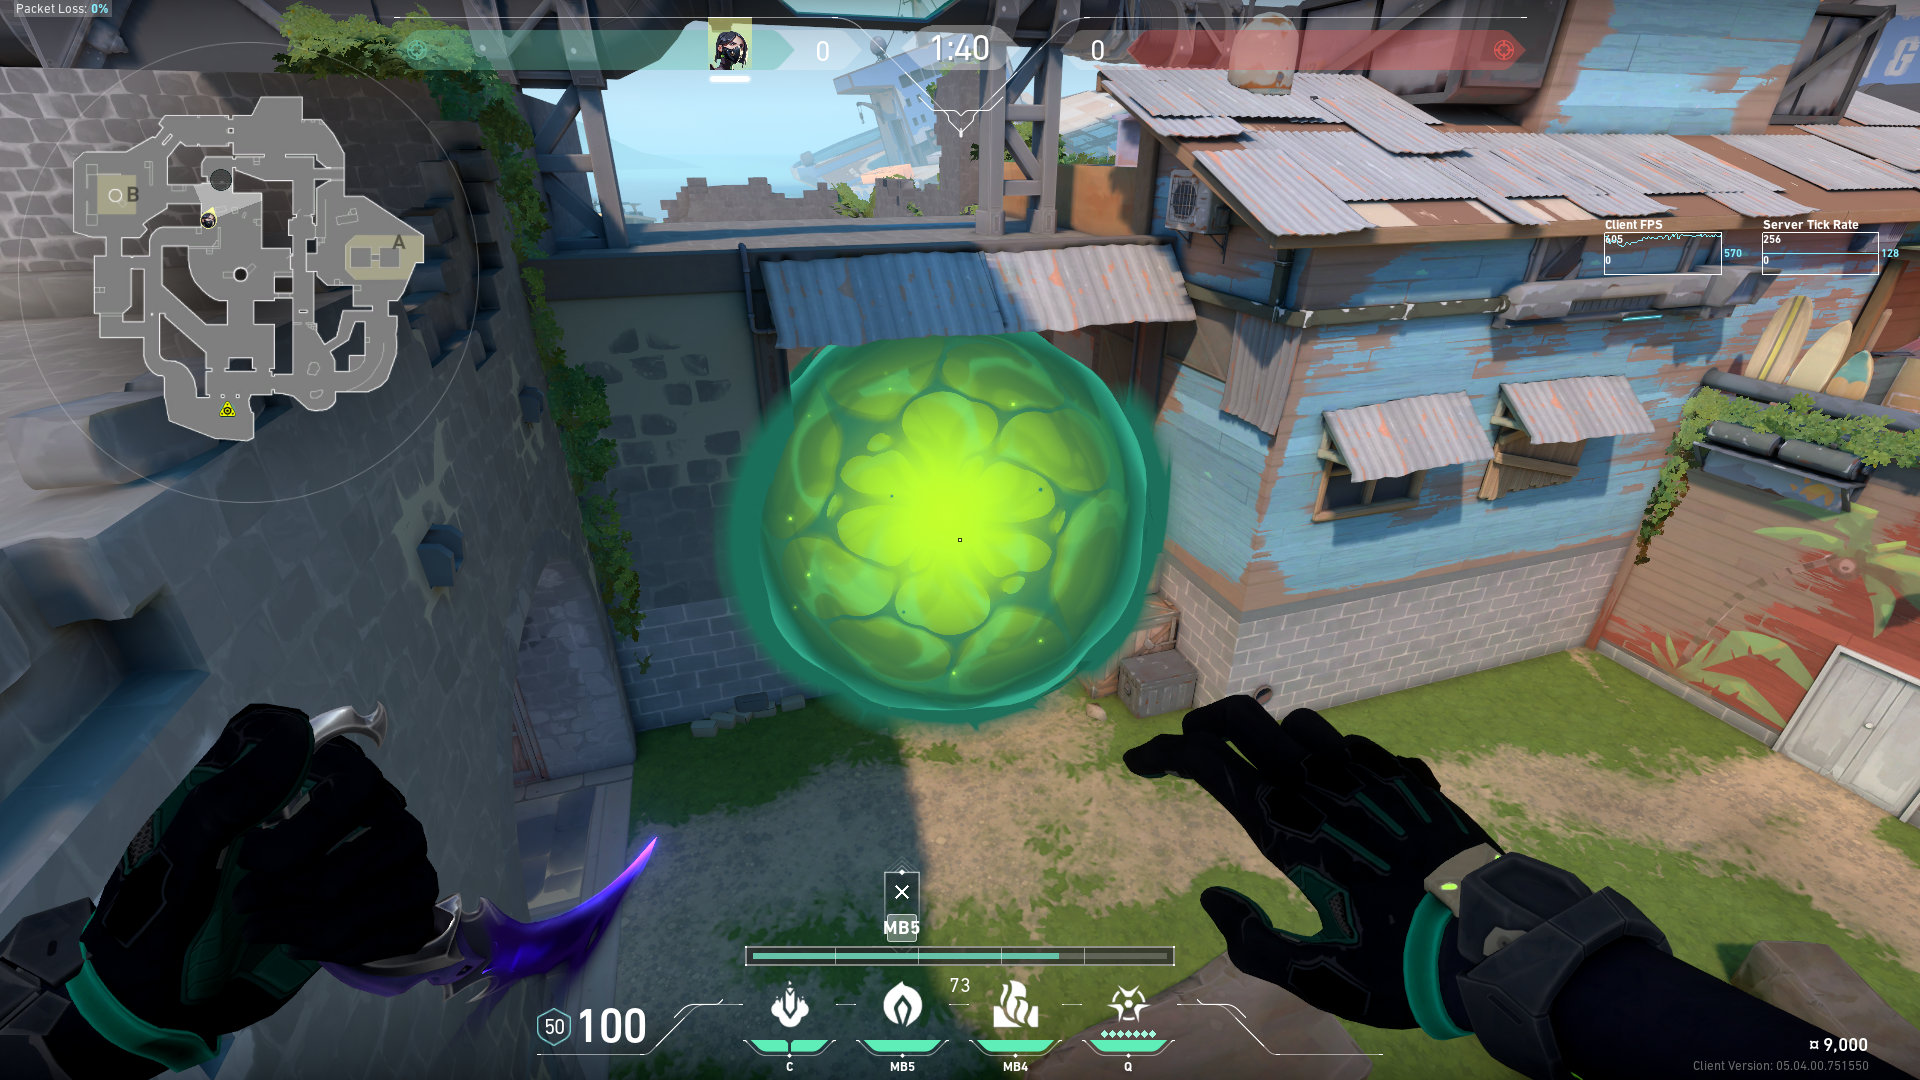 Preview | ミッドスモークその2 |
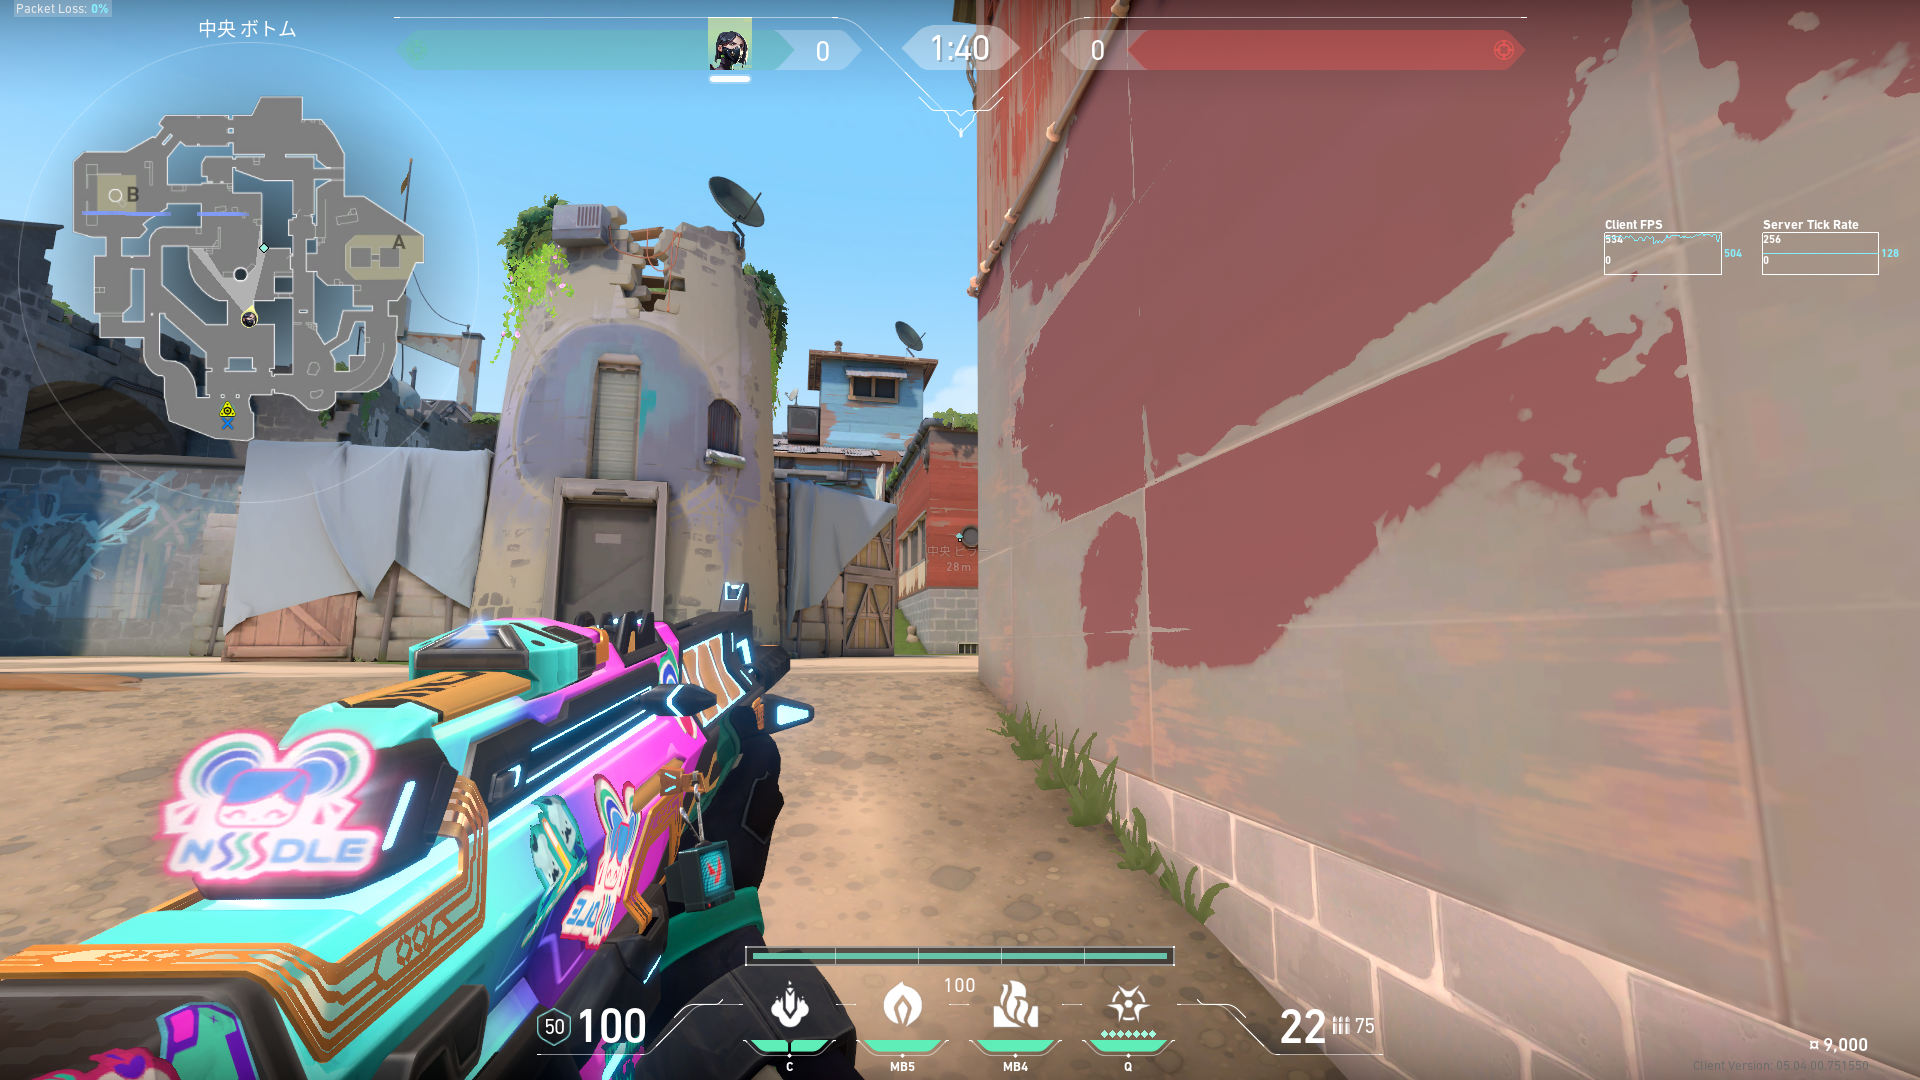 Preview 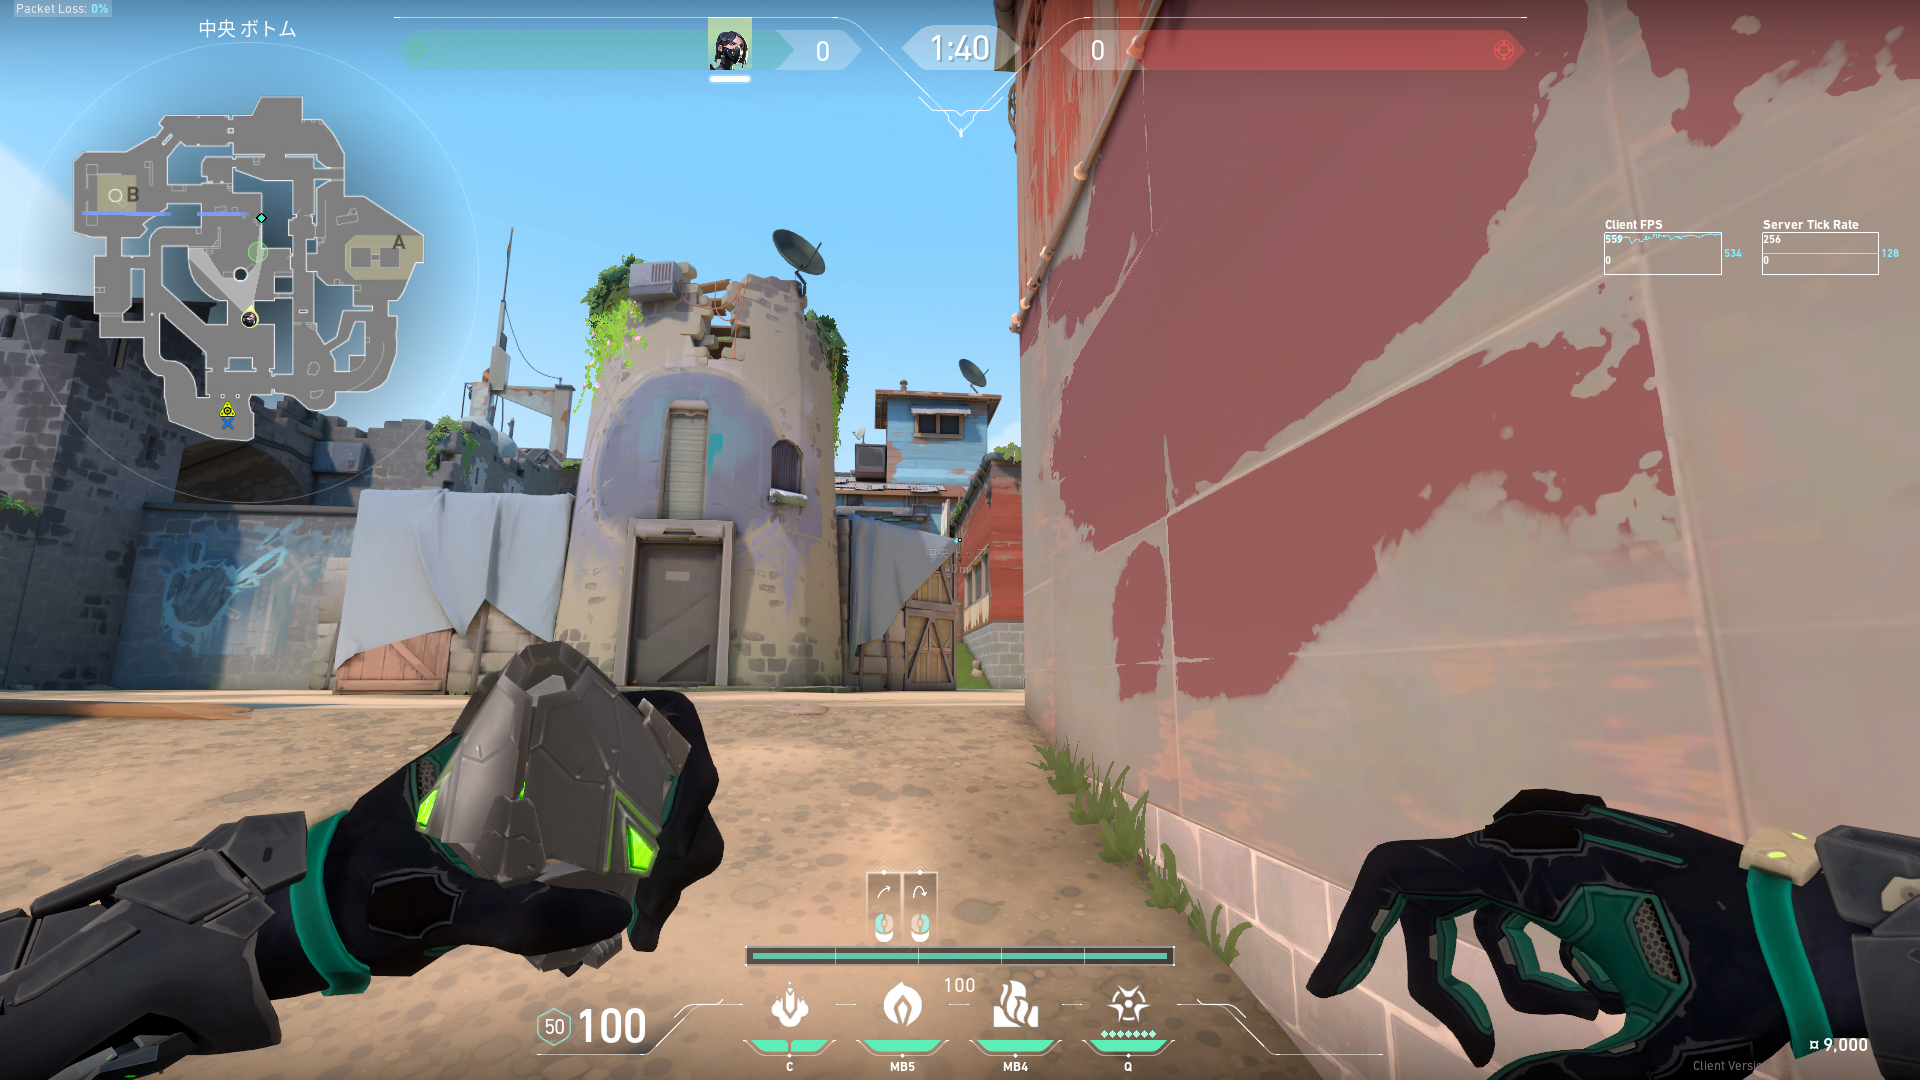 Preview | ミッドスモークその3 |
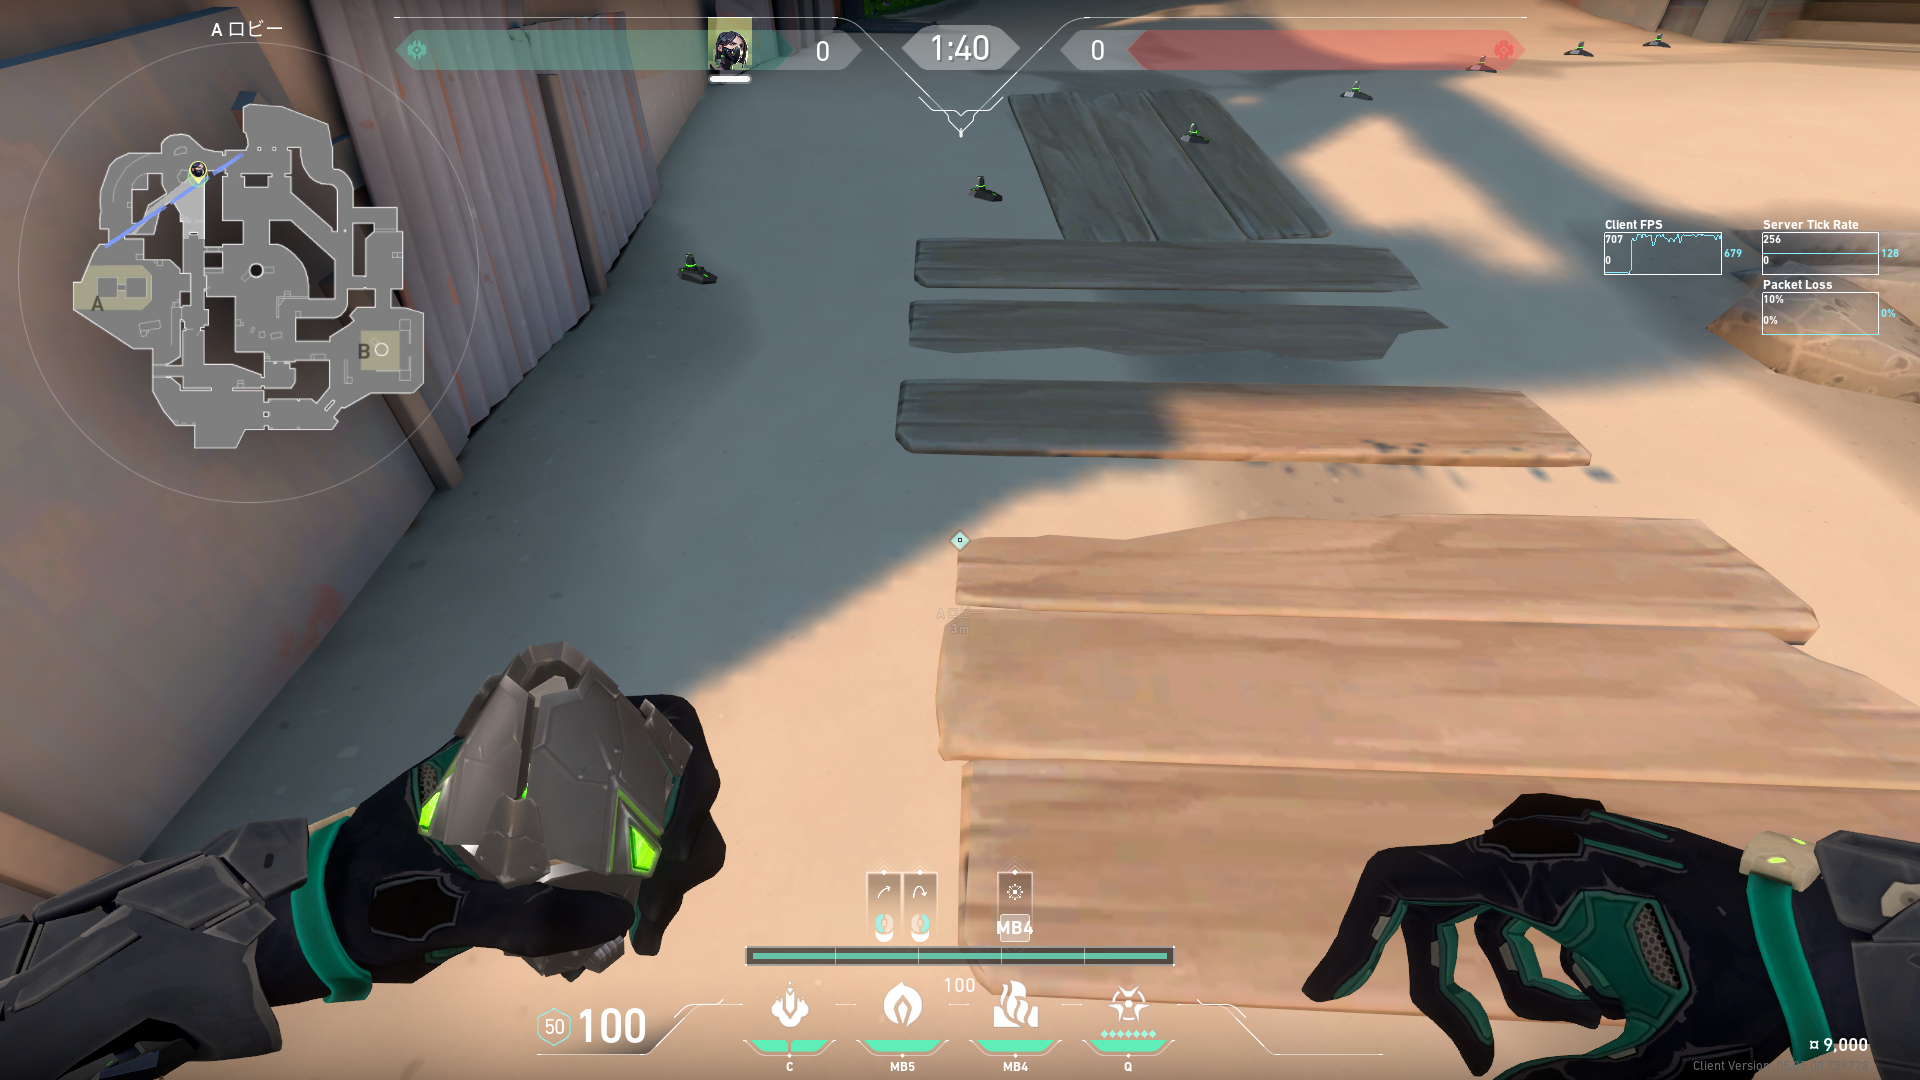
 Preview 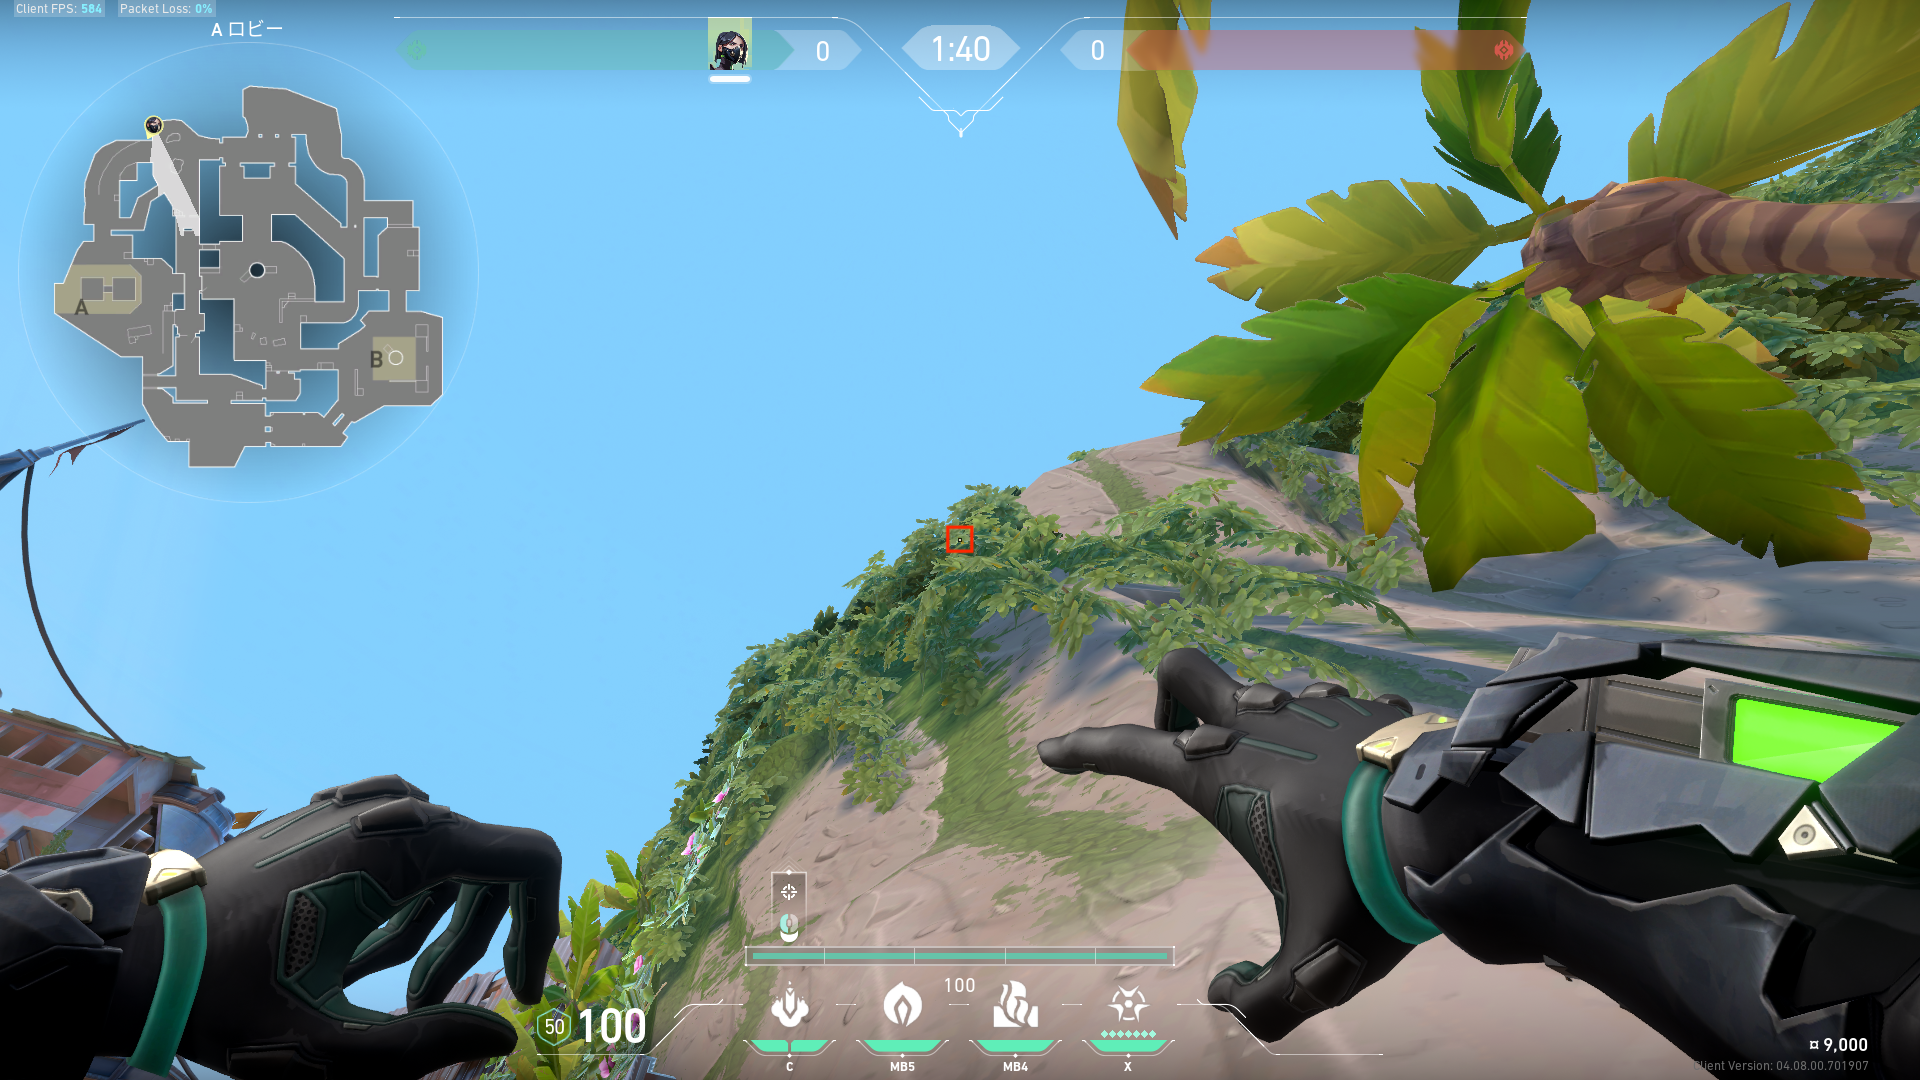 Preview | A側攻撃の空爆 |
 Preview | A側攻撃の右乳の右側設置時の解除阻止。 |
 Preview 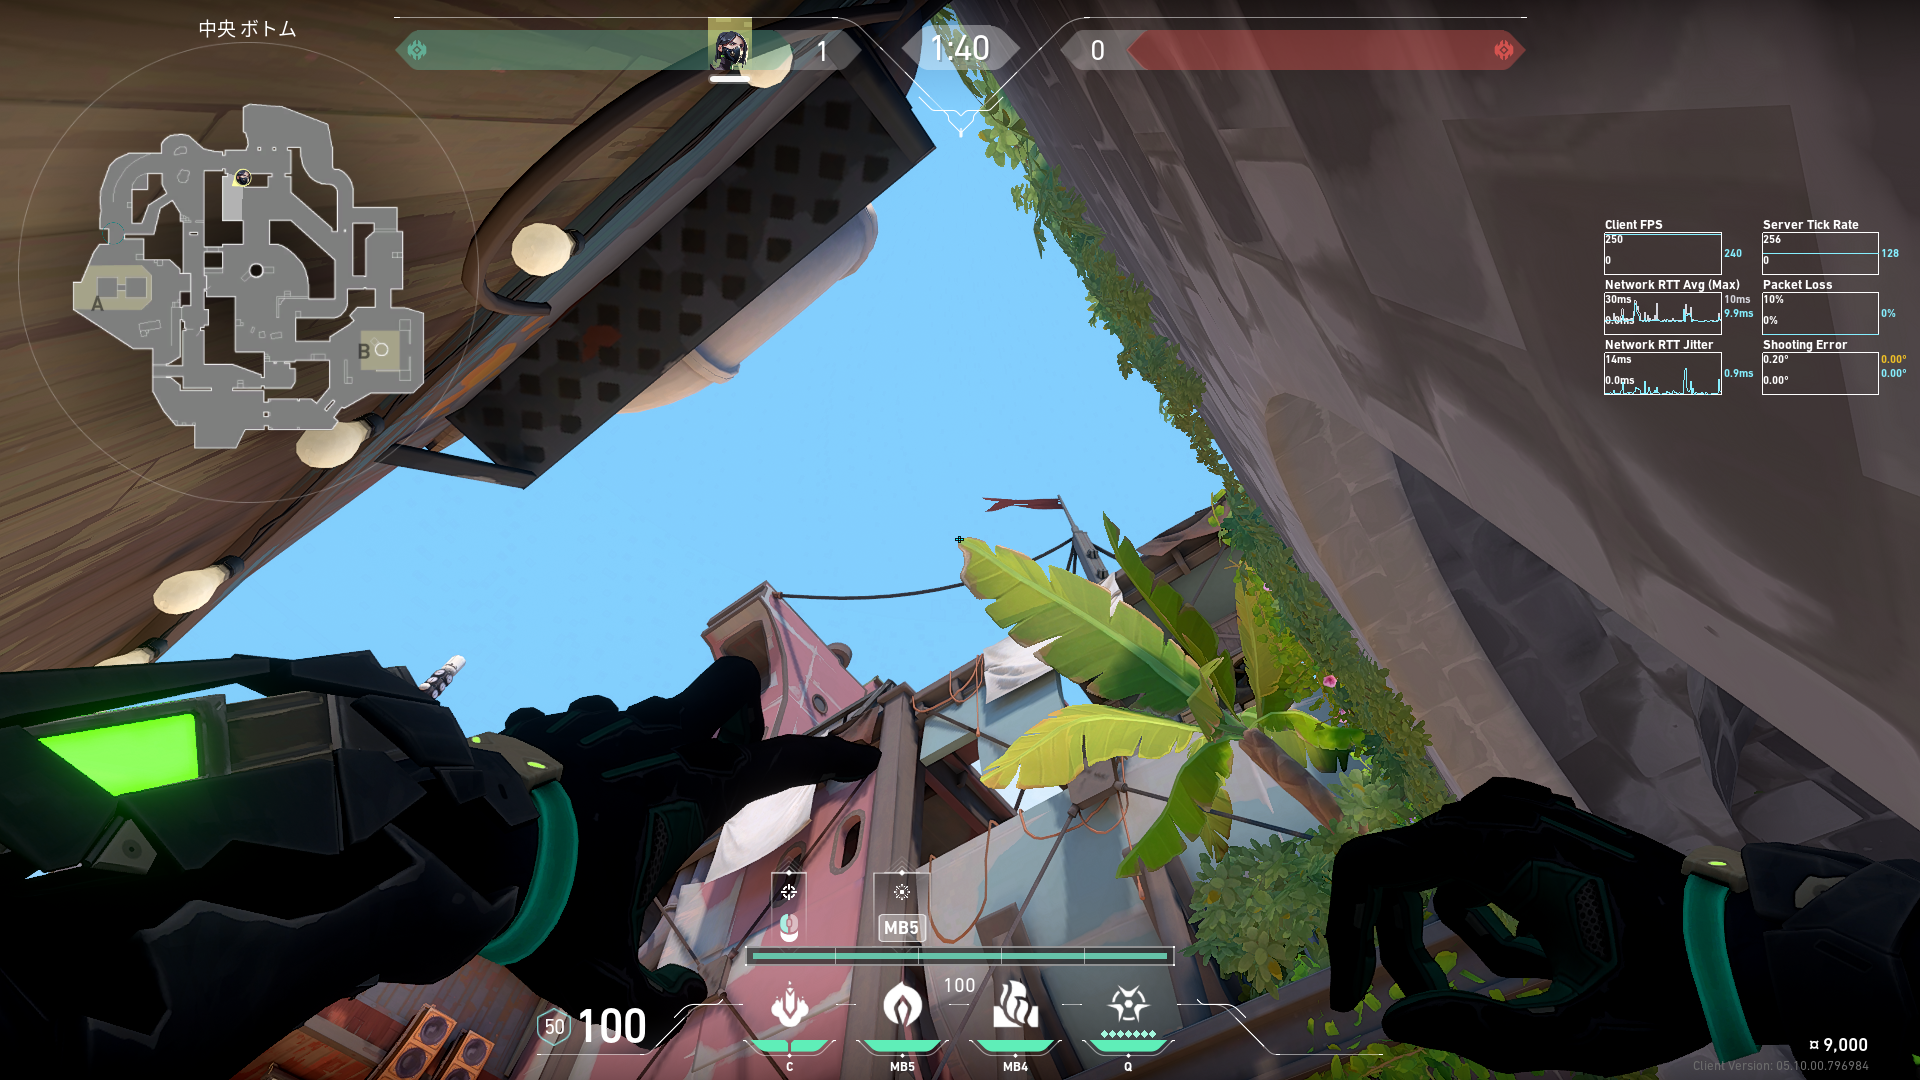 Preview 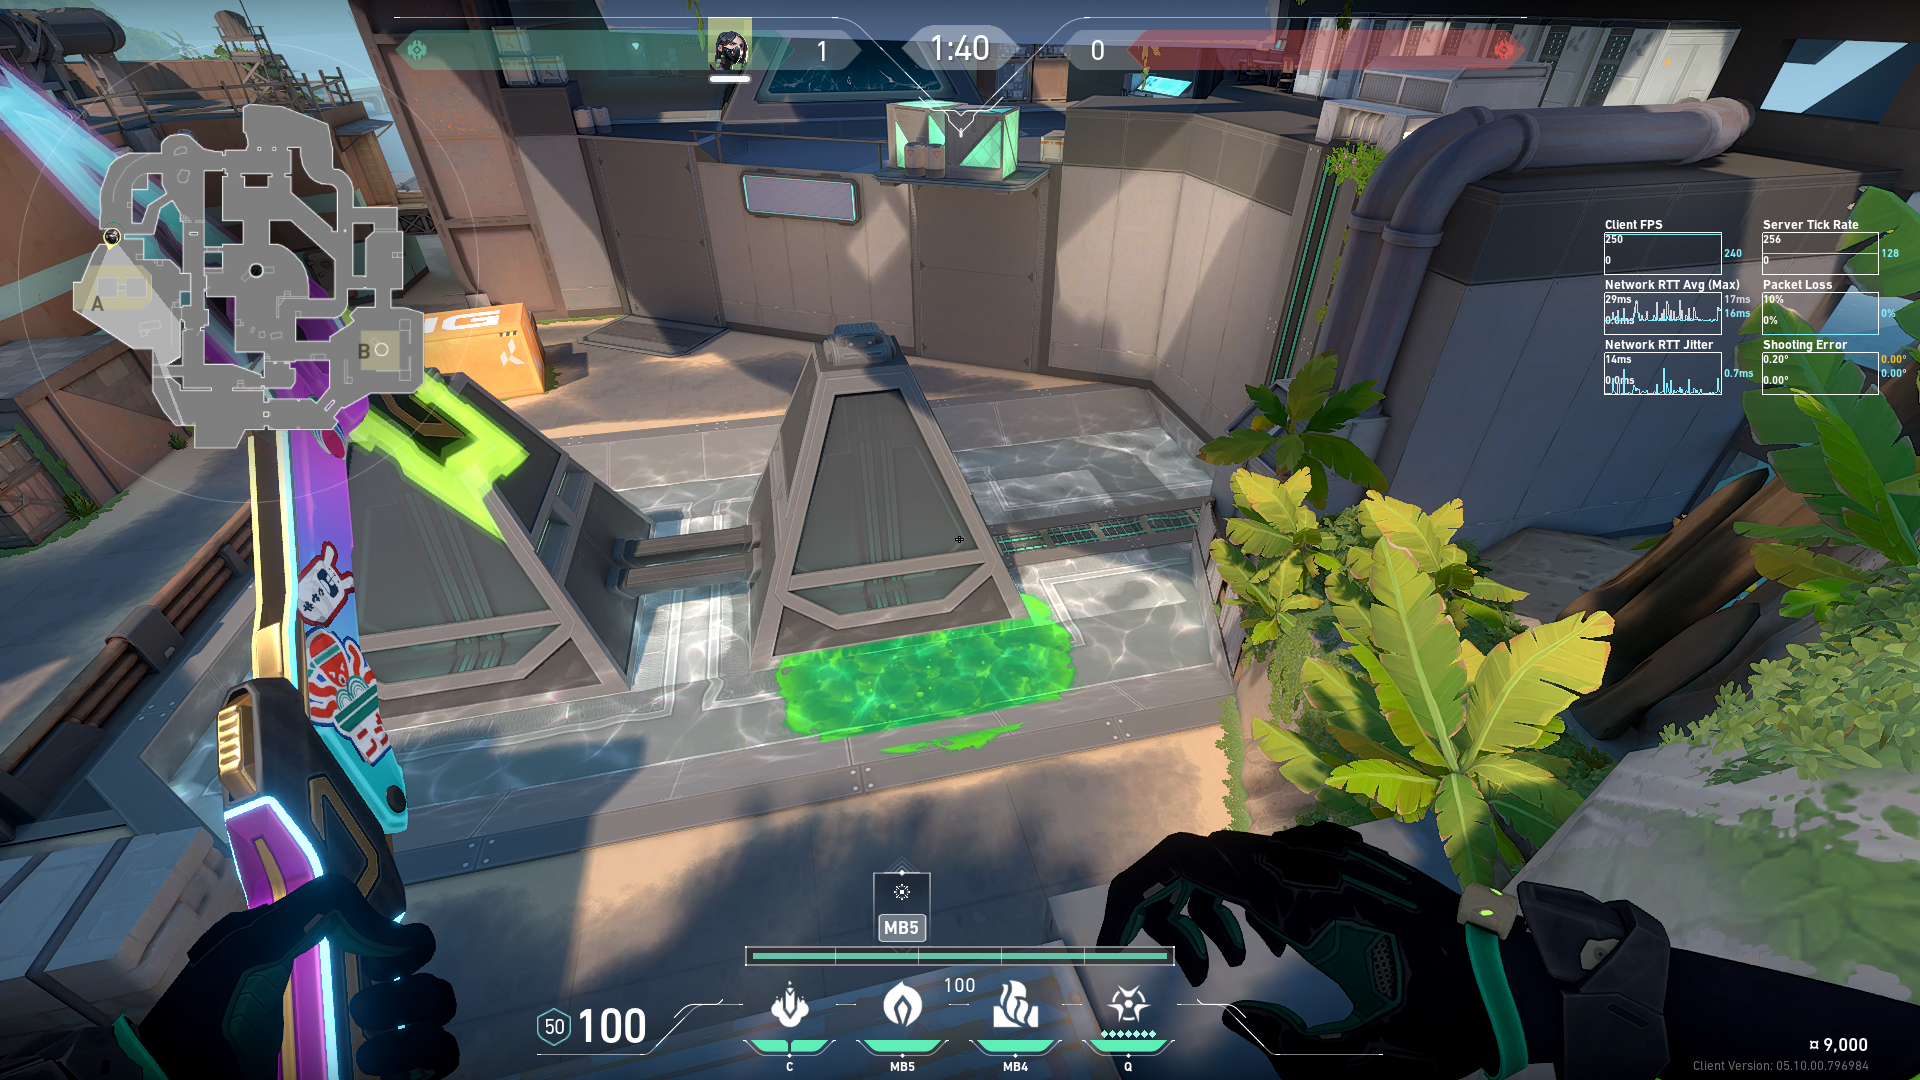 Preview | ミッドからA側手前設置用の空爆 |