ACENT / KILLJOY
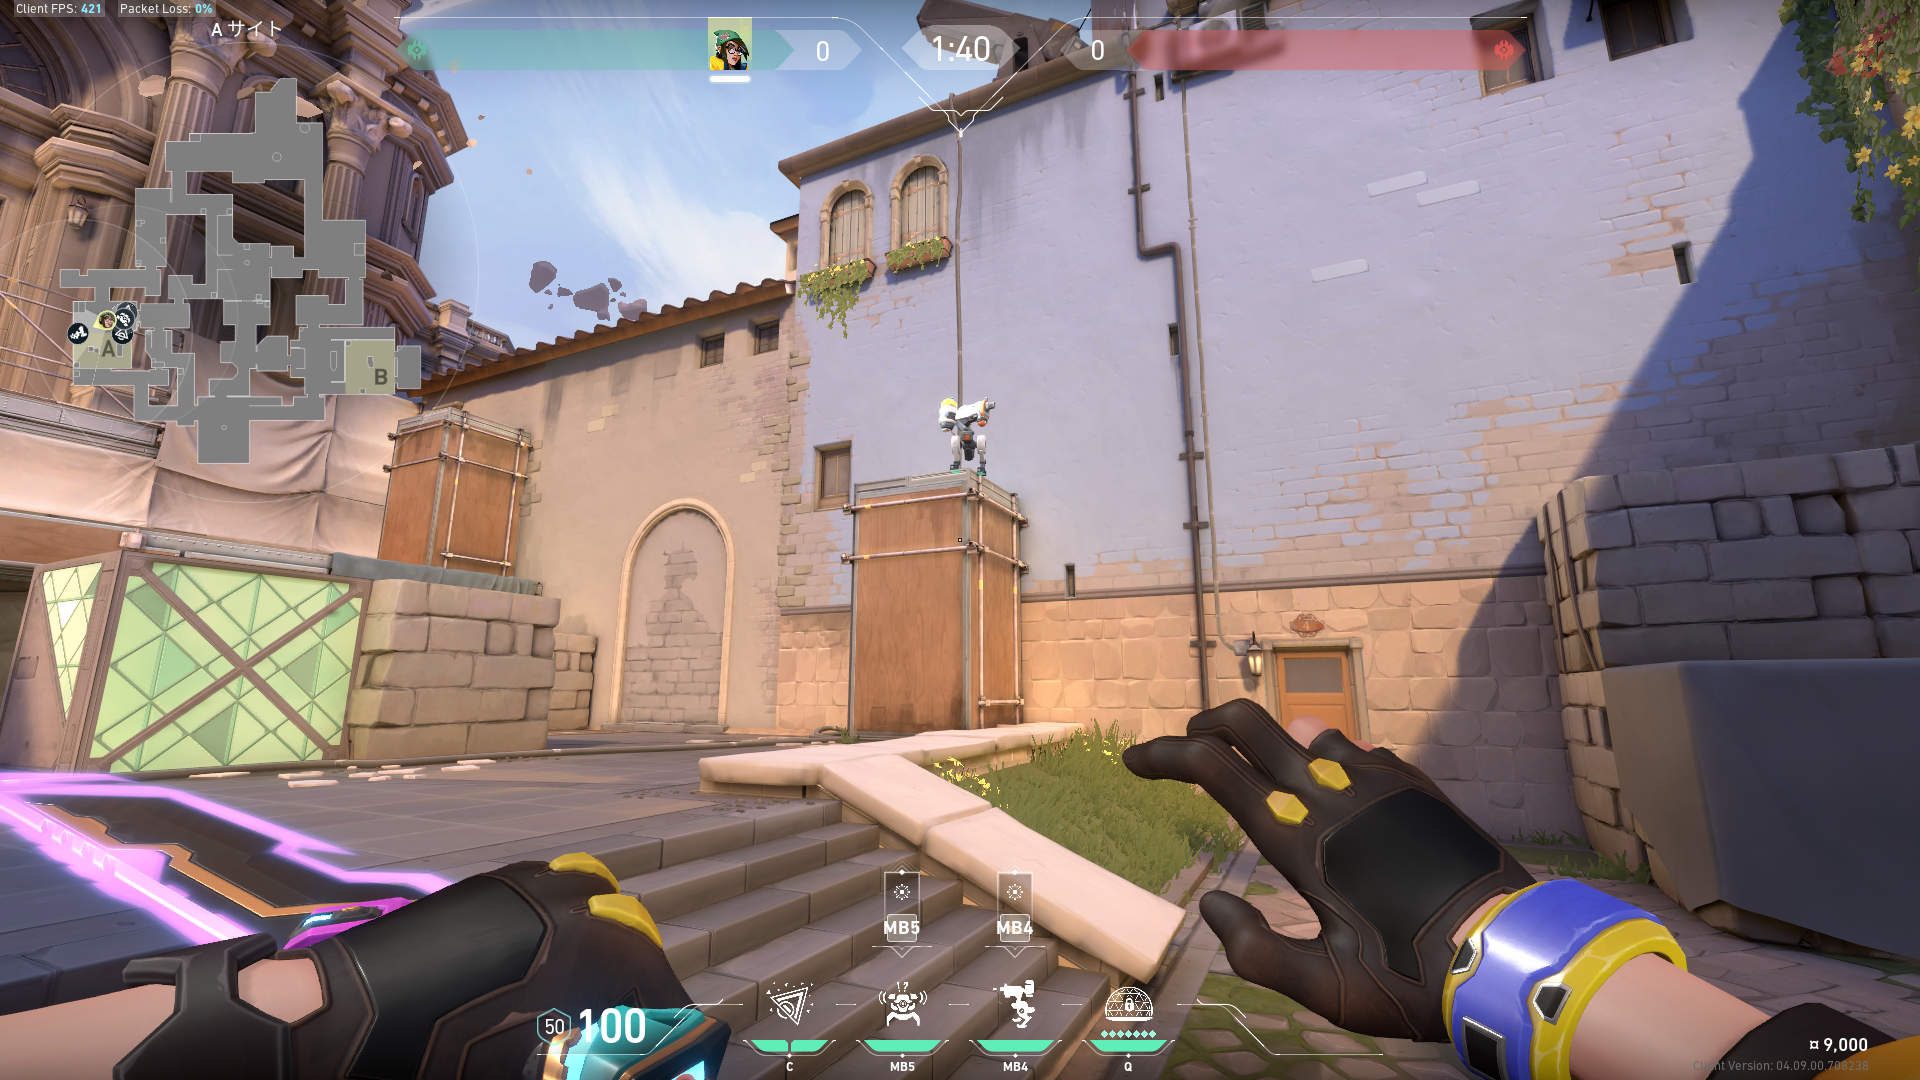
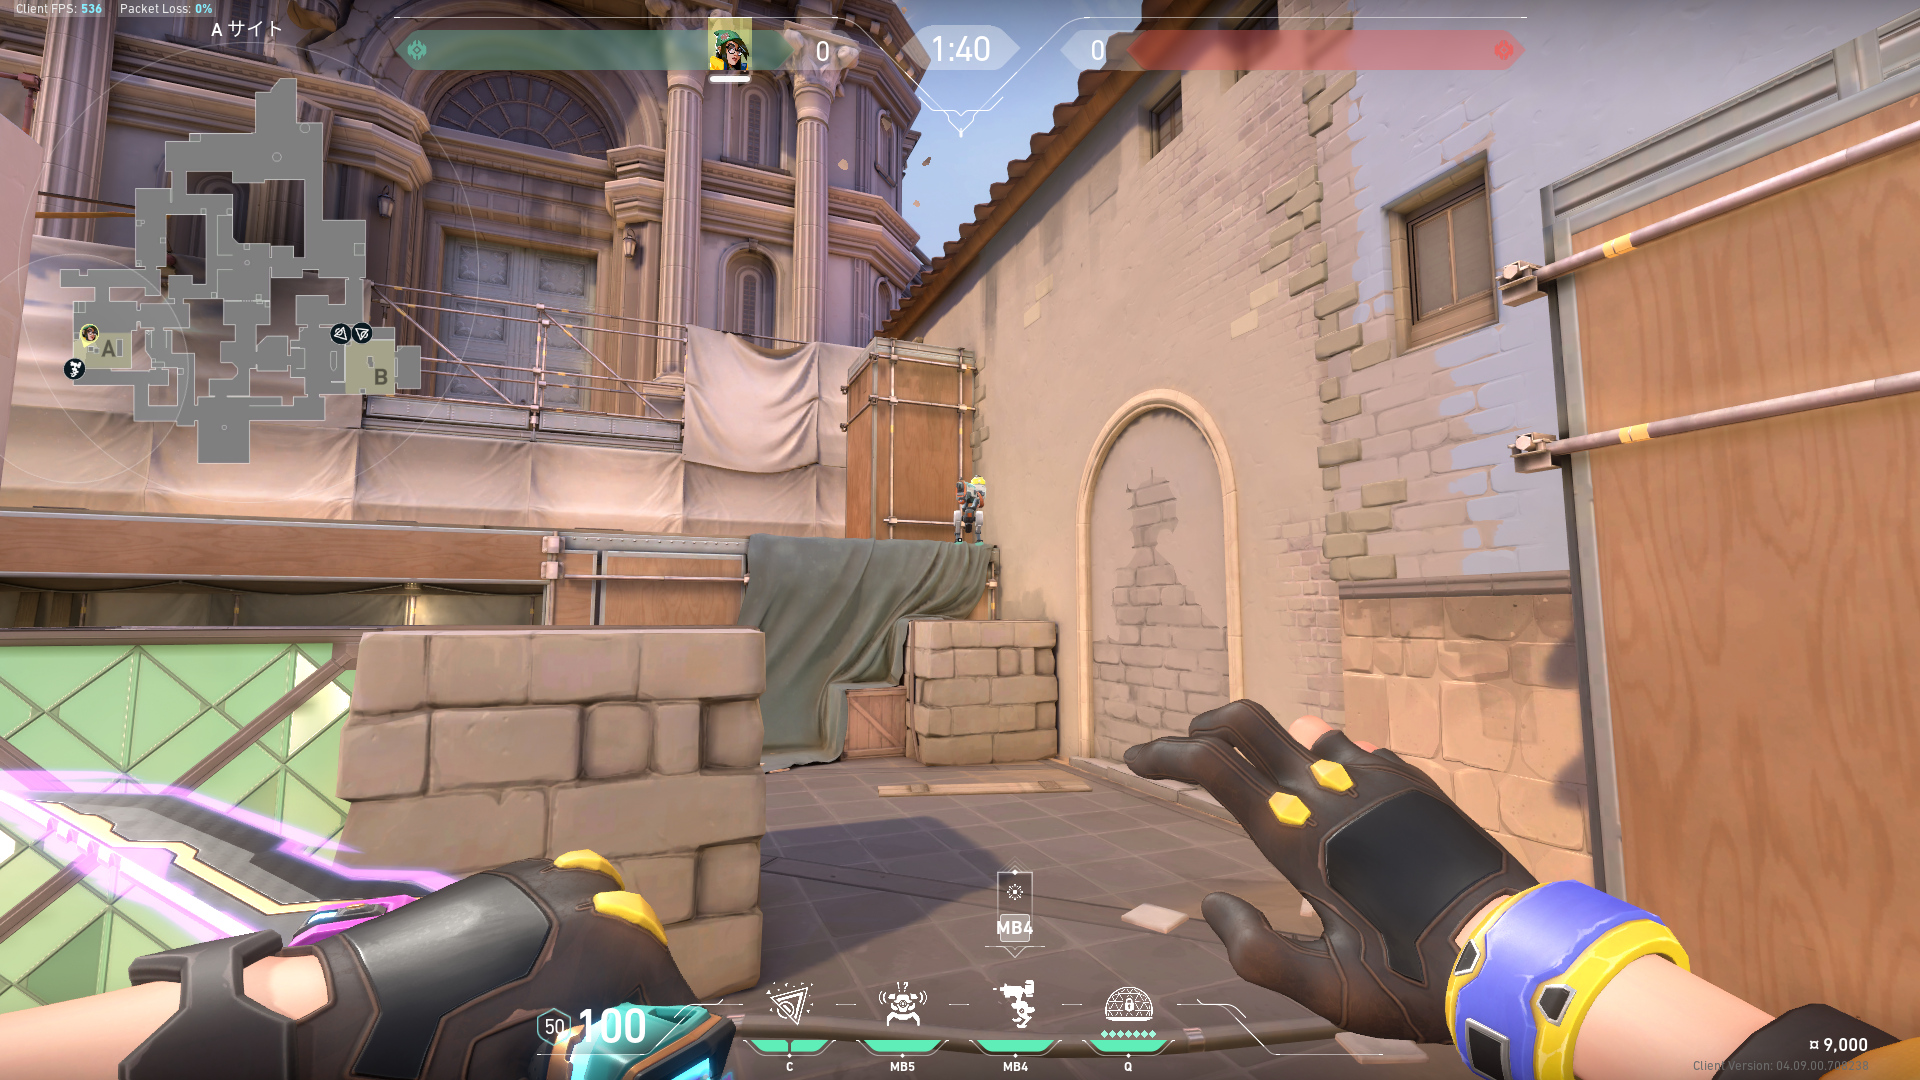
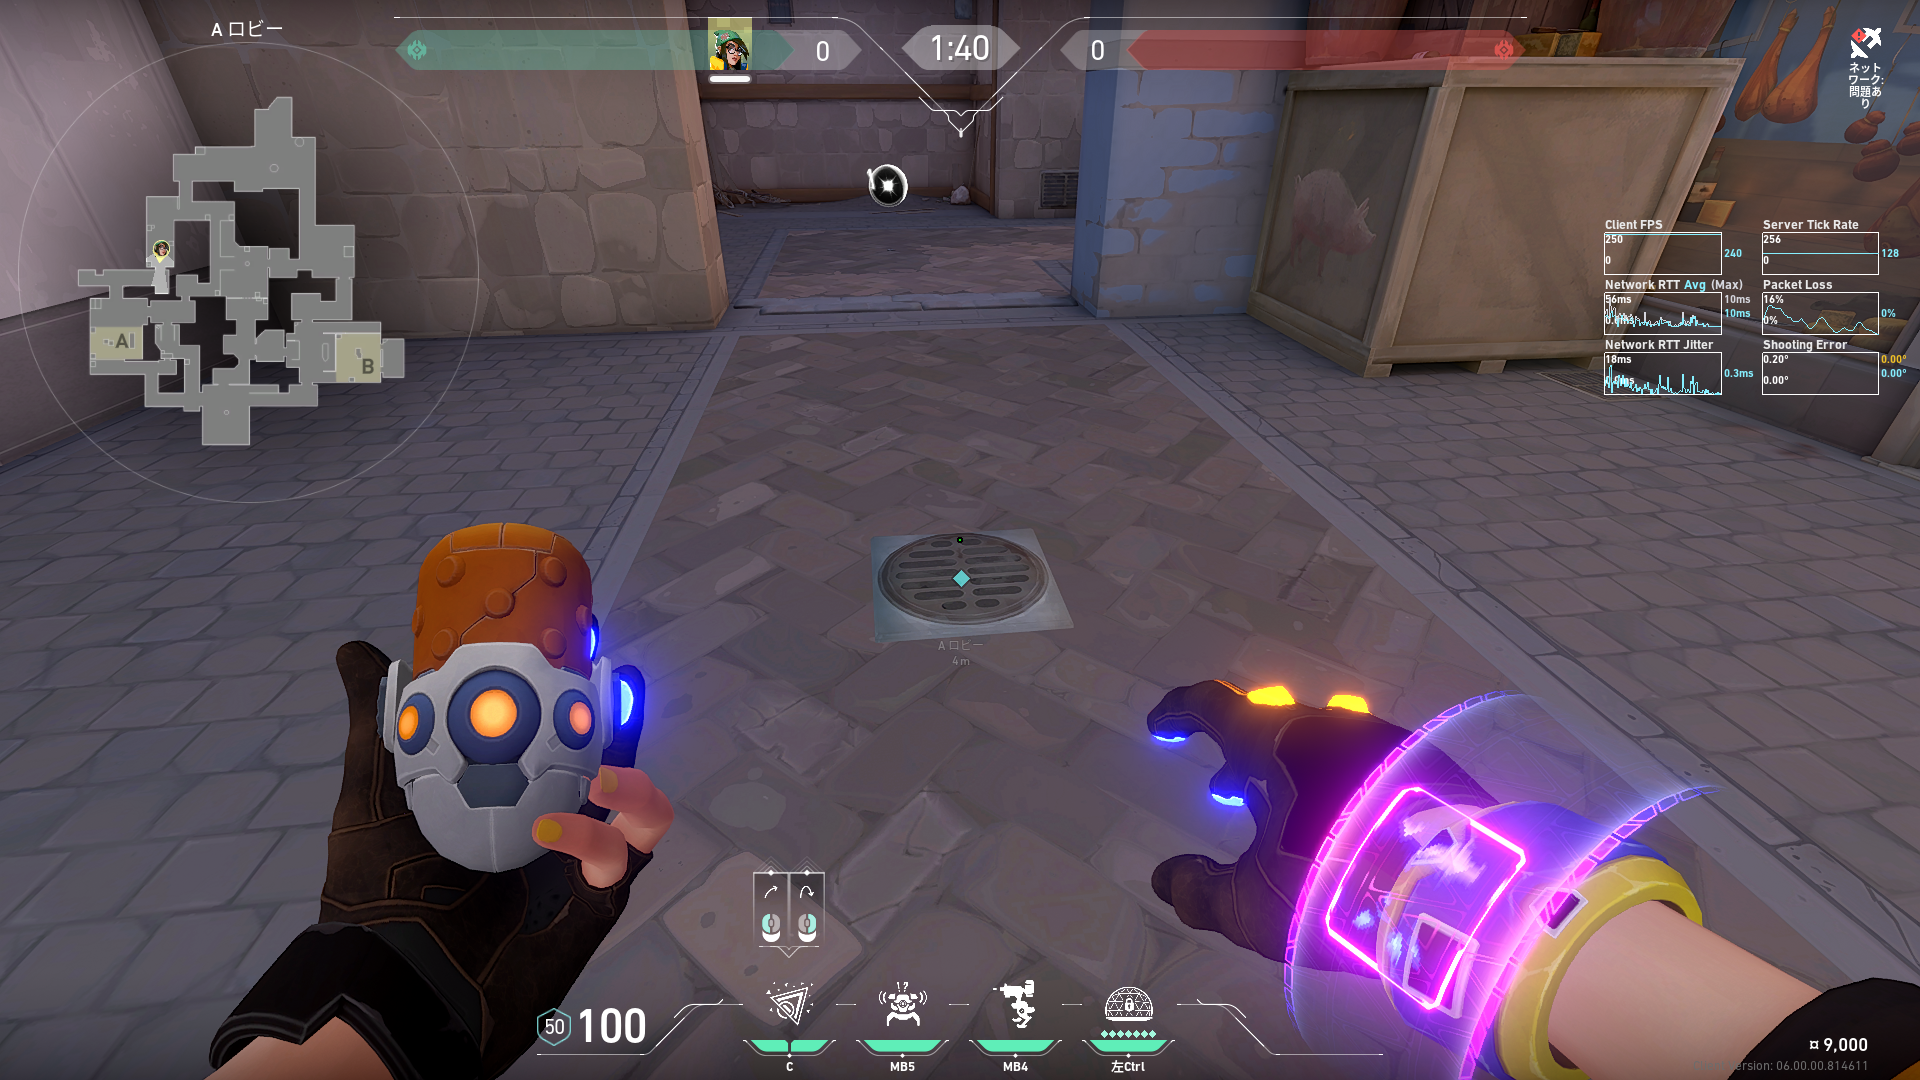
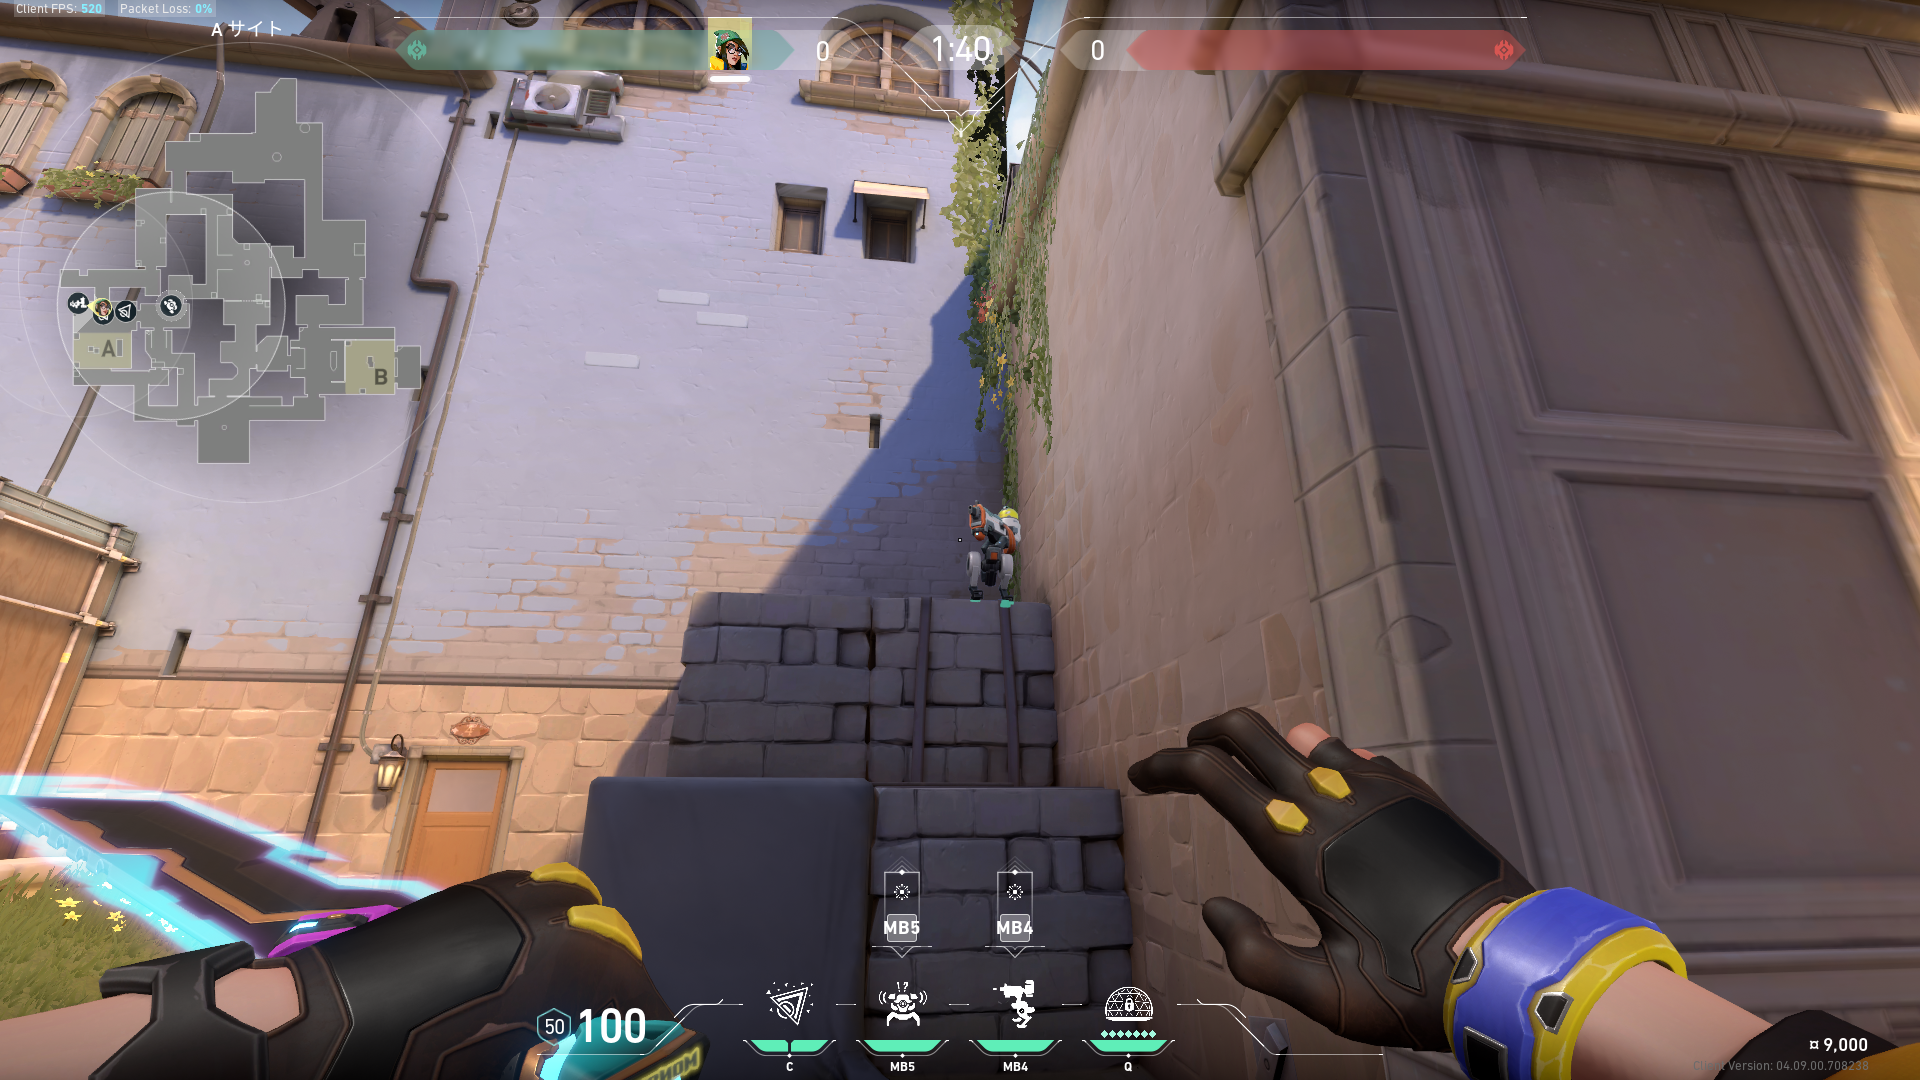 Preview 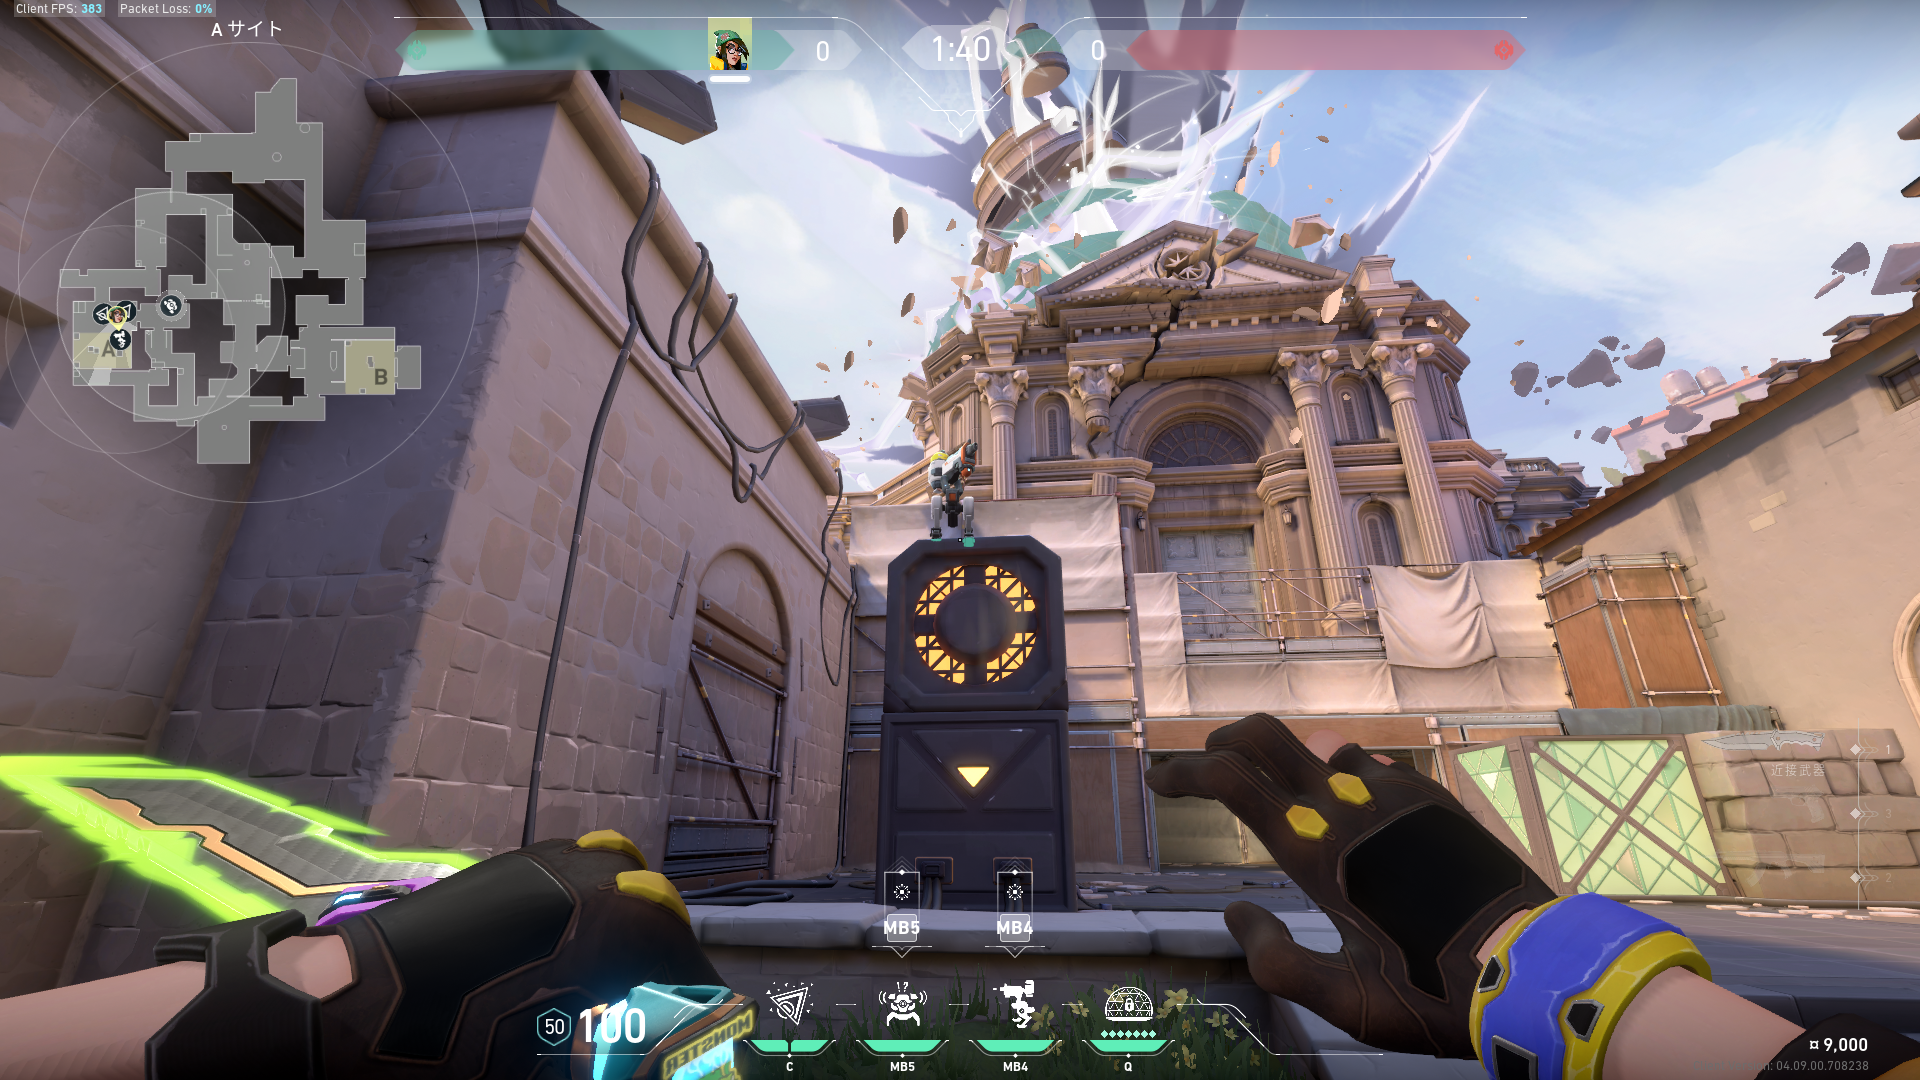 Preview 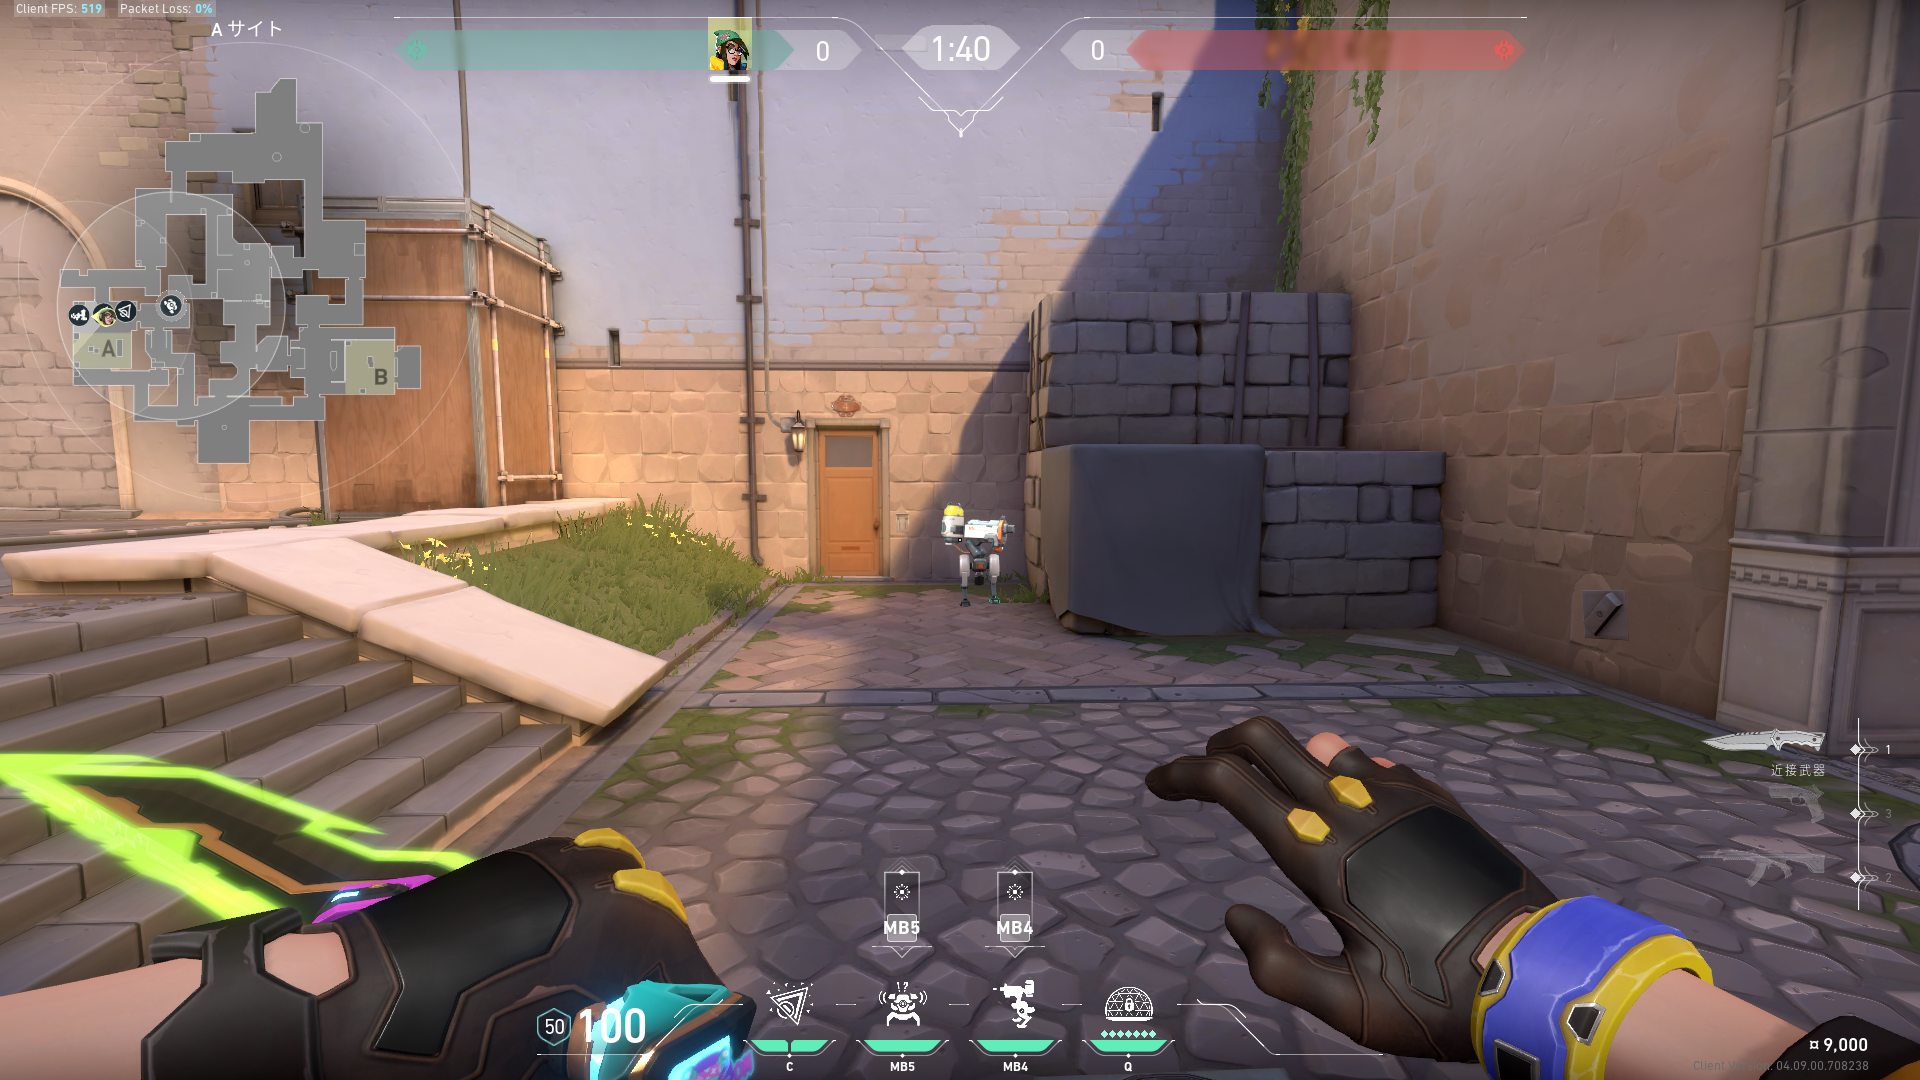 Preview 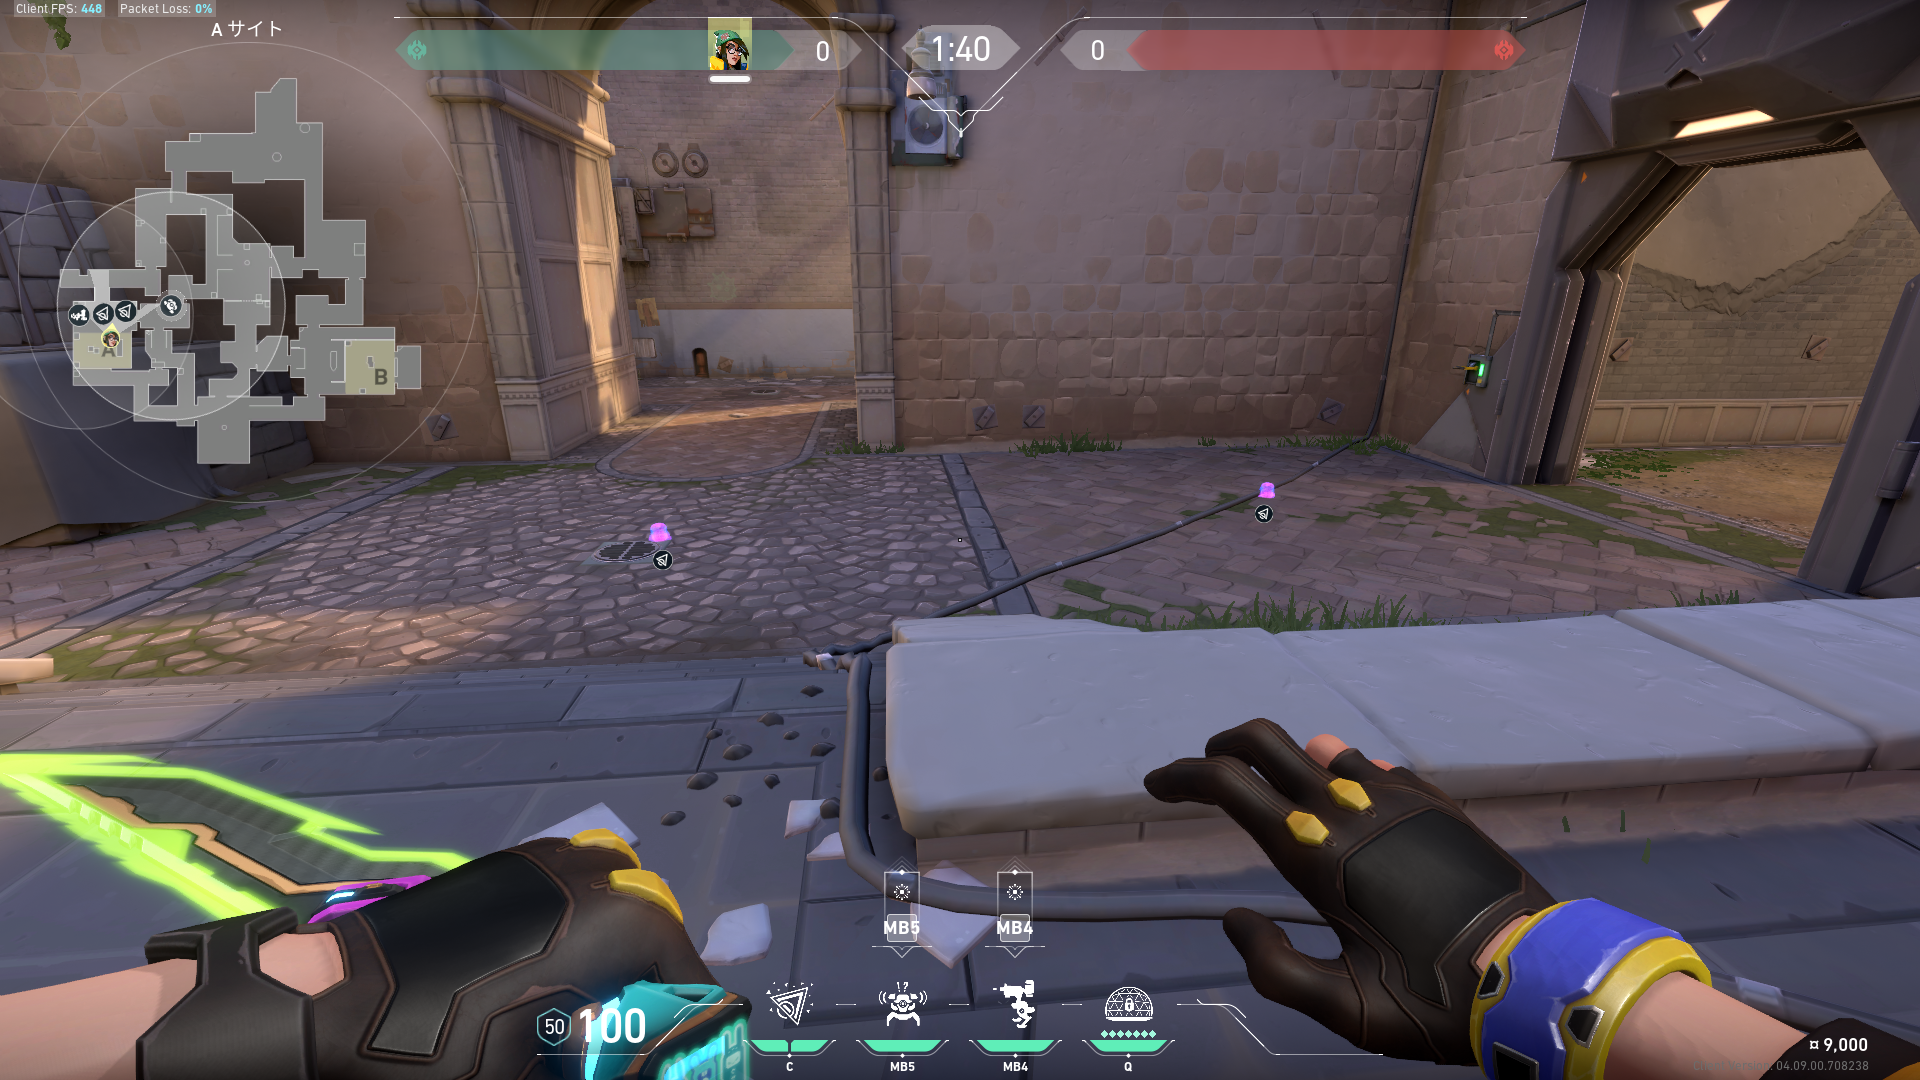 Preview 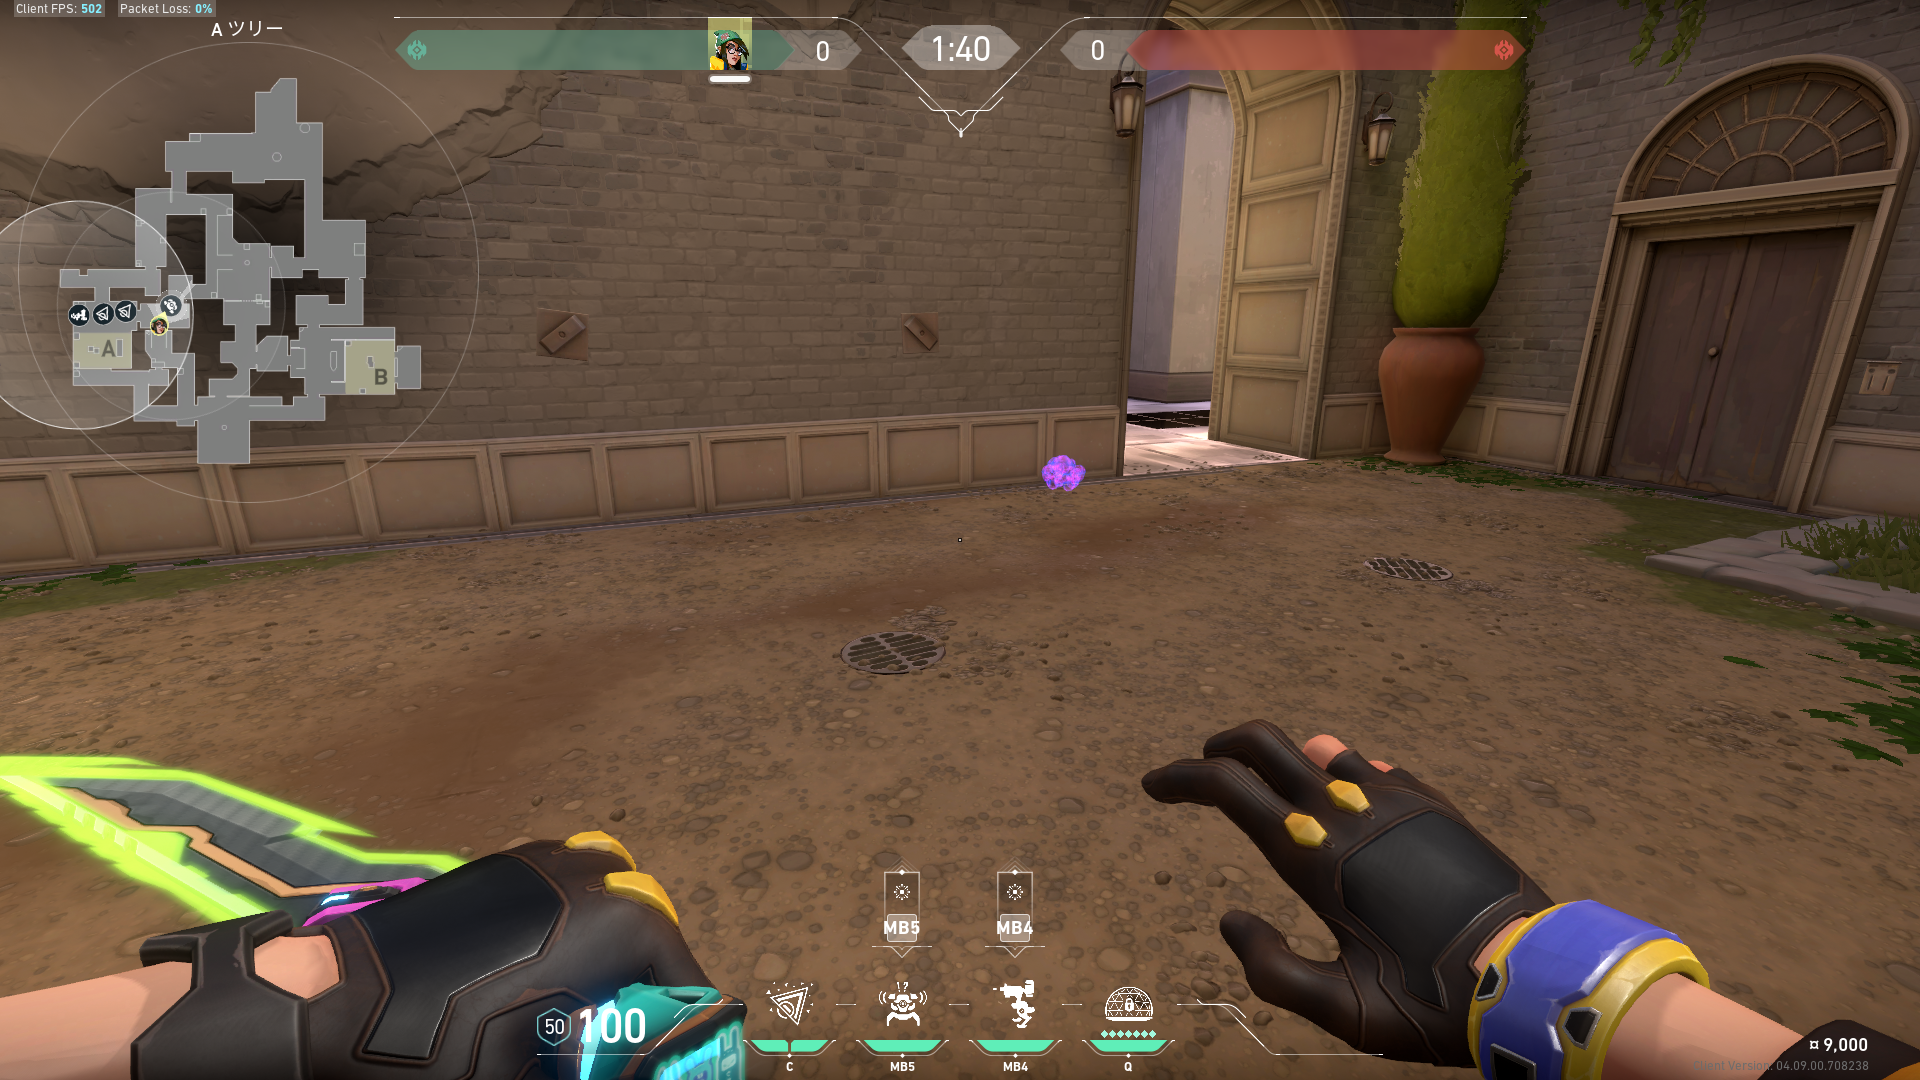 Preview 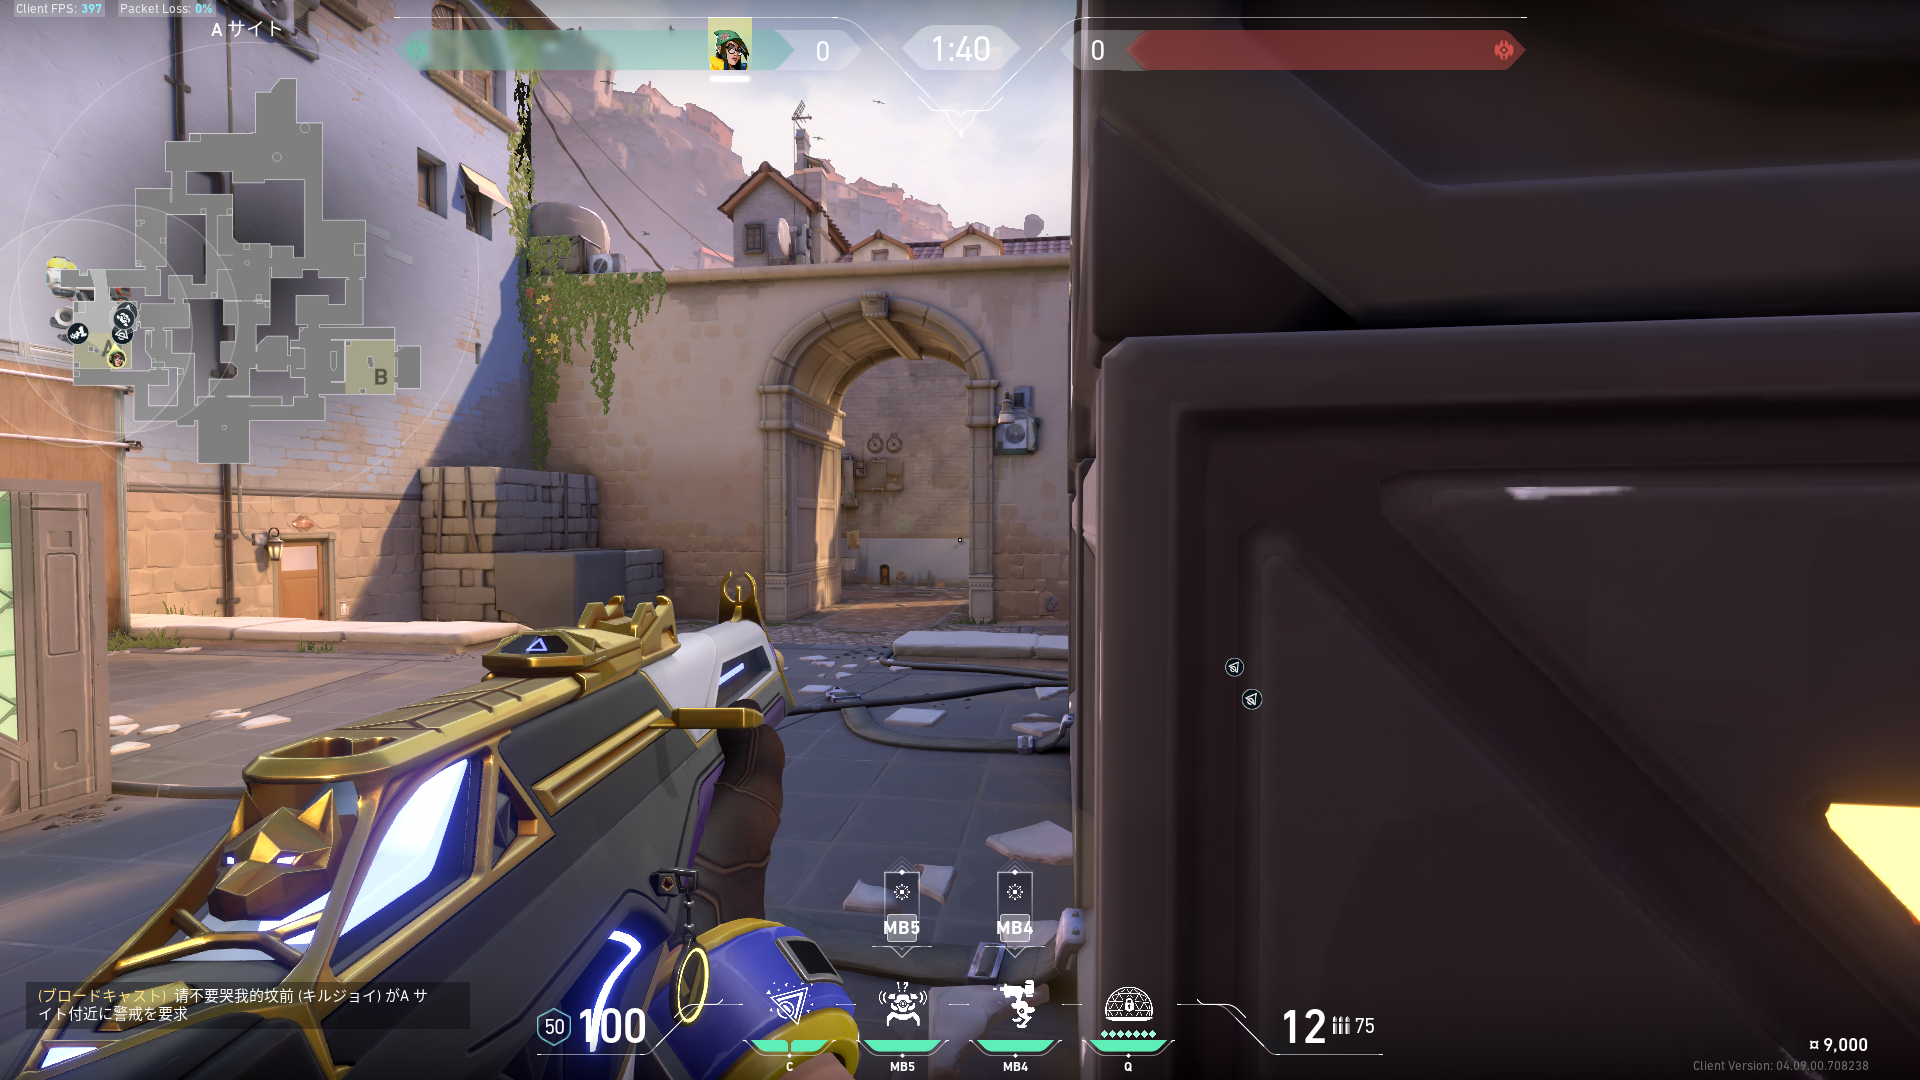 Preview | A側のセットアップ |
 Preview 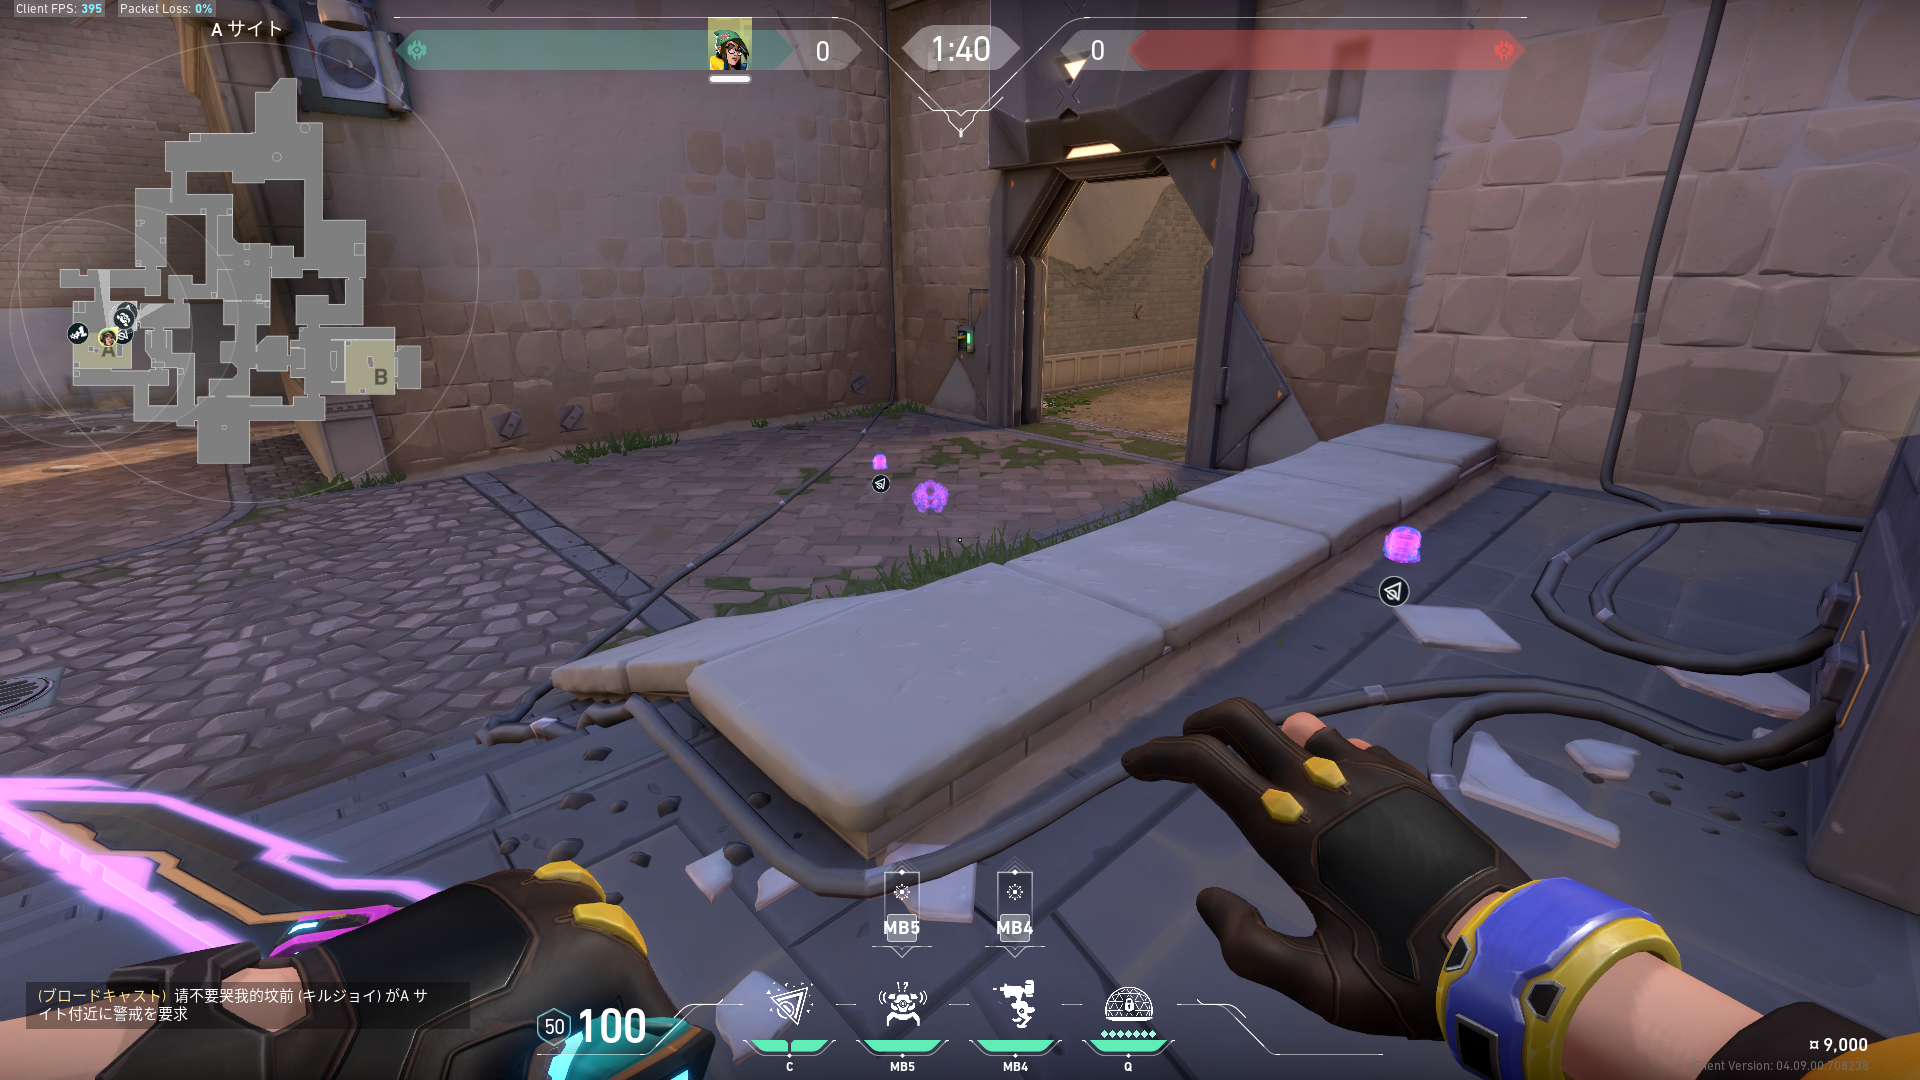 Preview 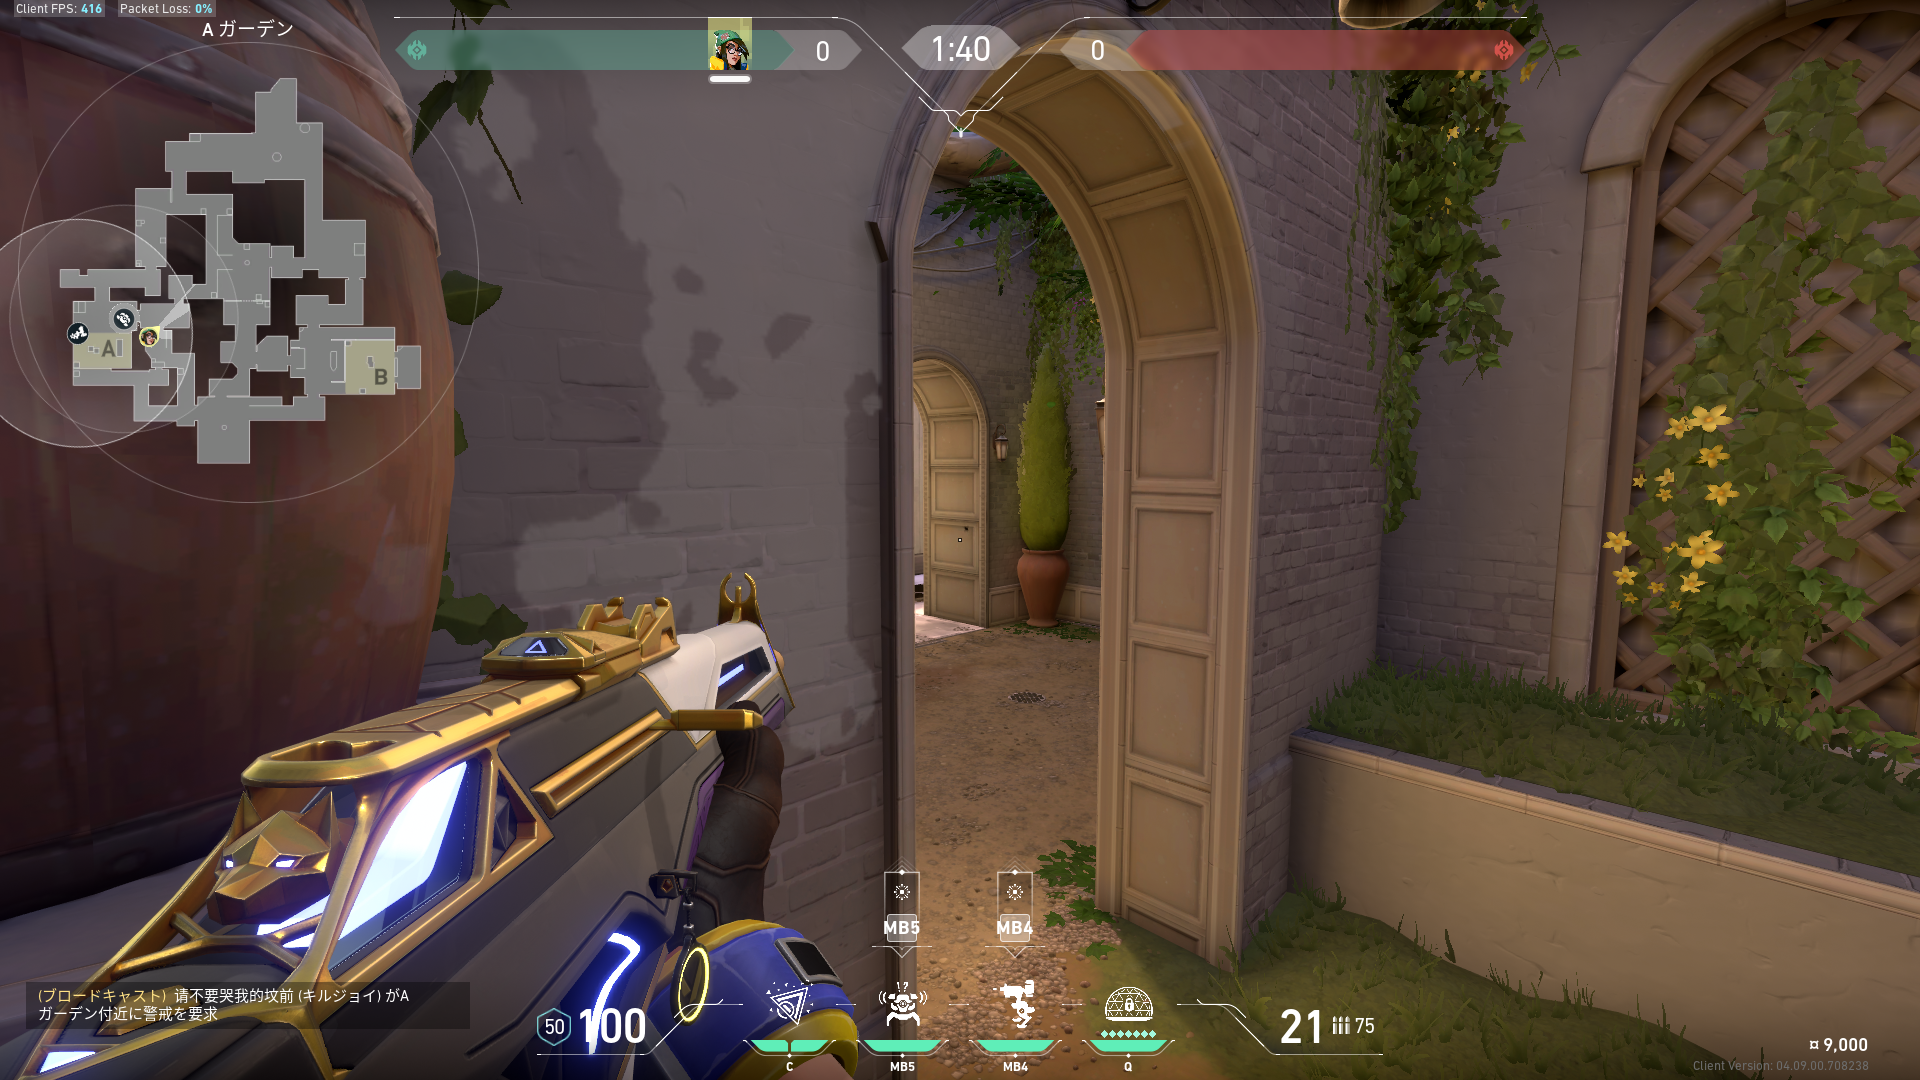 Preview 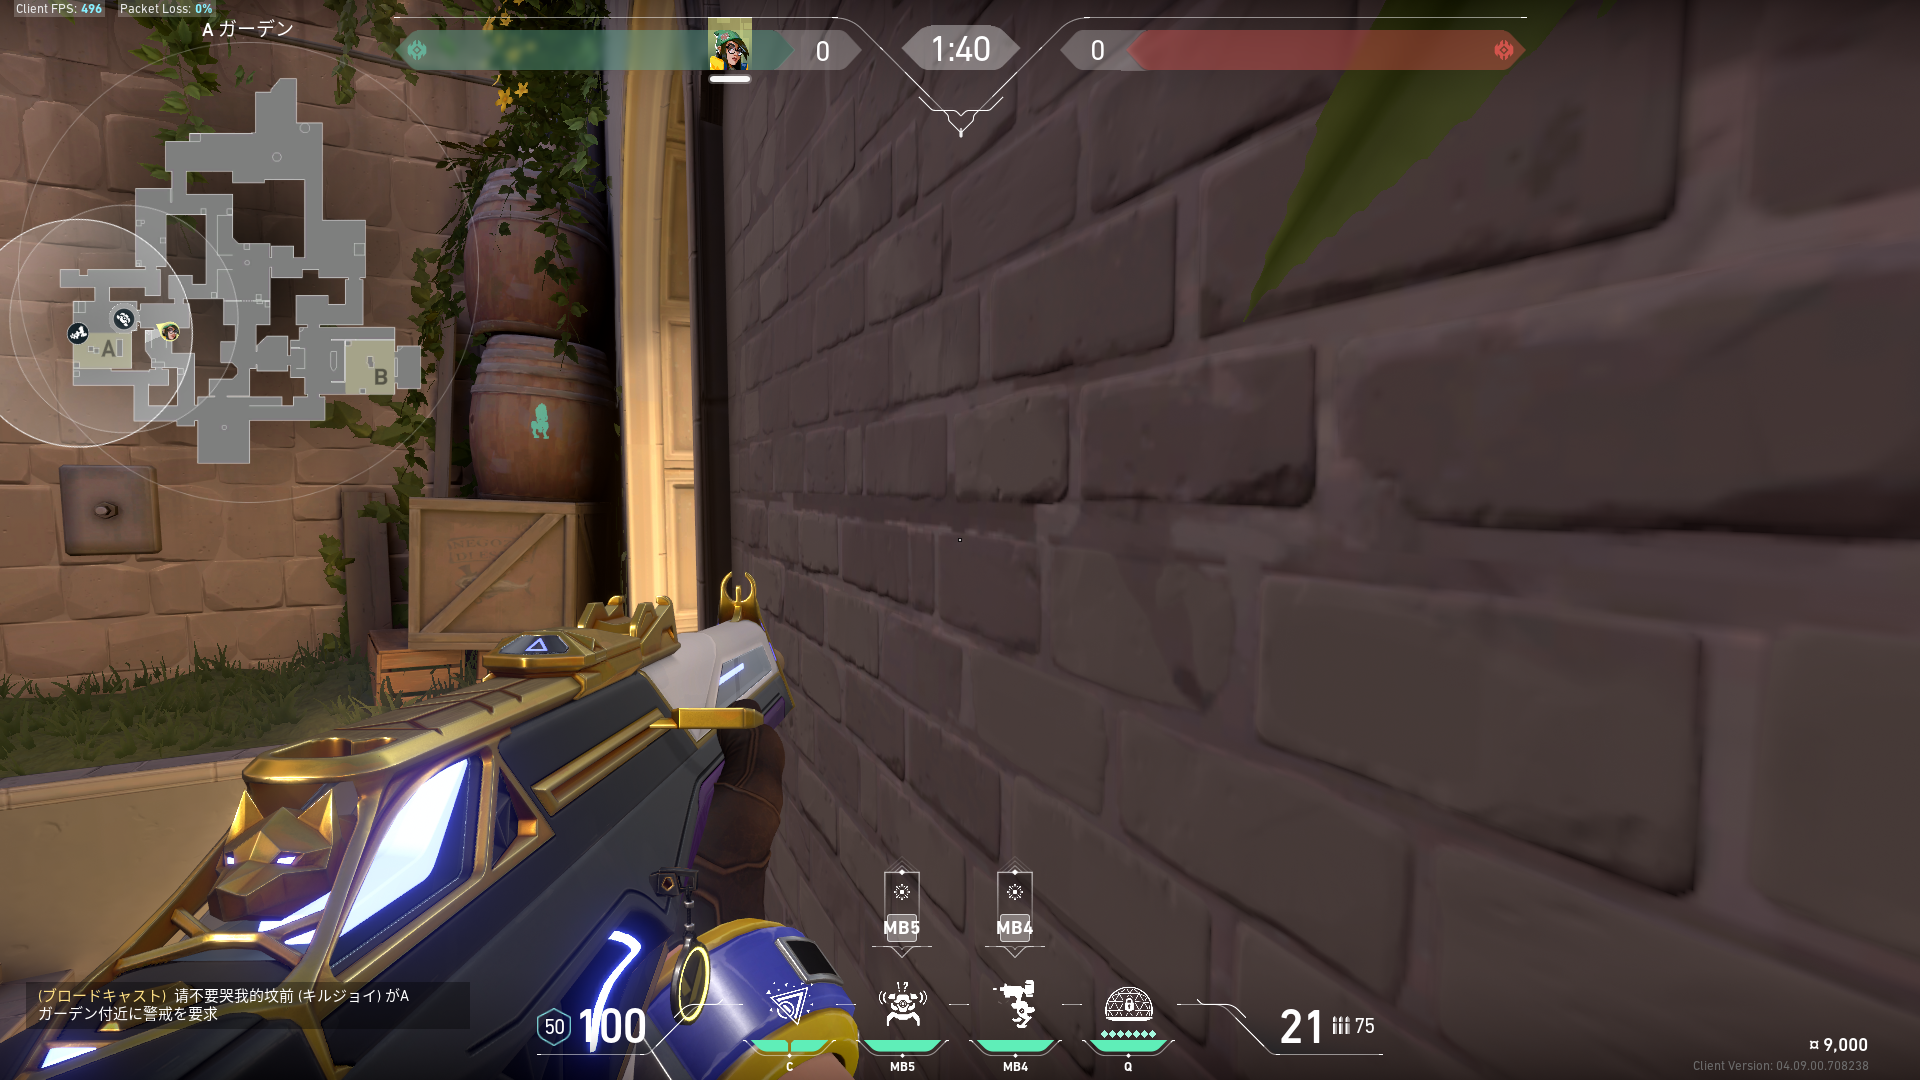 Preview | A側でウルトがあるときのセットアップ |
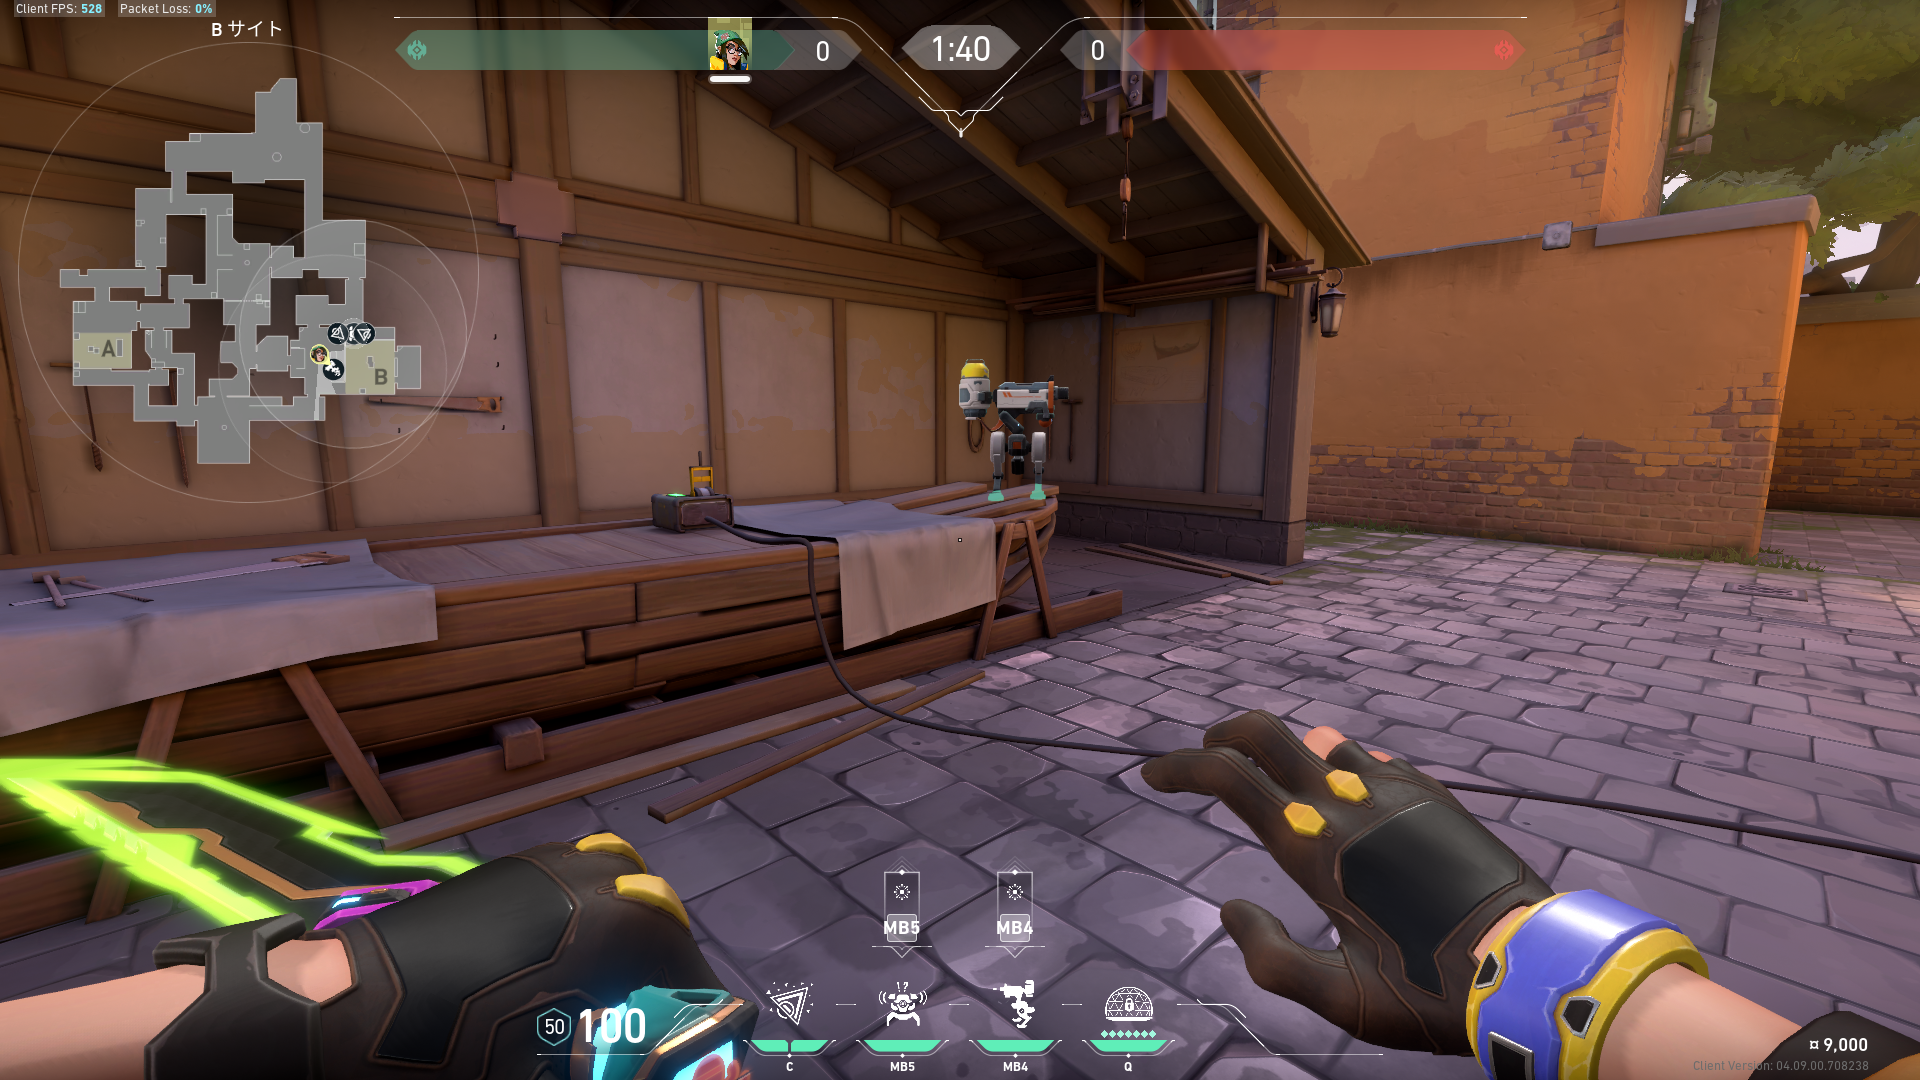
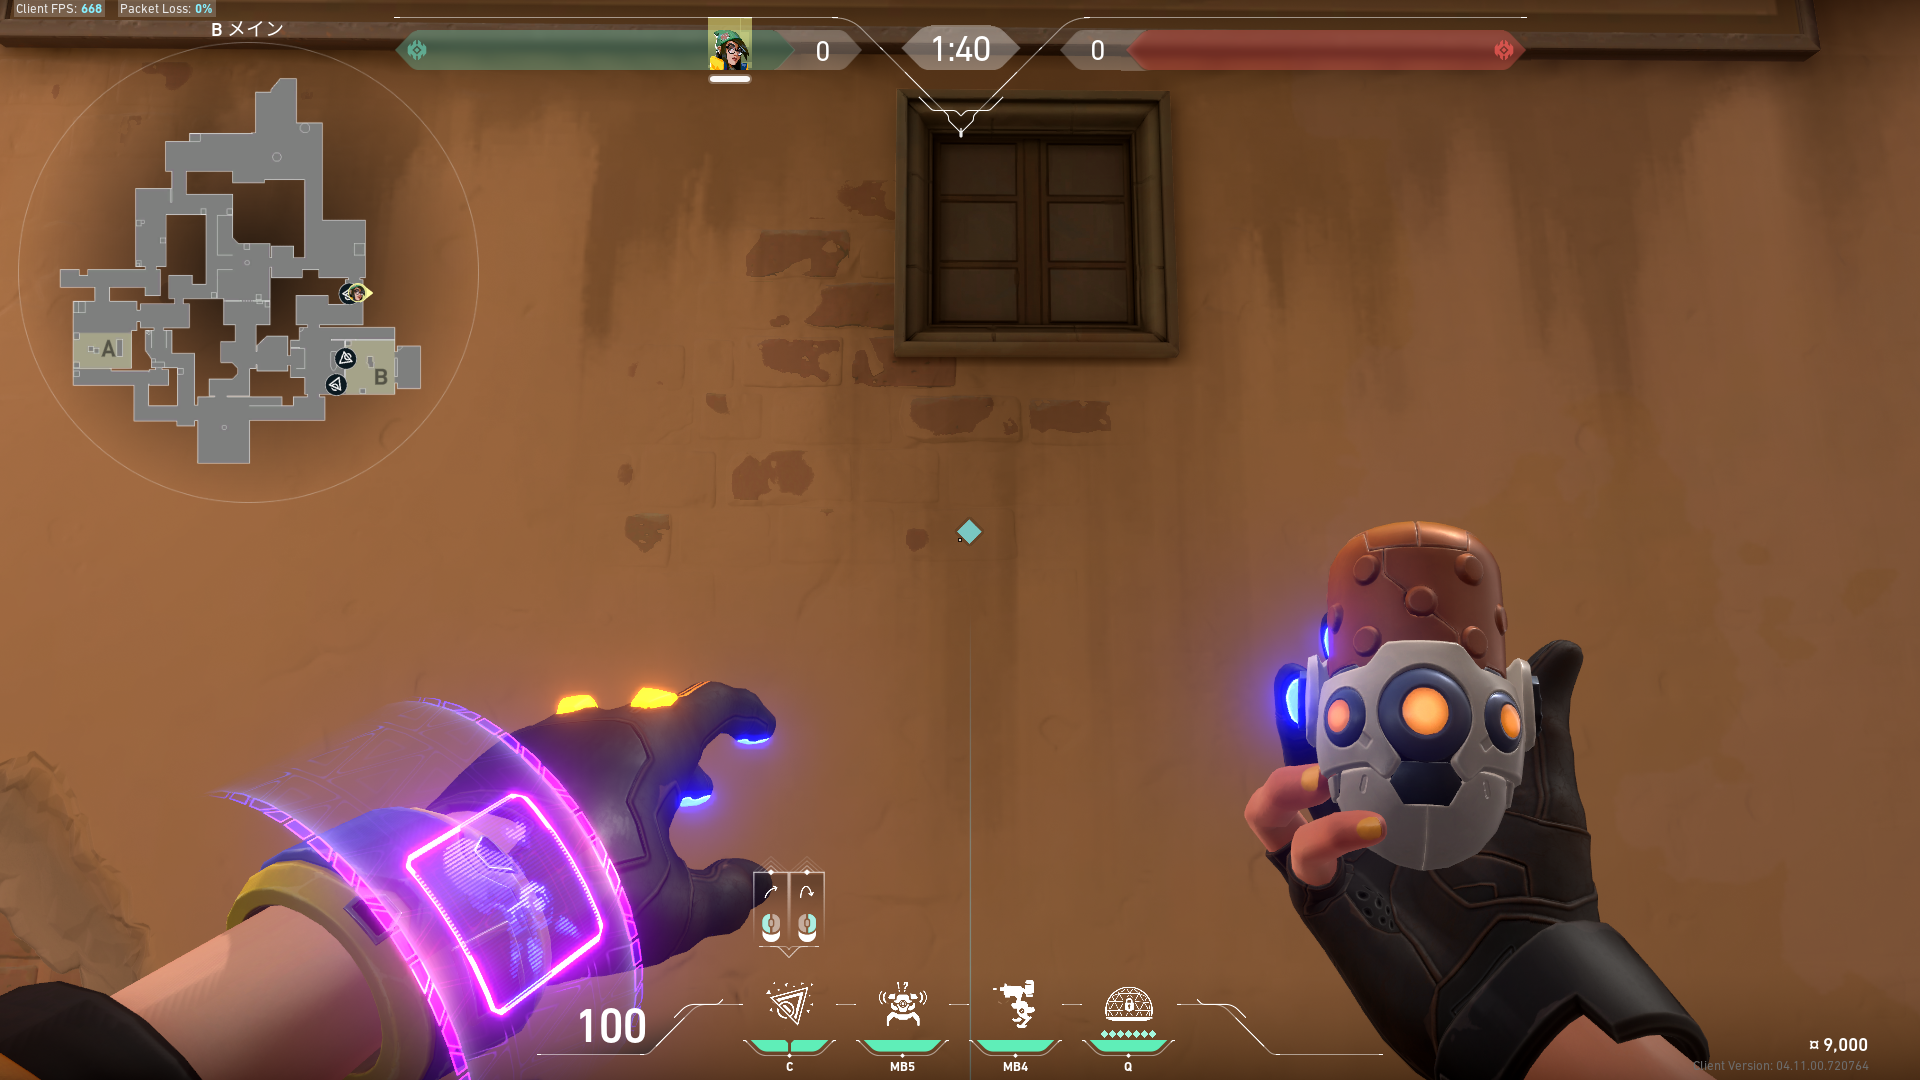
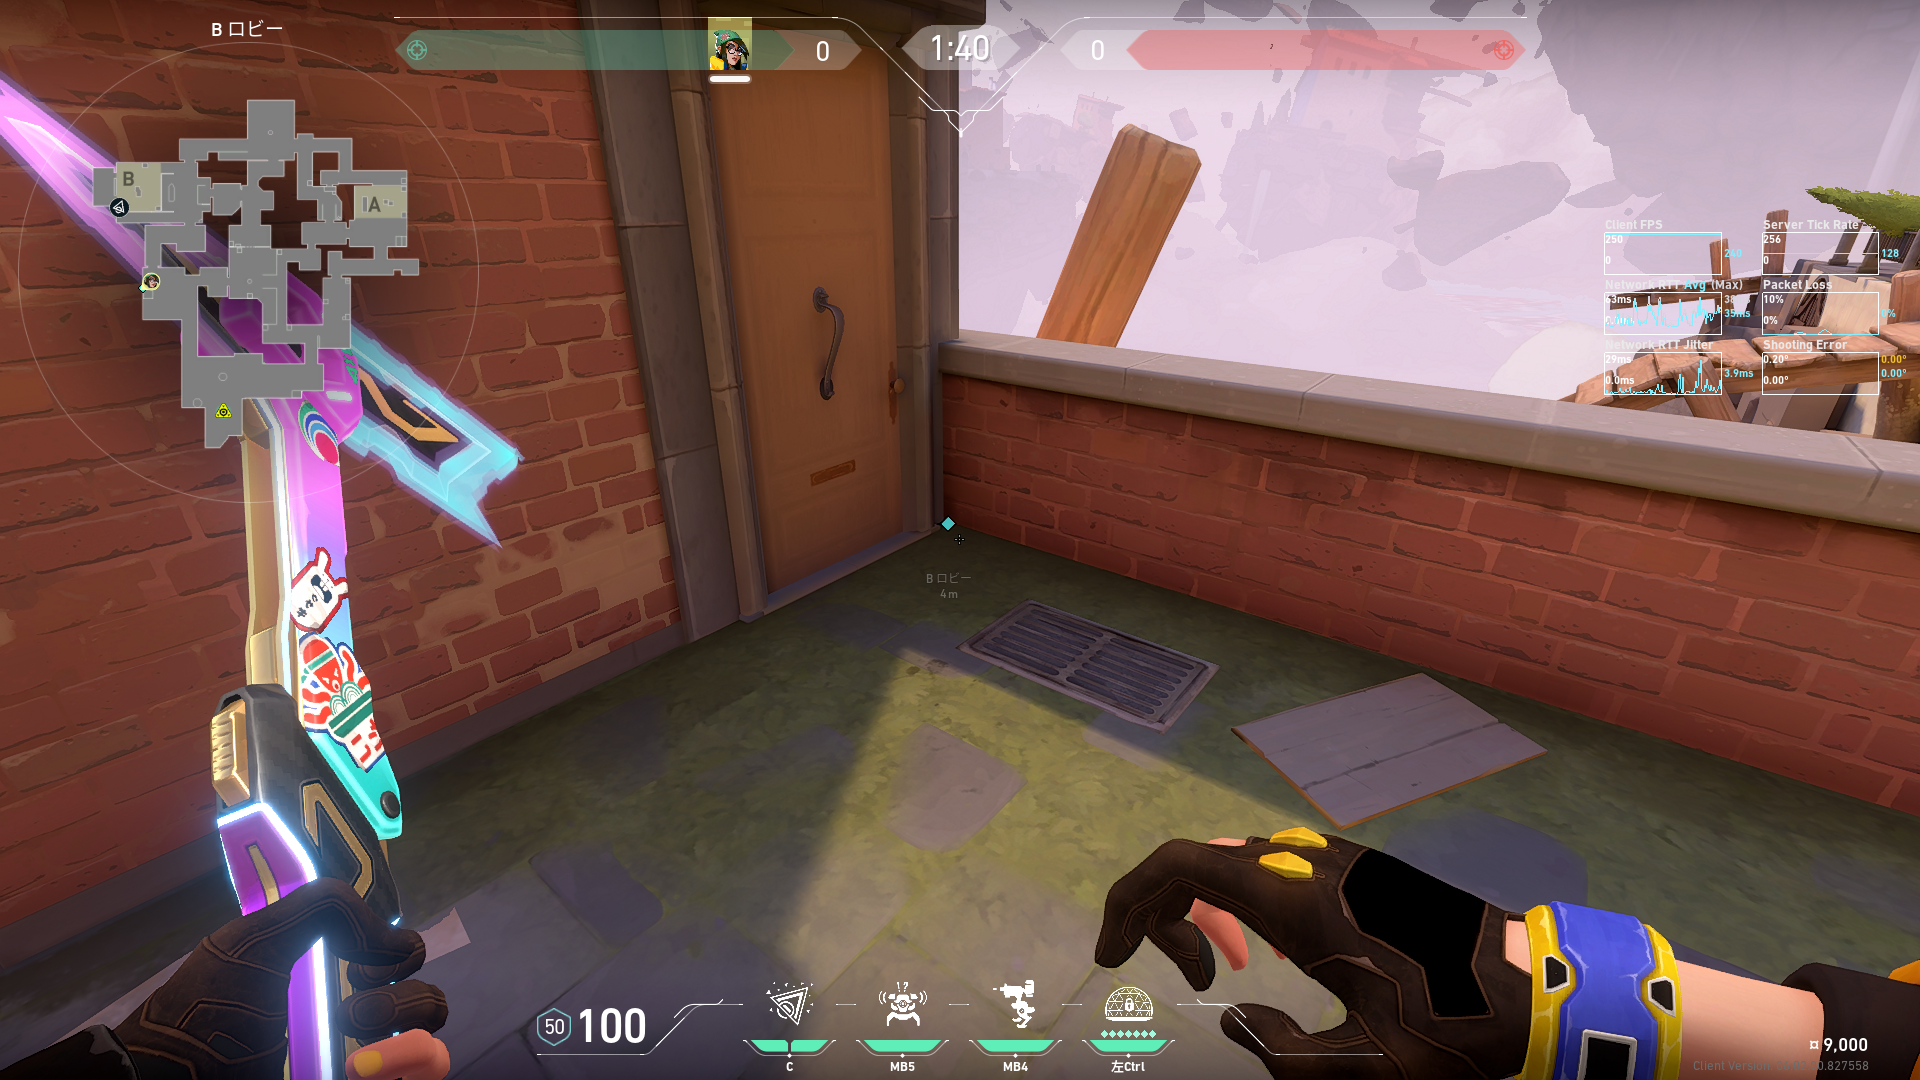
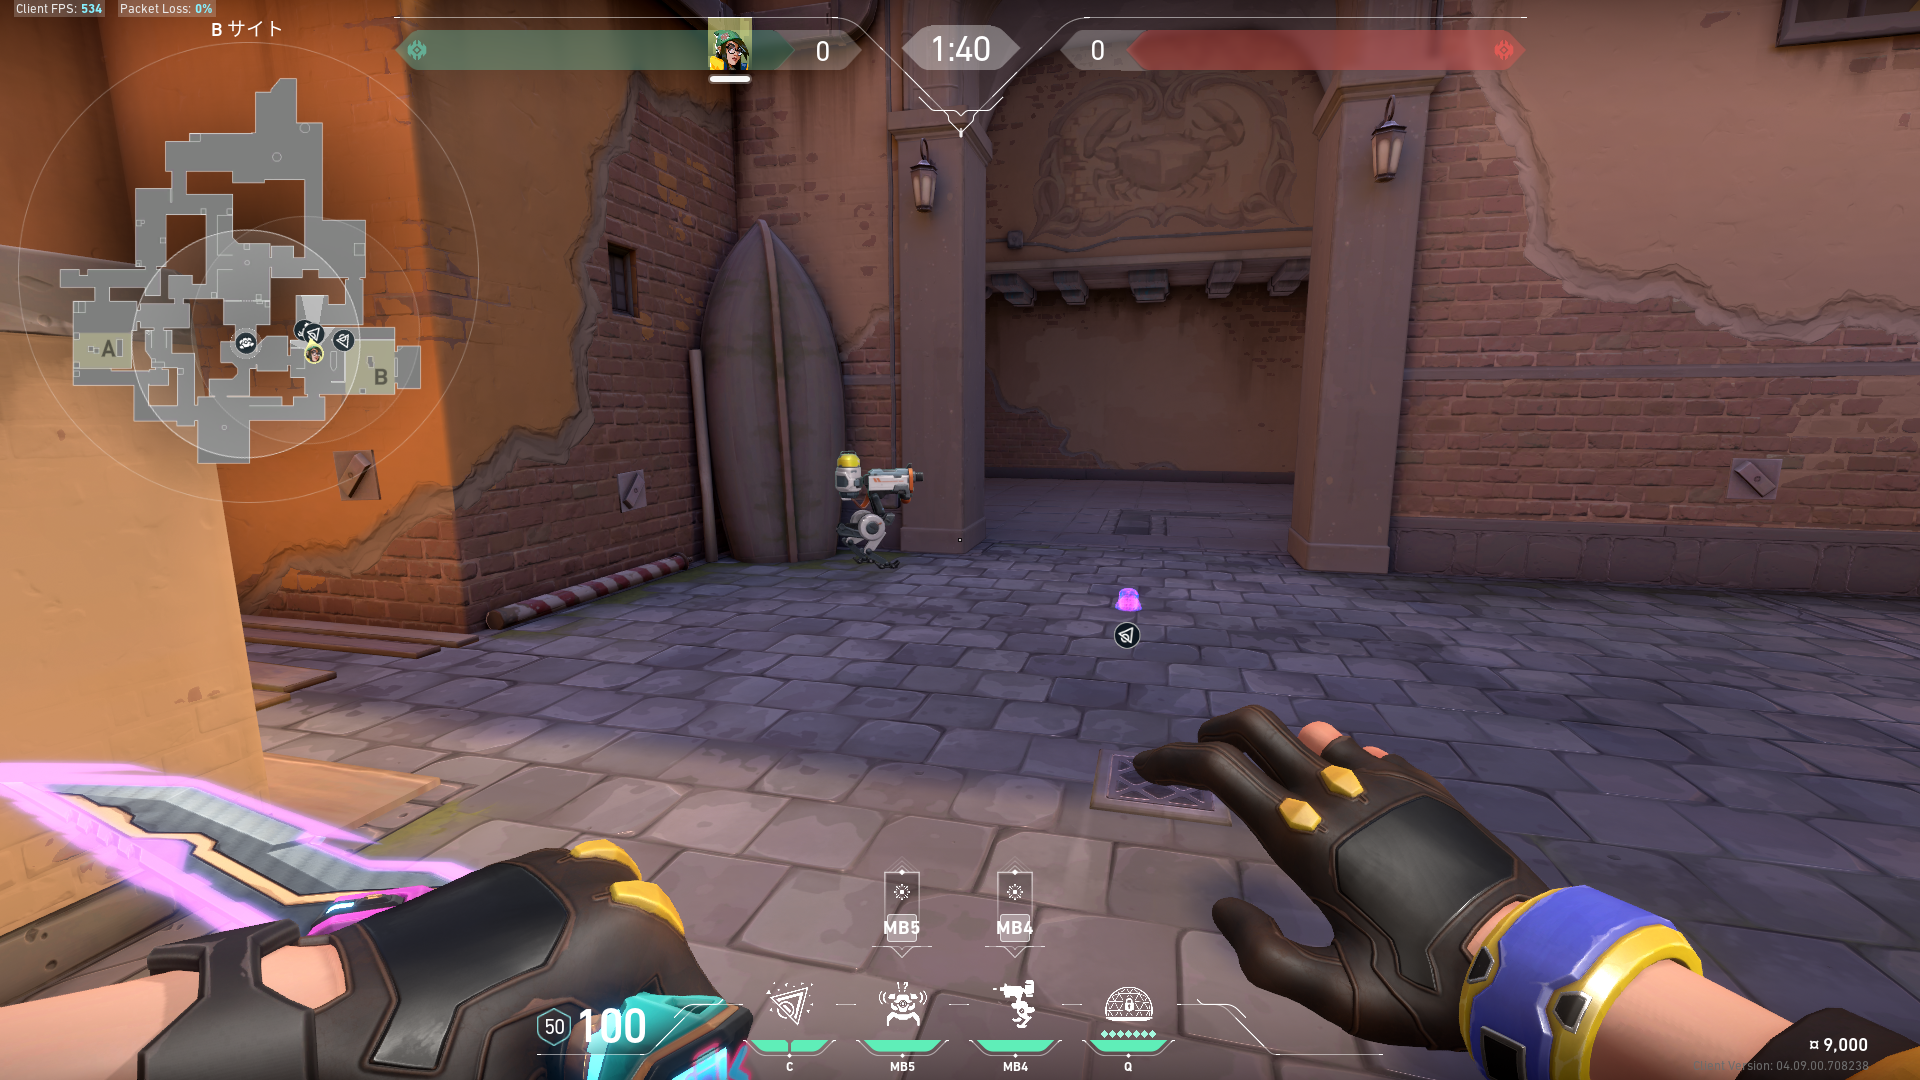 Preview  Preview 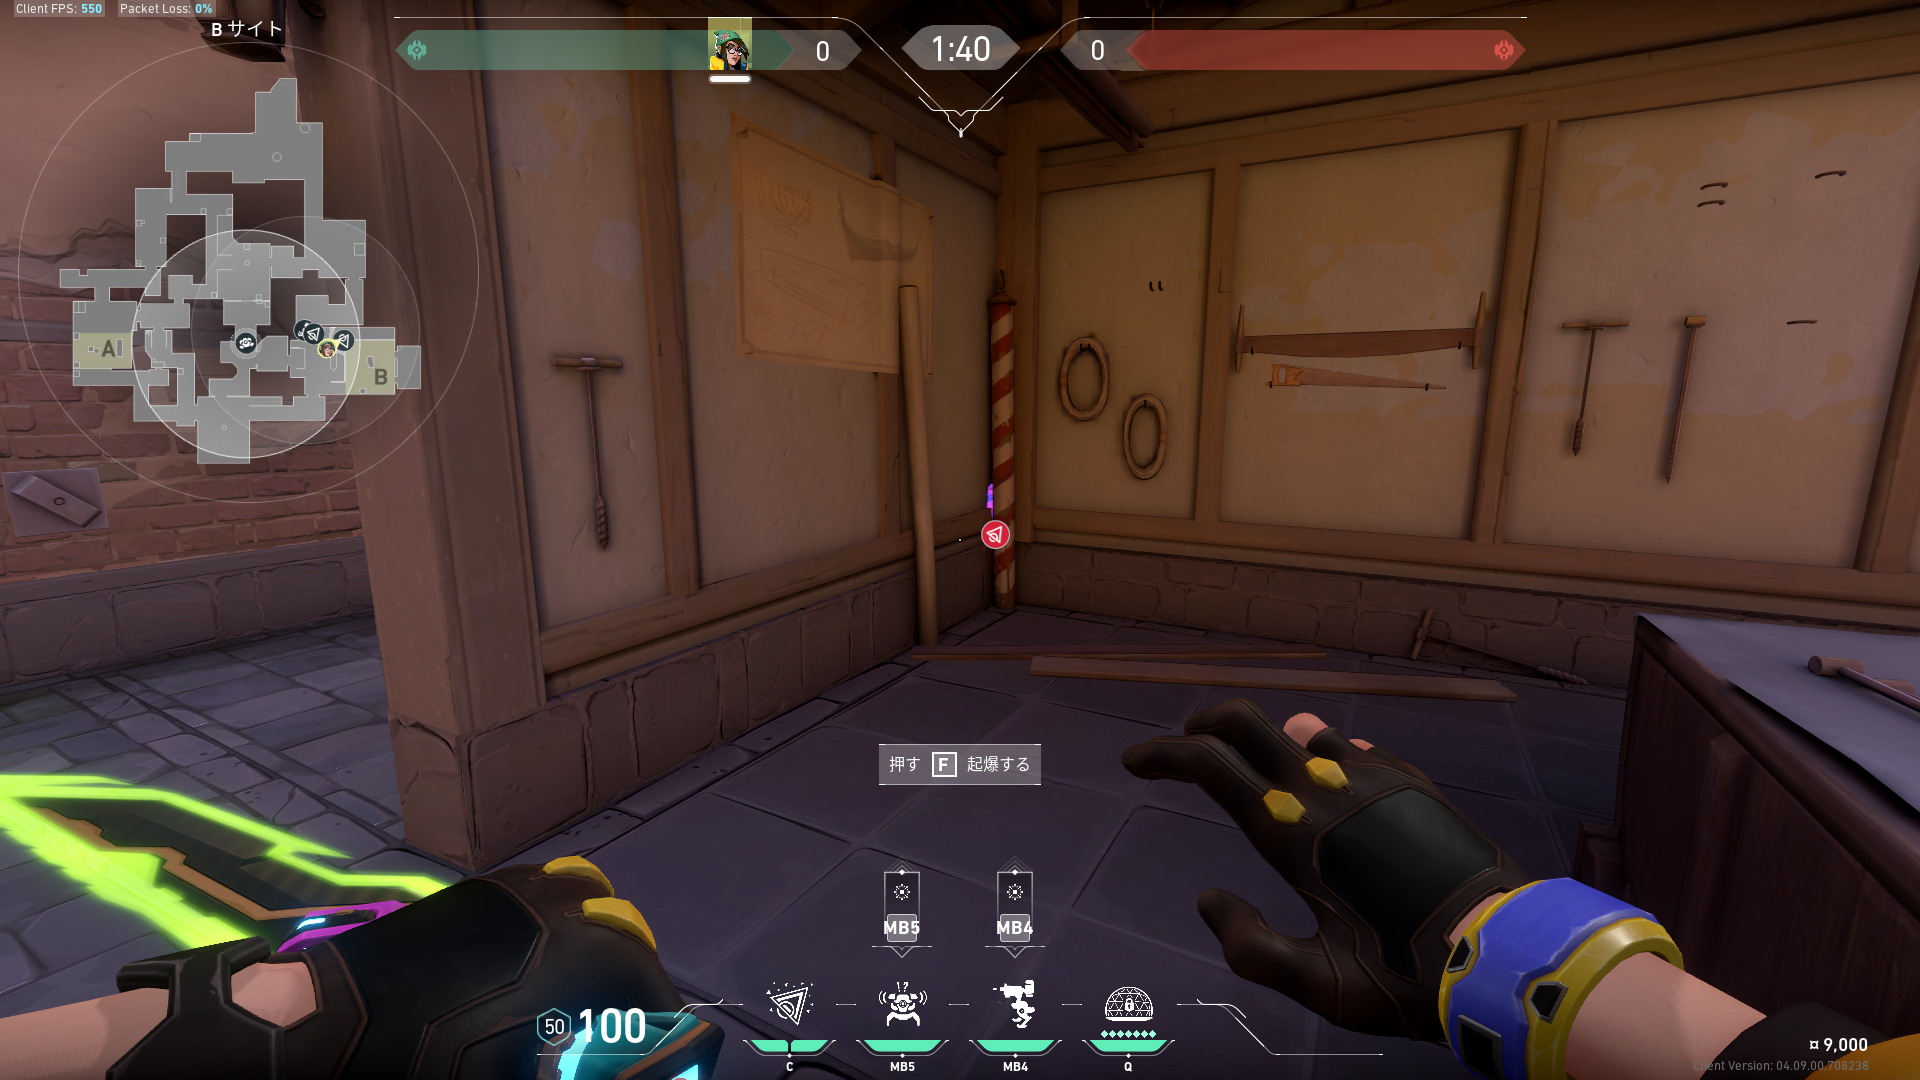 Preview 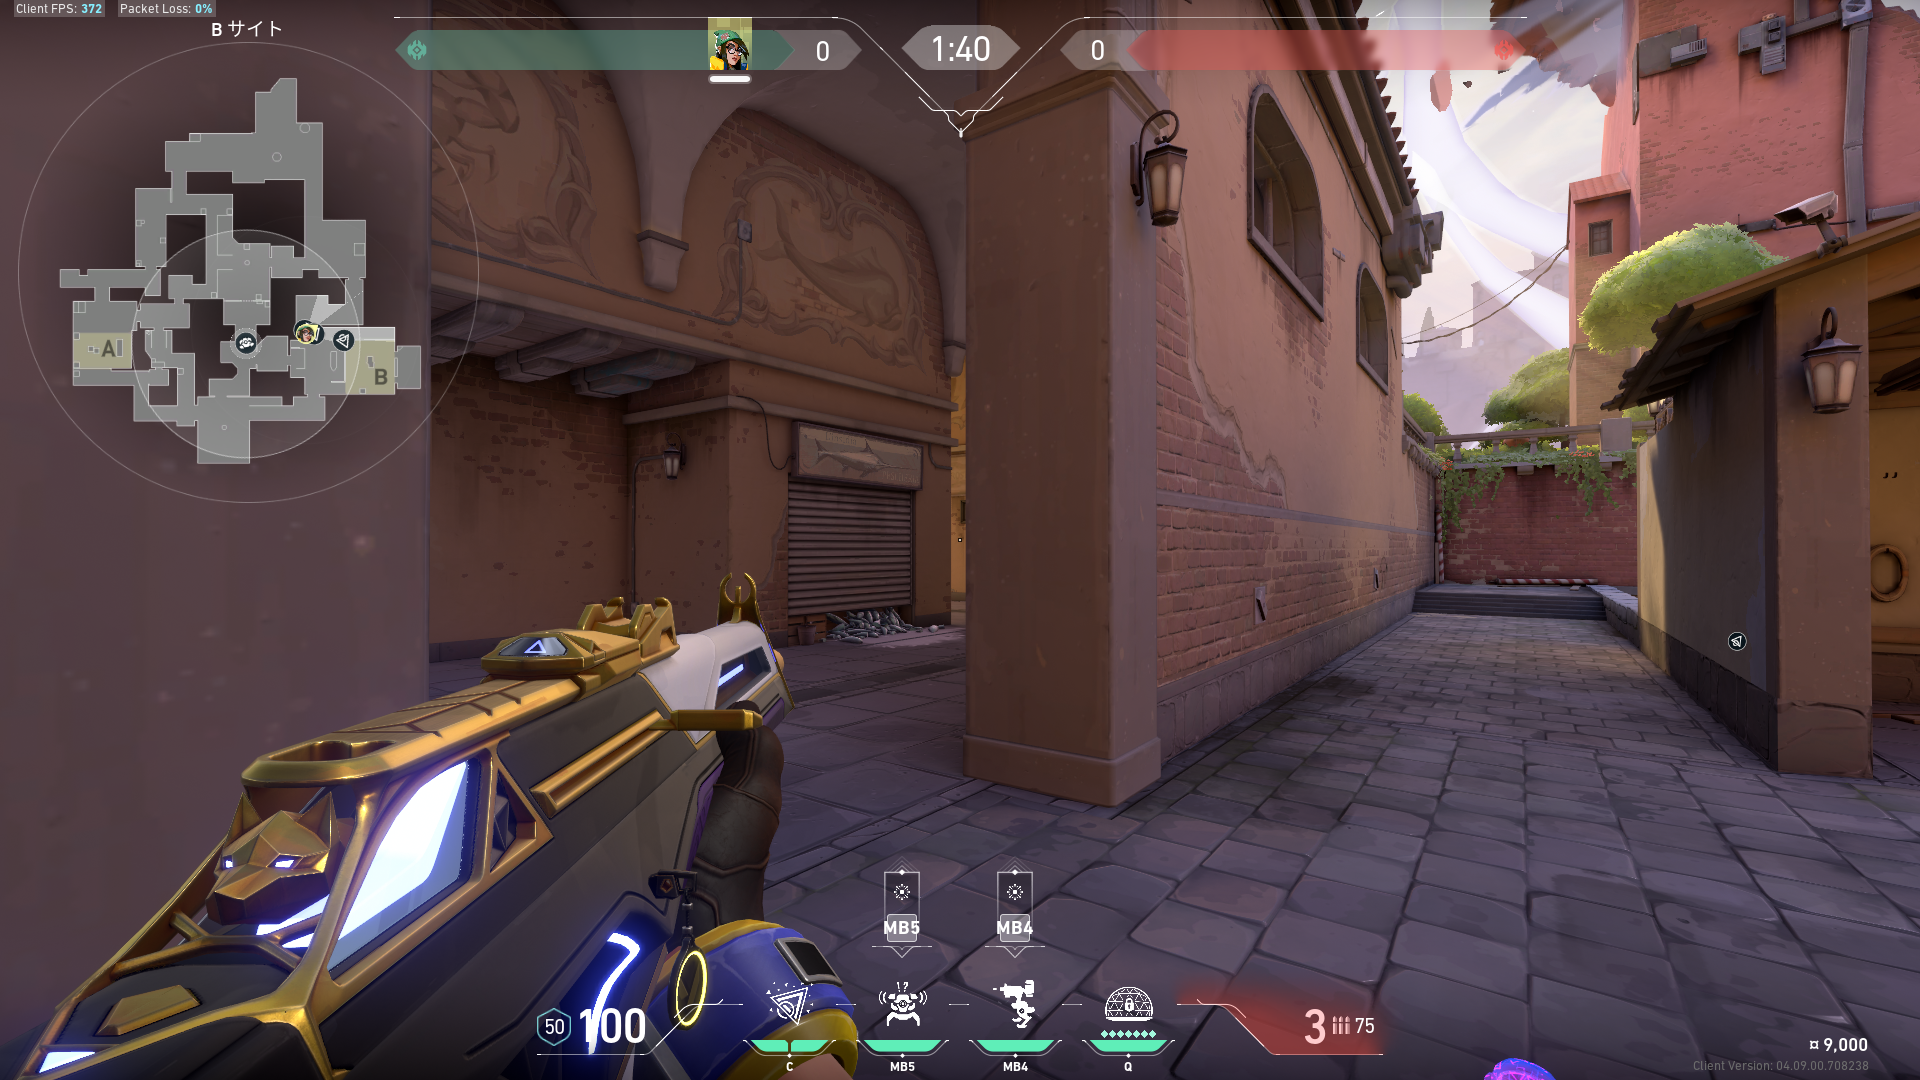 Preview | B側のセットアップ |
 Preview 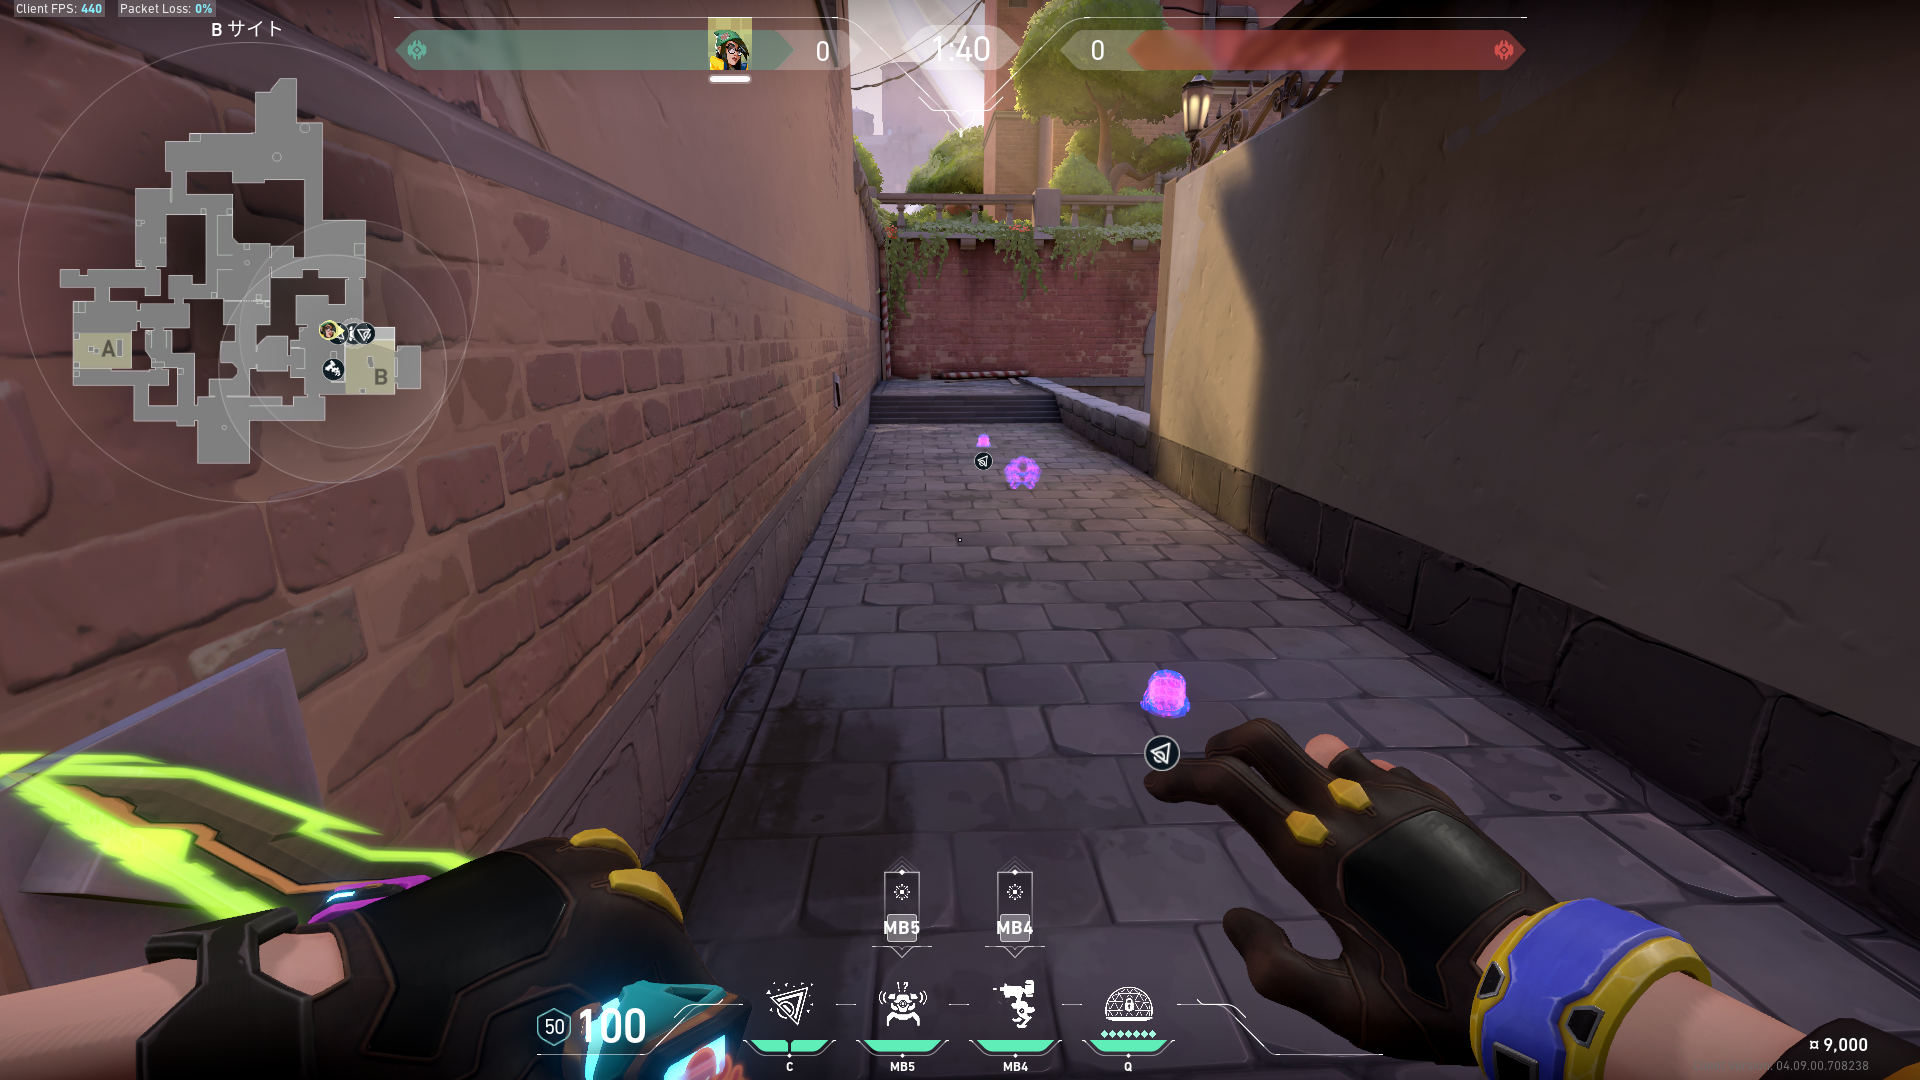 Preview 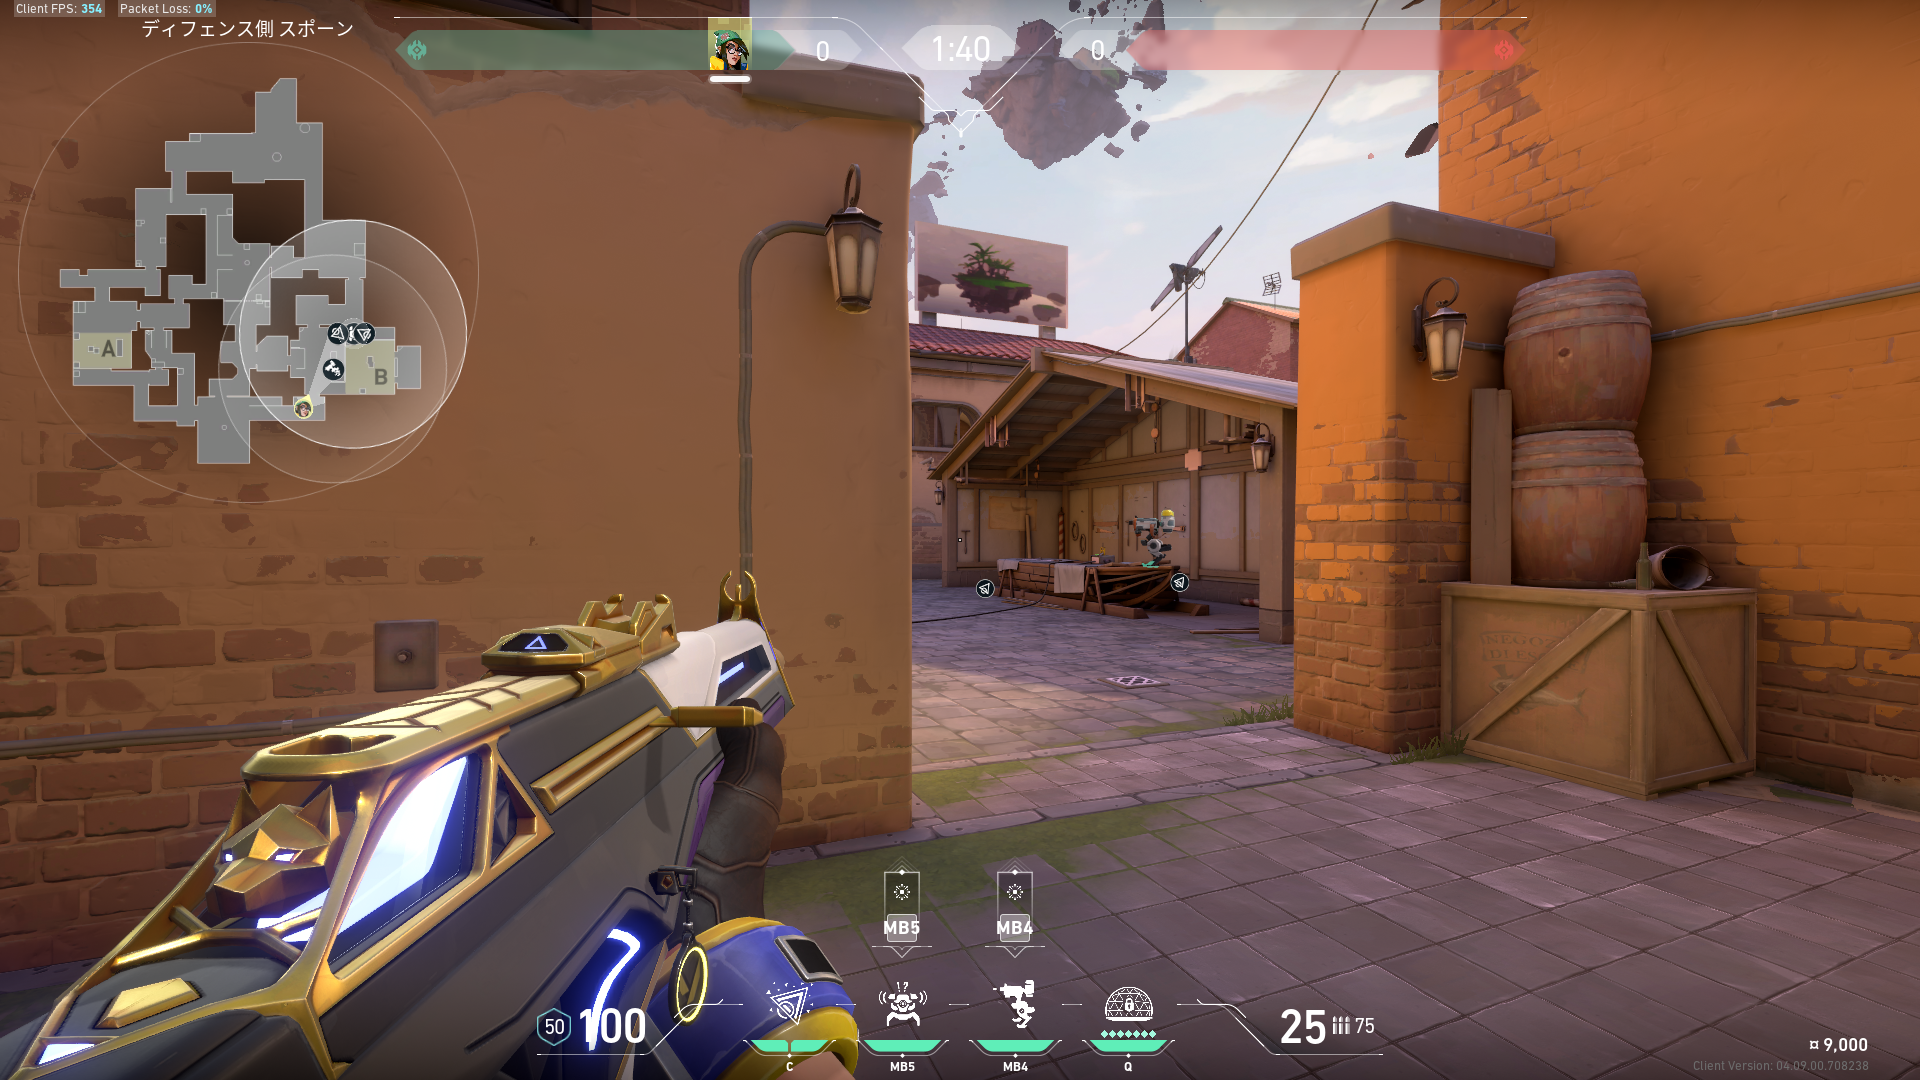 Preview | B側のウルトがあるときのセットアップ |
 Preview 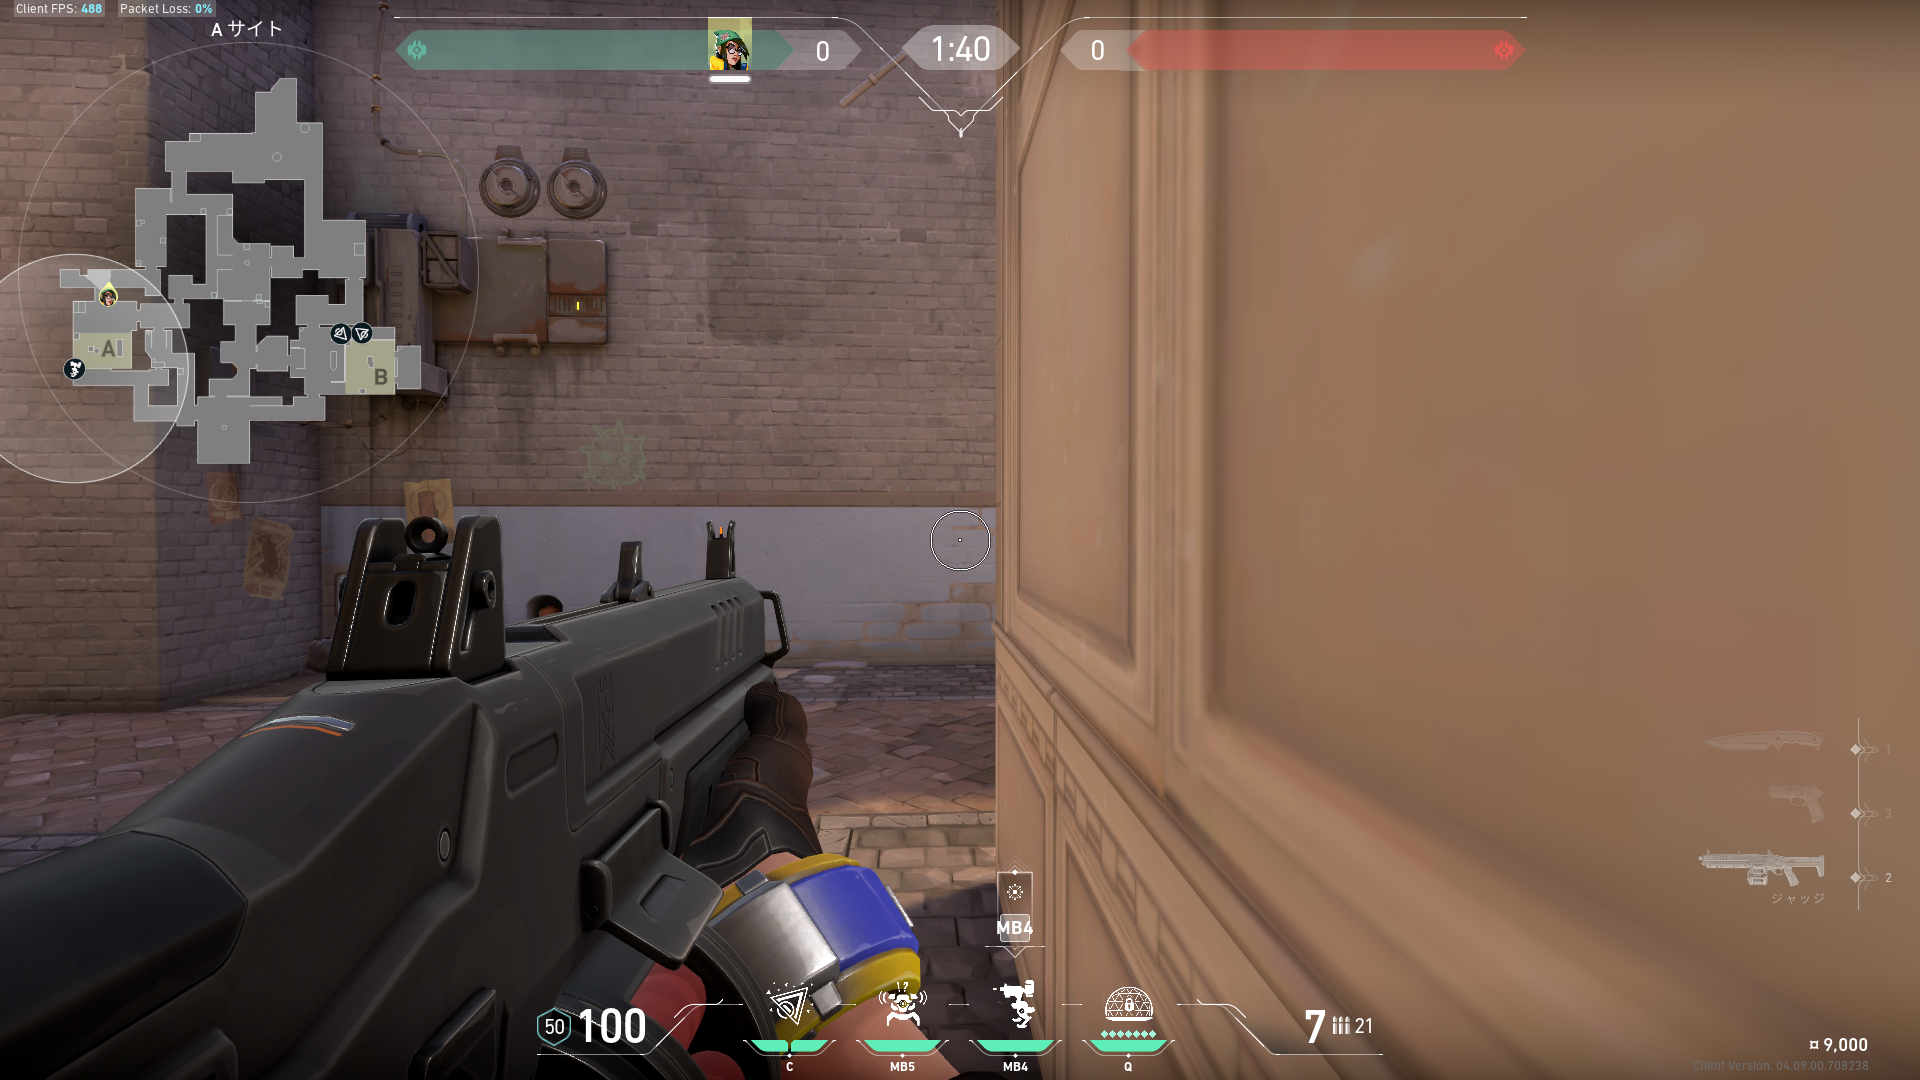 Preview | B側のエコラウンドの守り例。 |
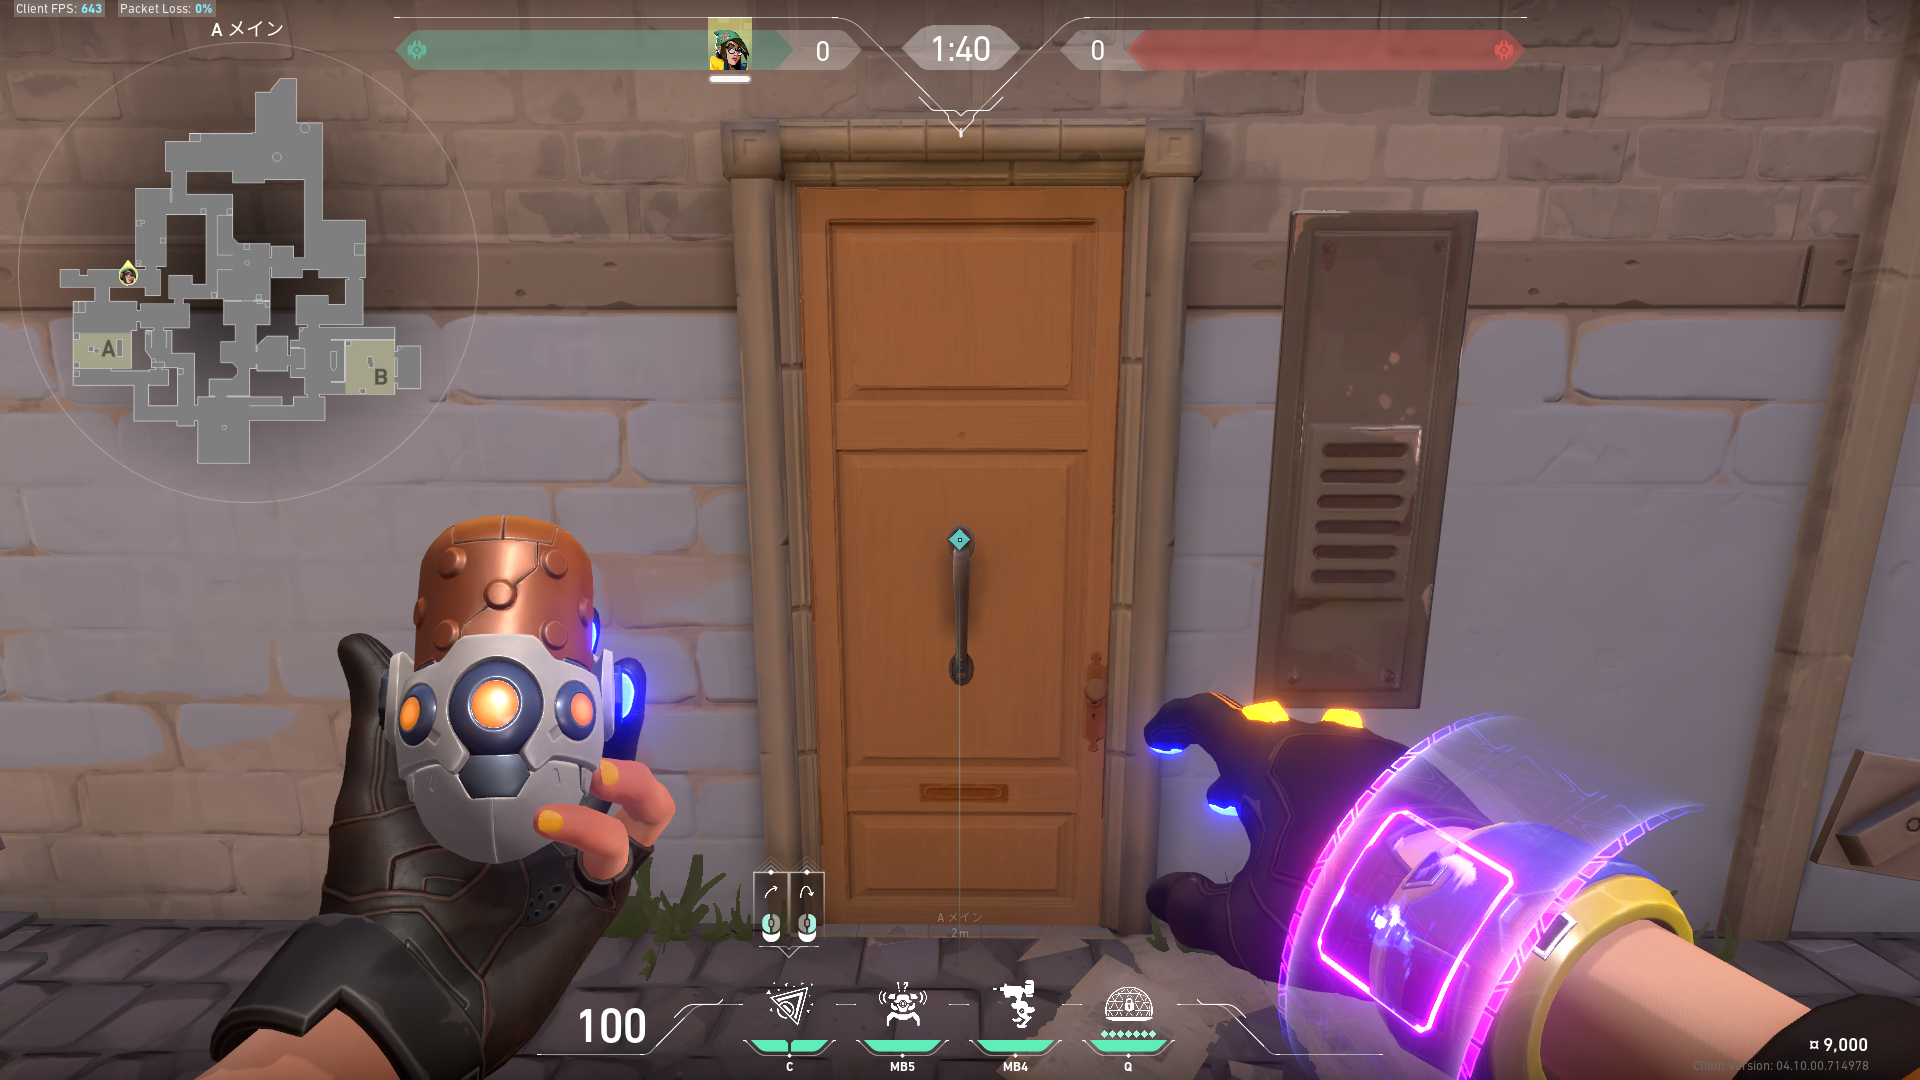
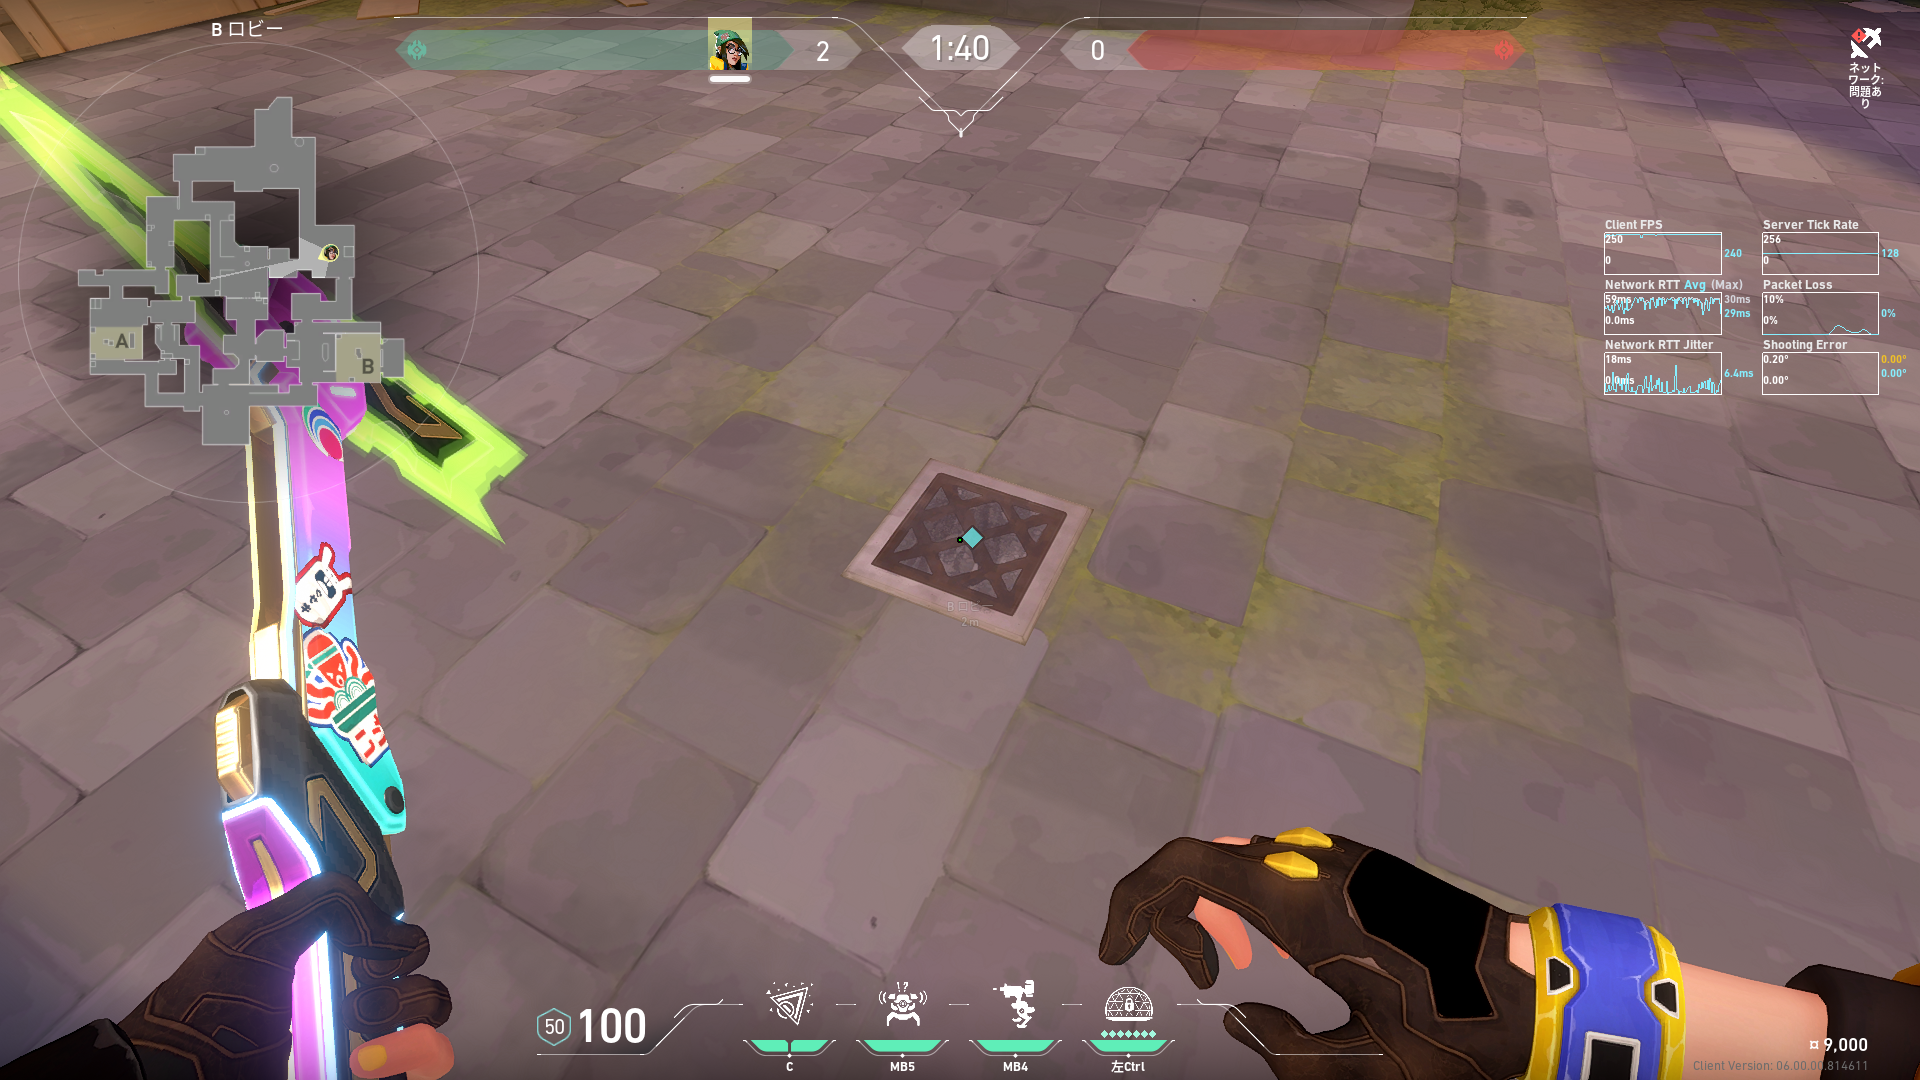
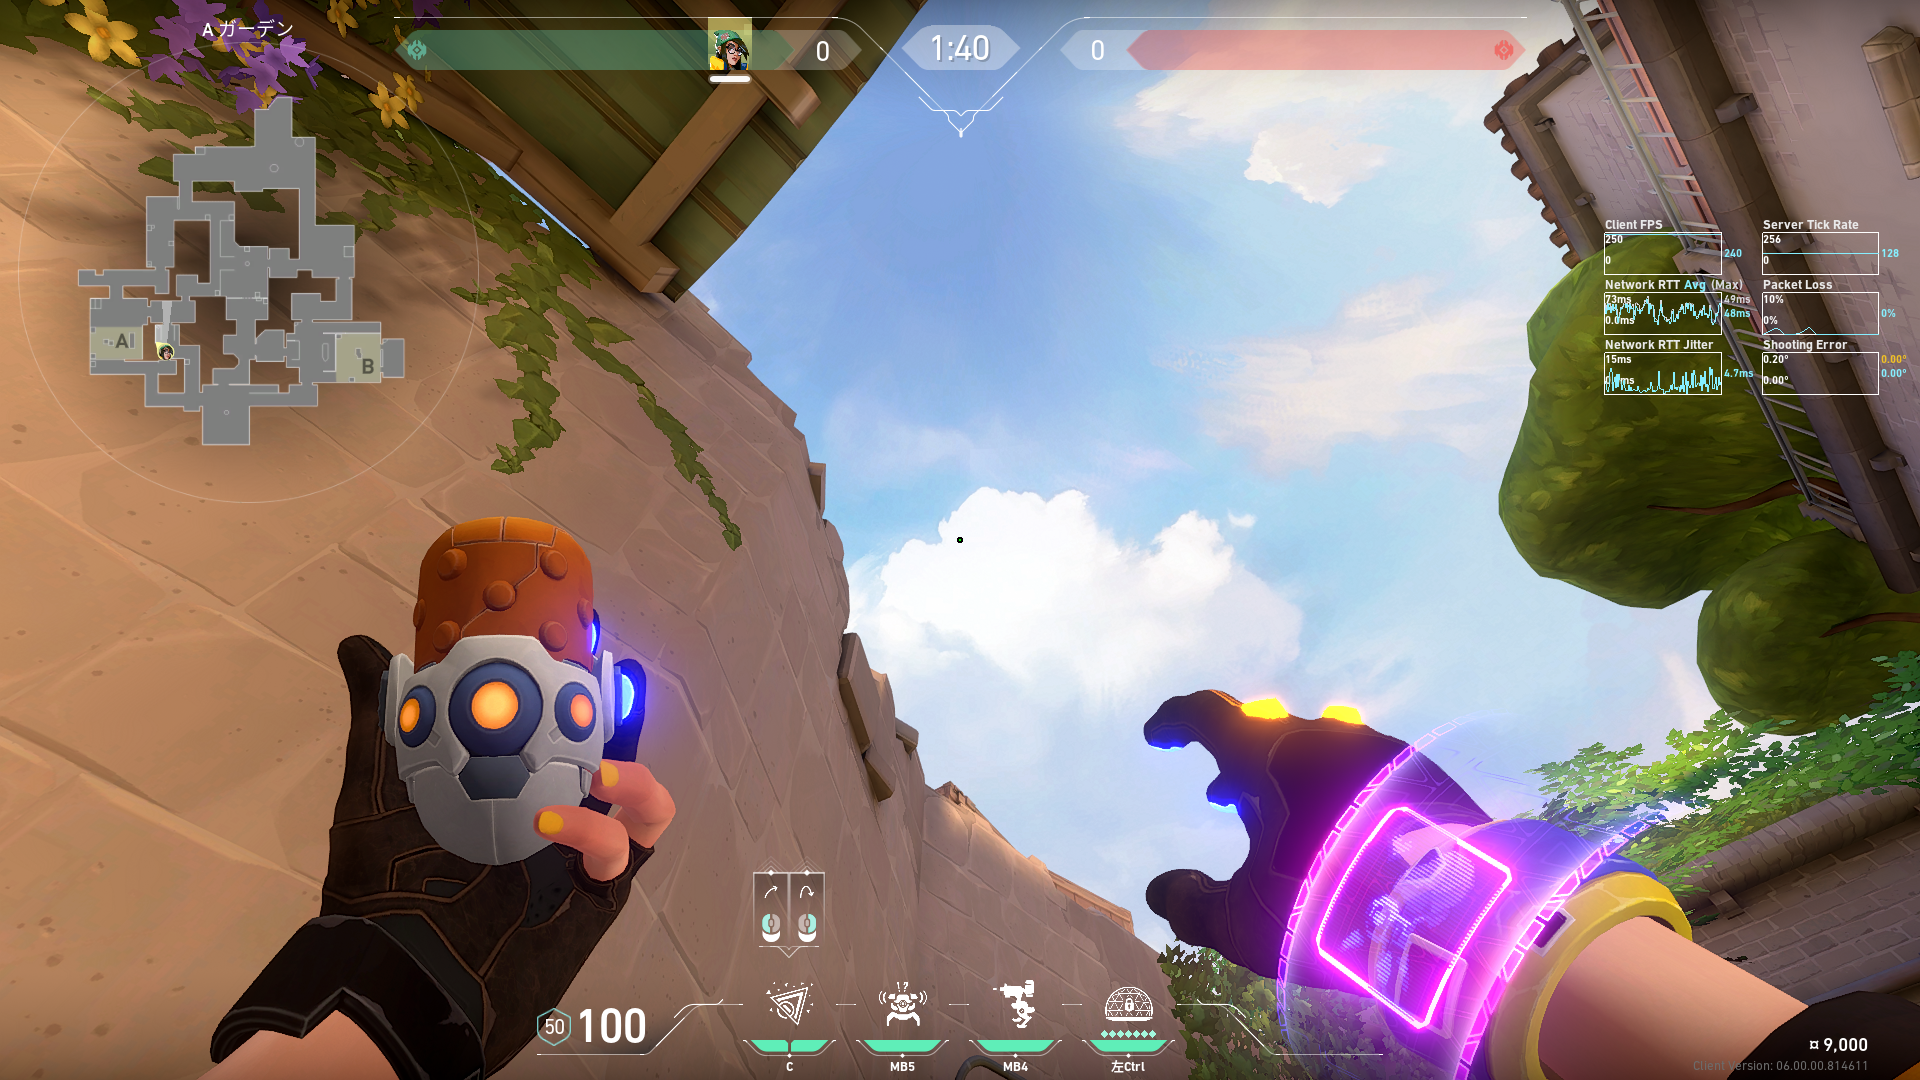 Preview | A側 |
 Preview 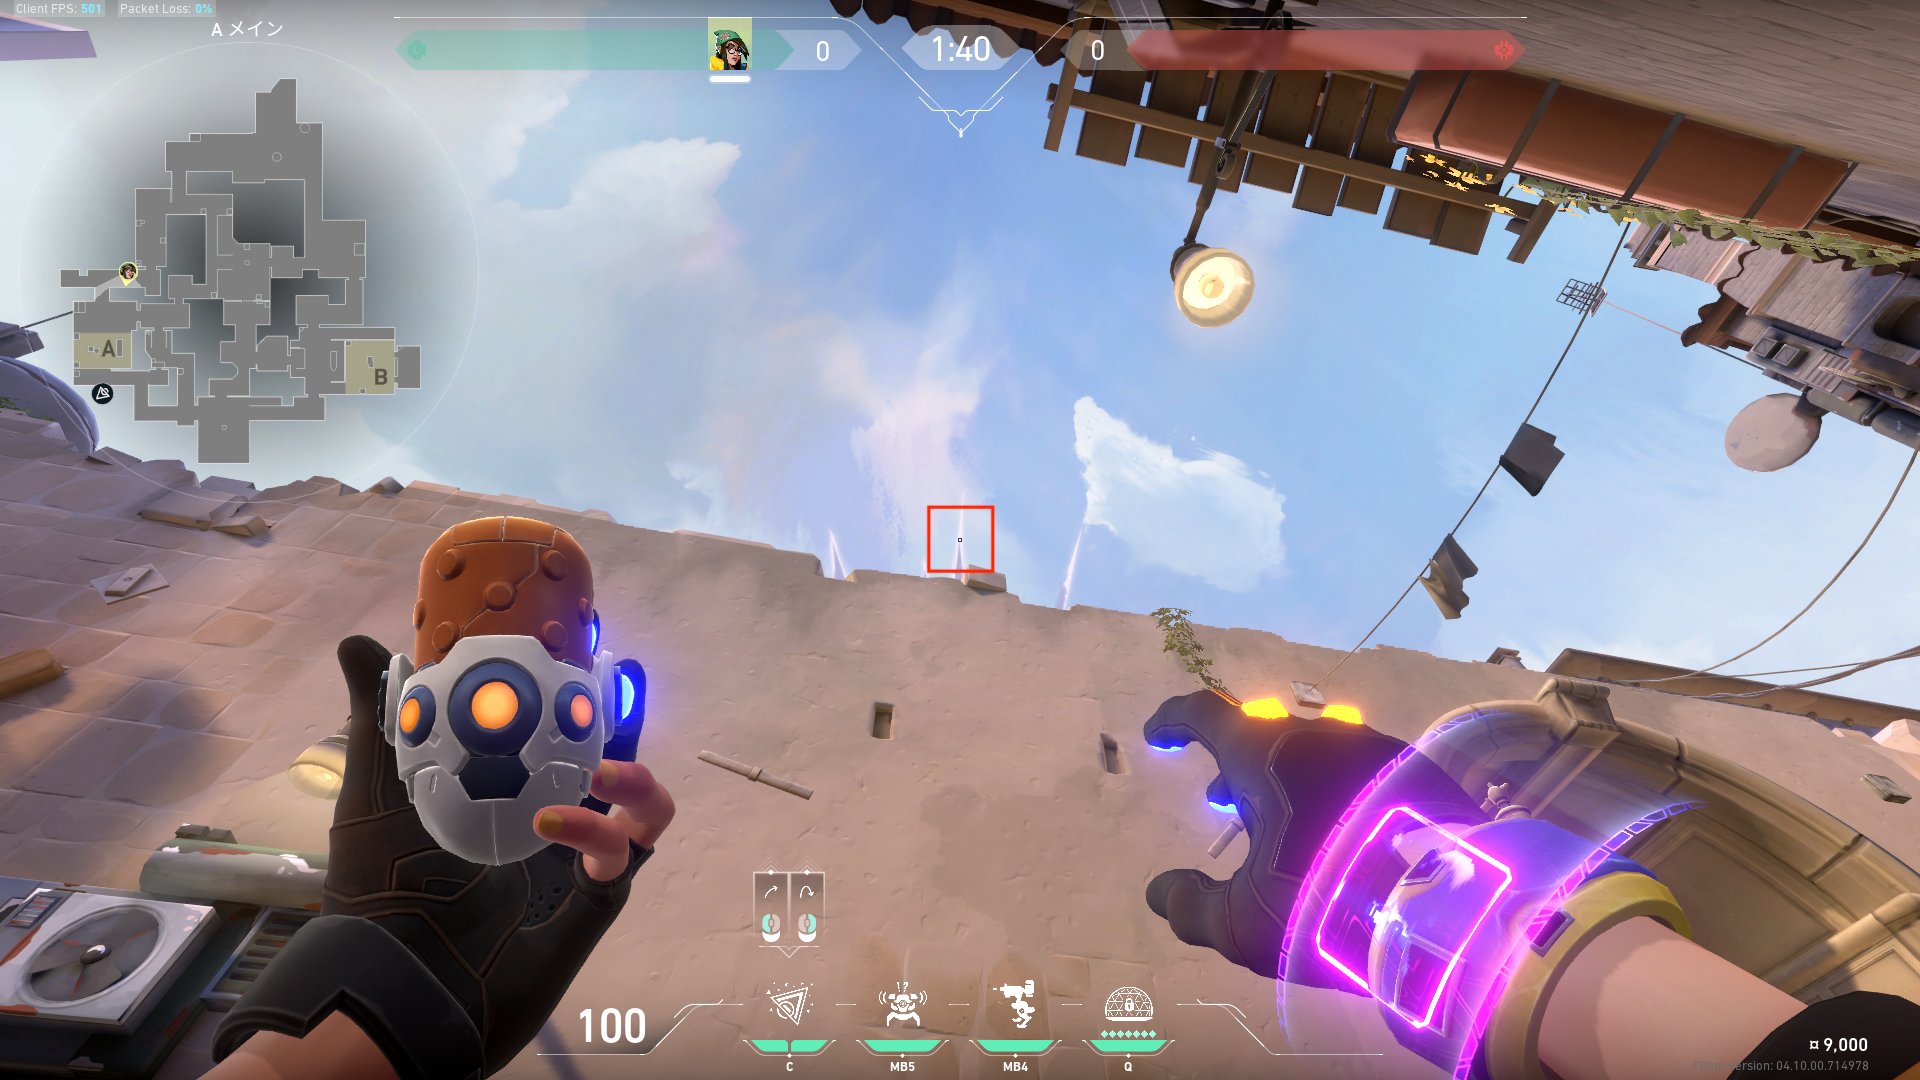 Preview | A側攻めのときのヘヴンへの空爆。 |
 Preview 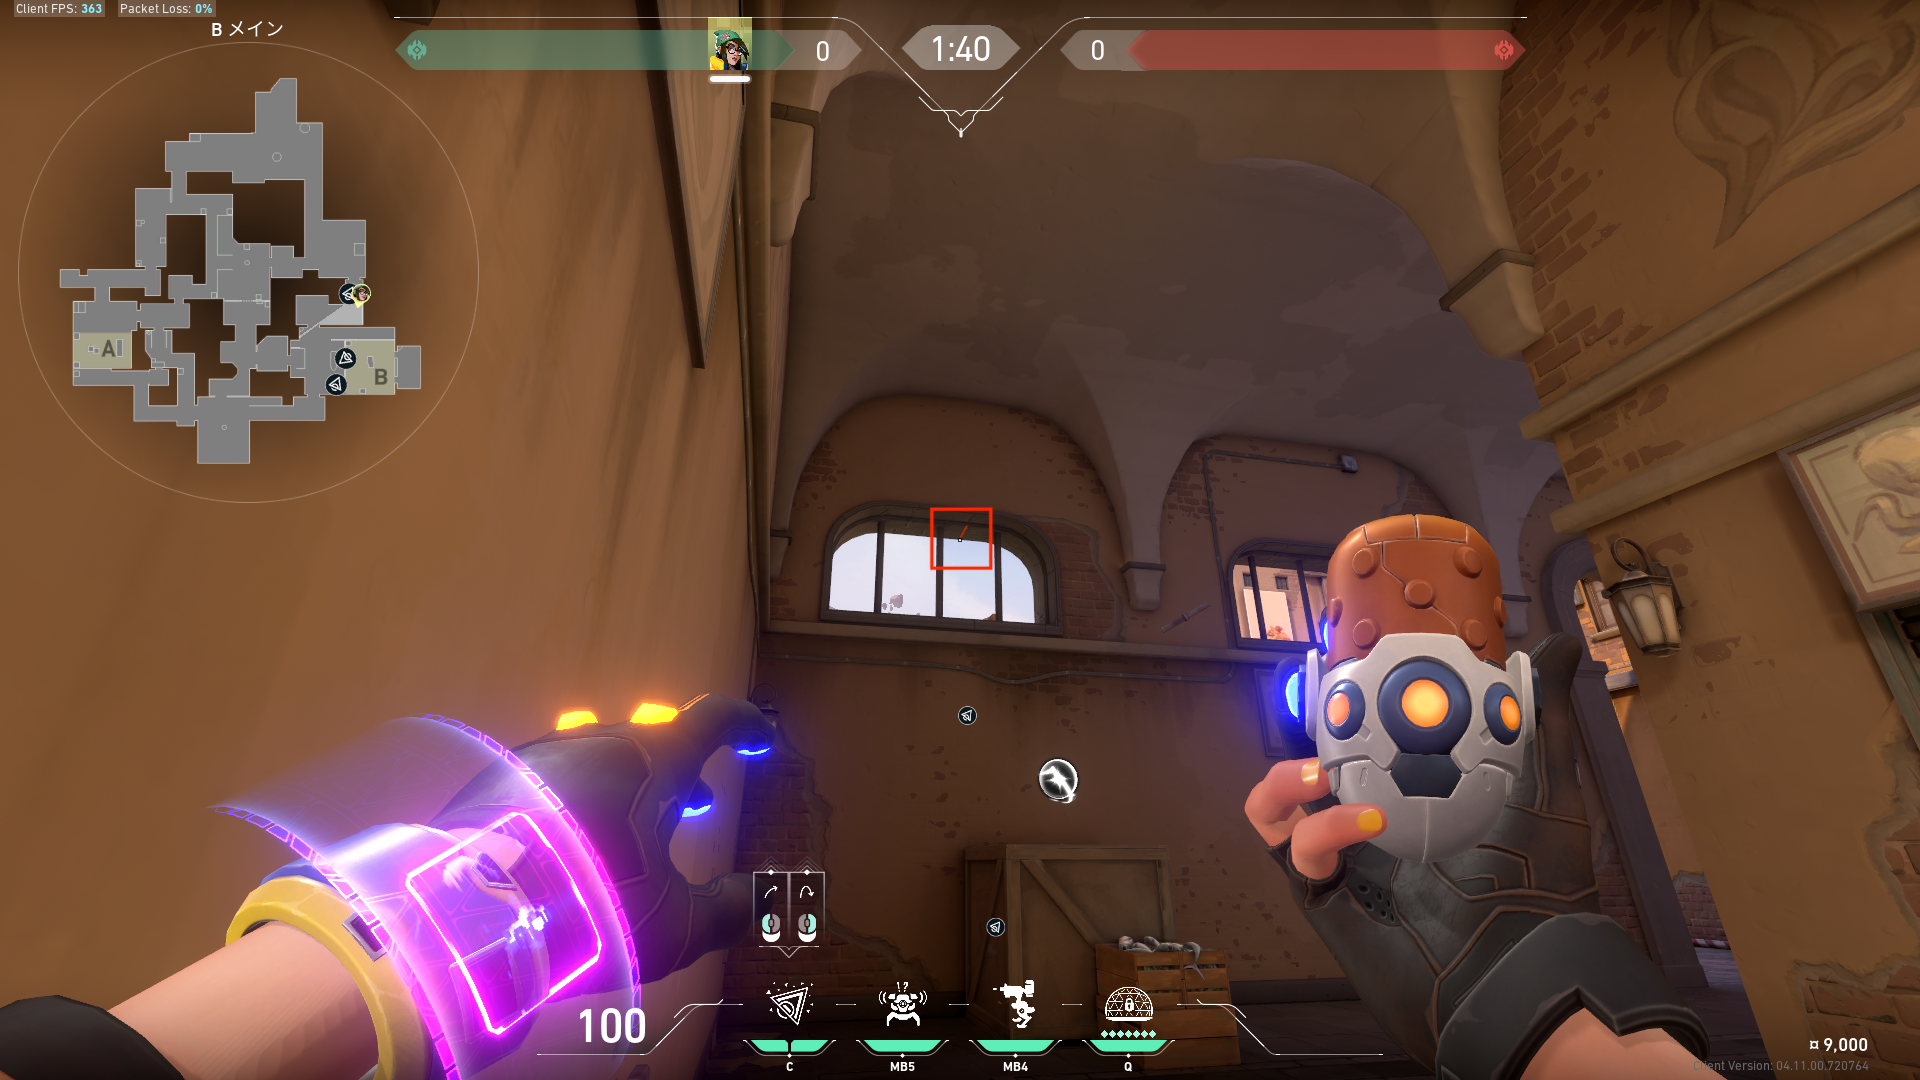 Preview 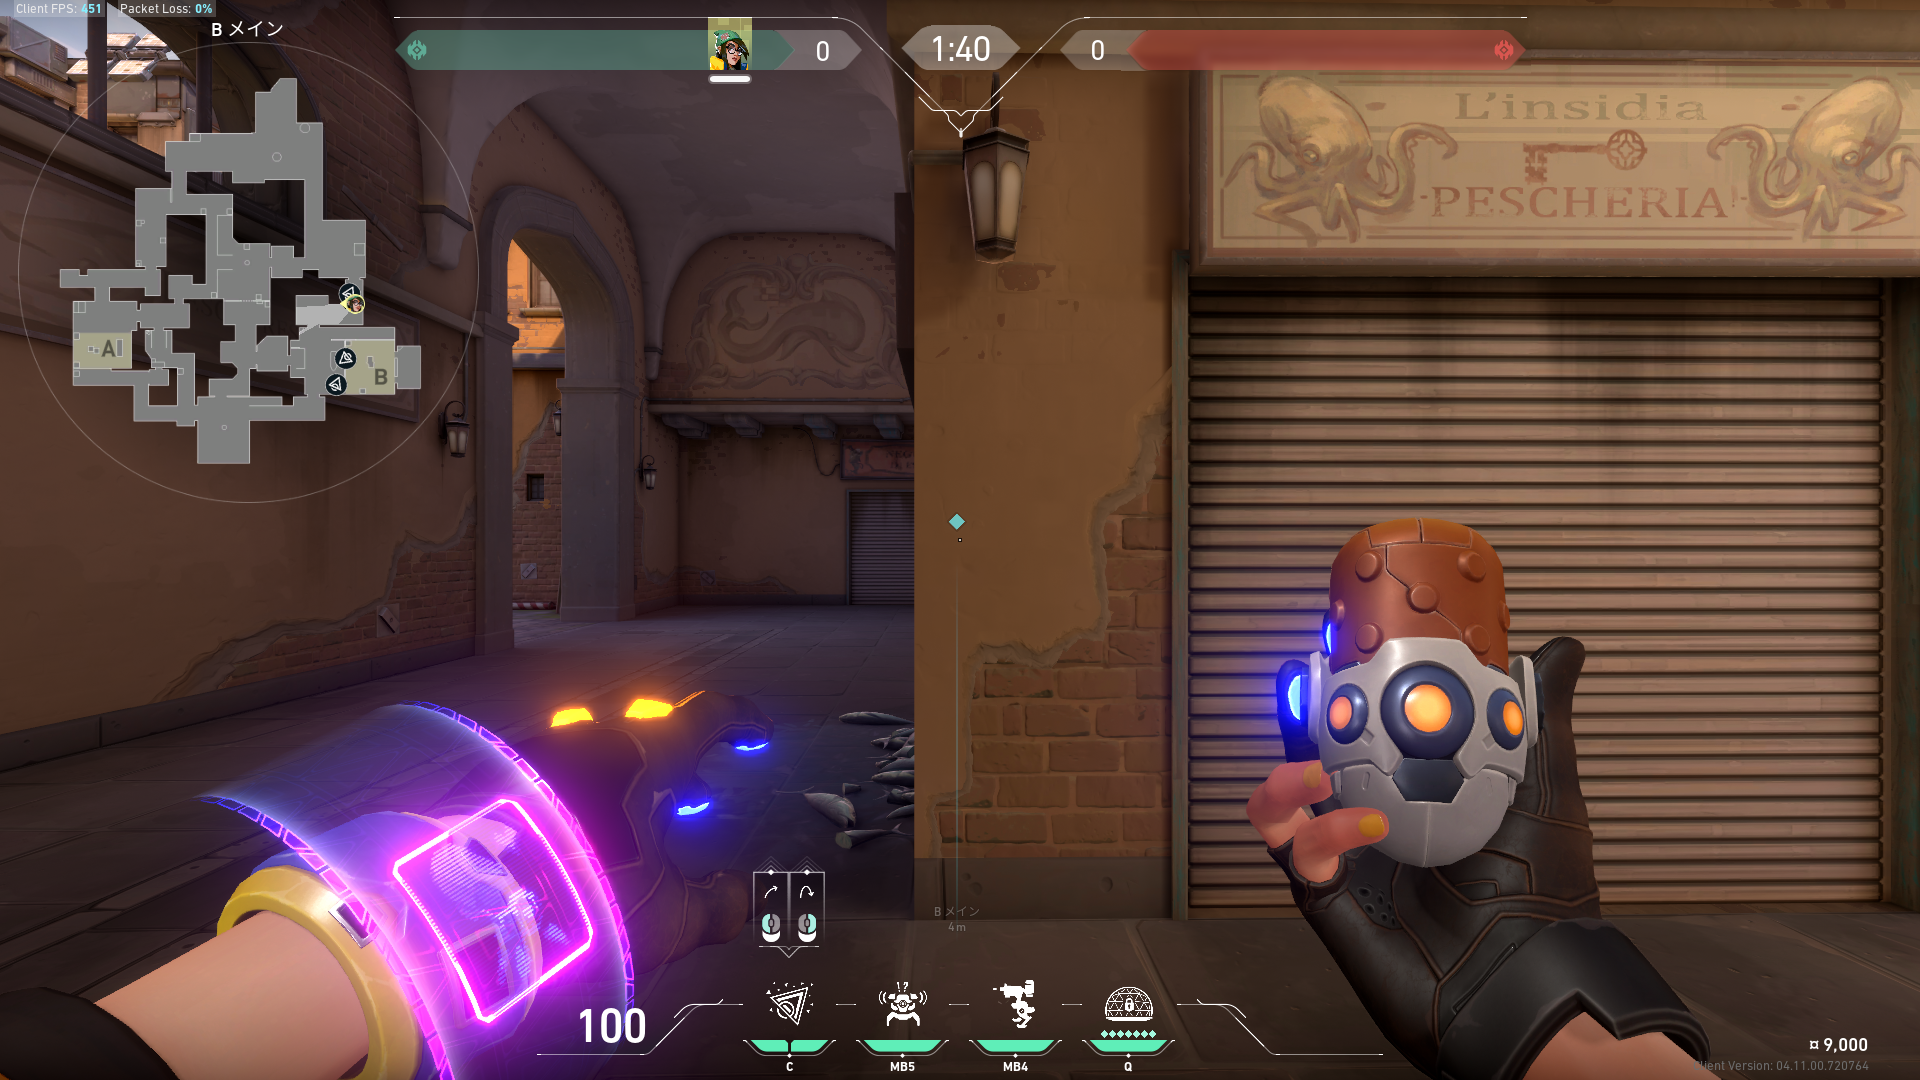 Preview 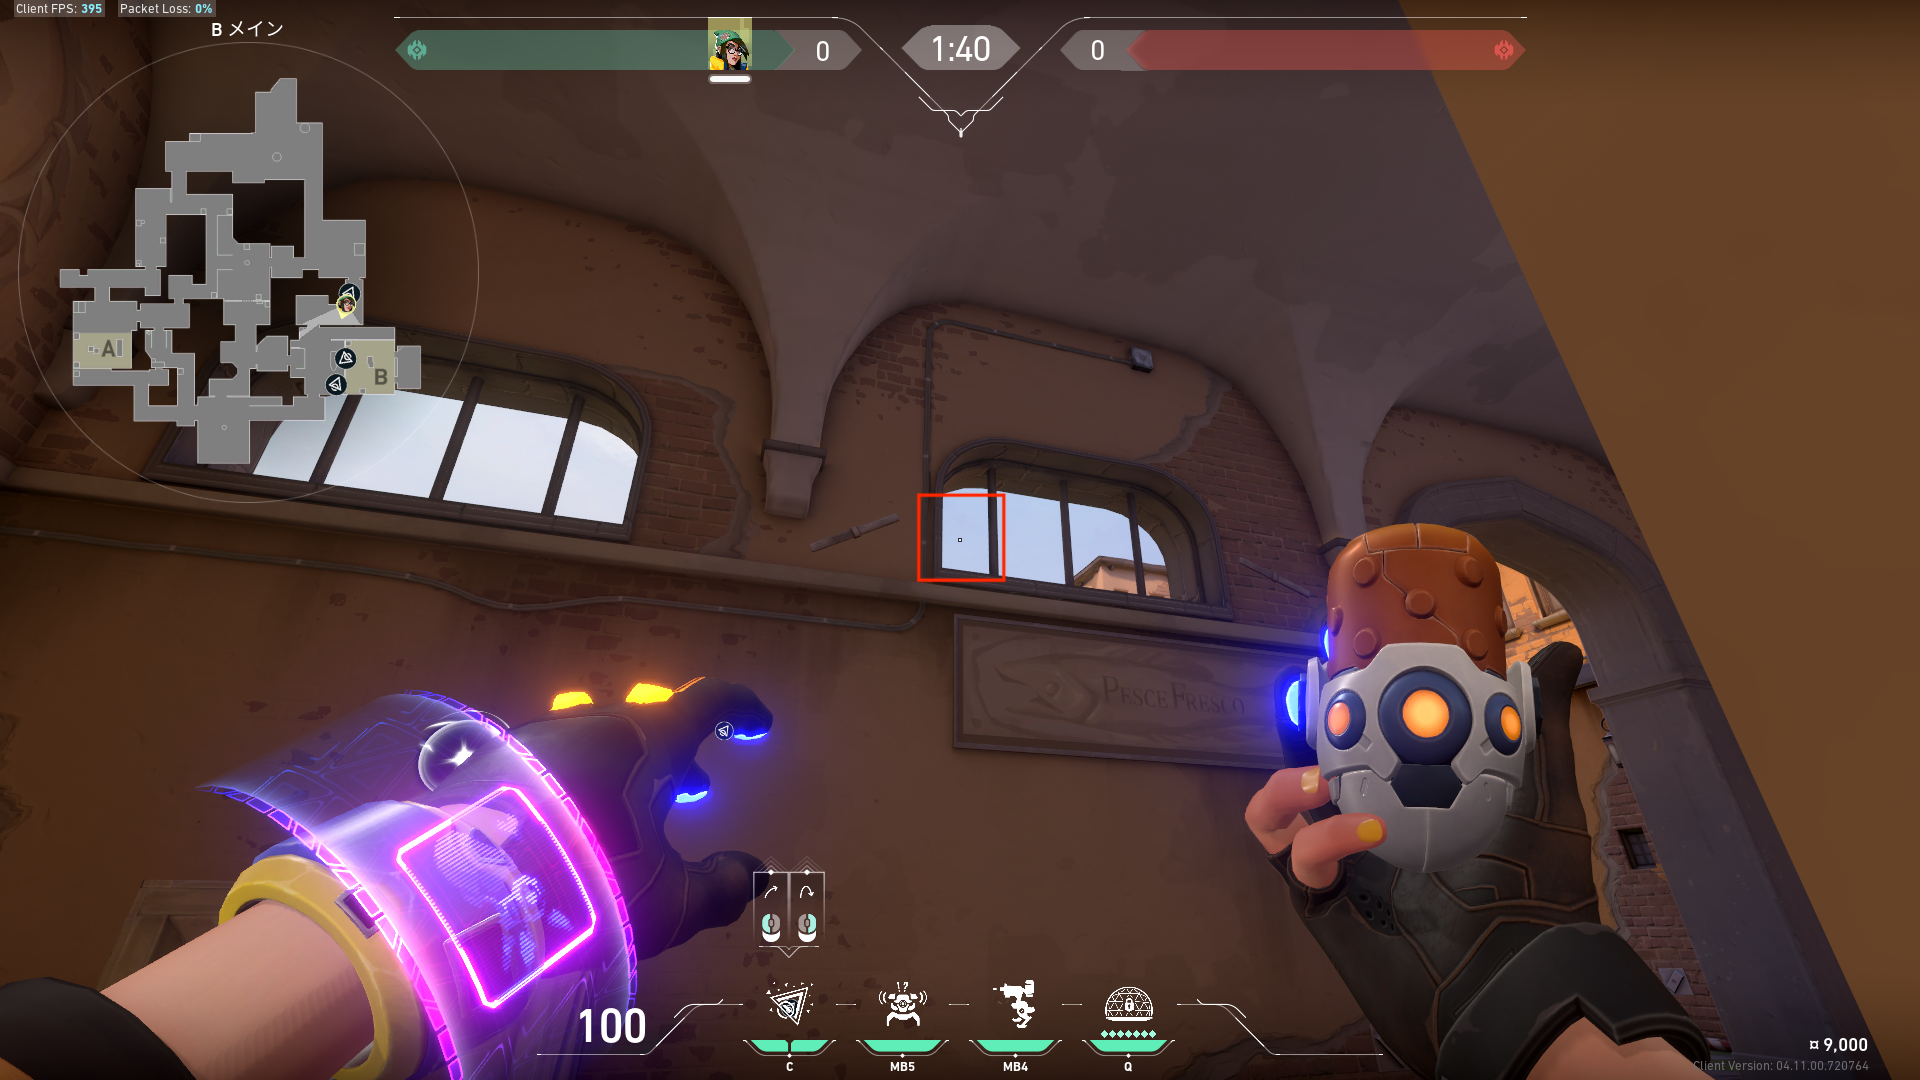 Preview | B側攻めのときのCTとボート裏への空爆。 |
 Preview 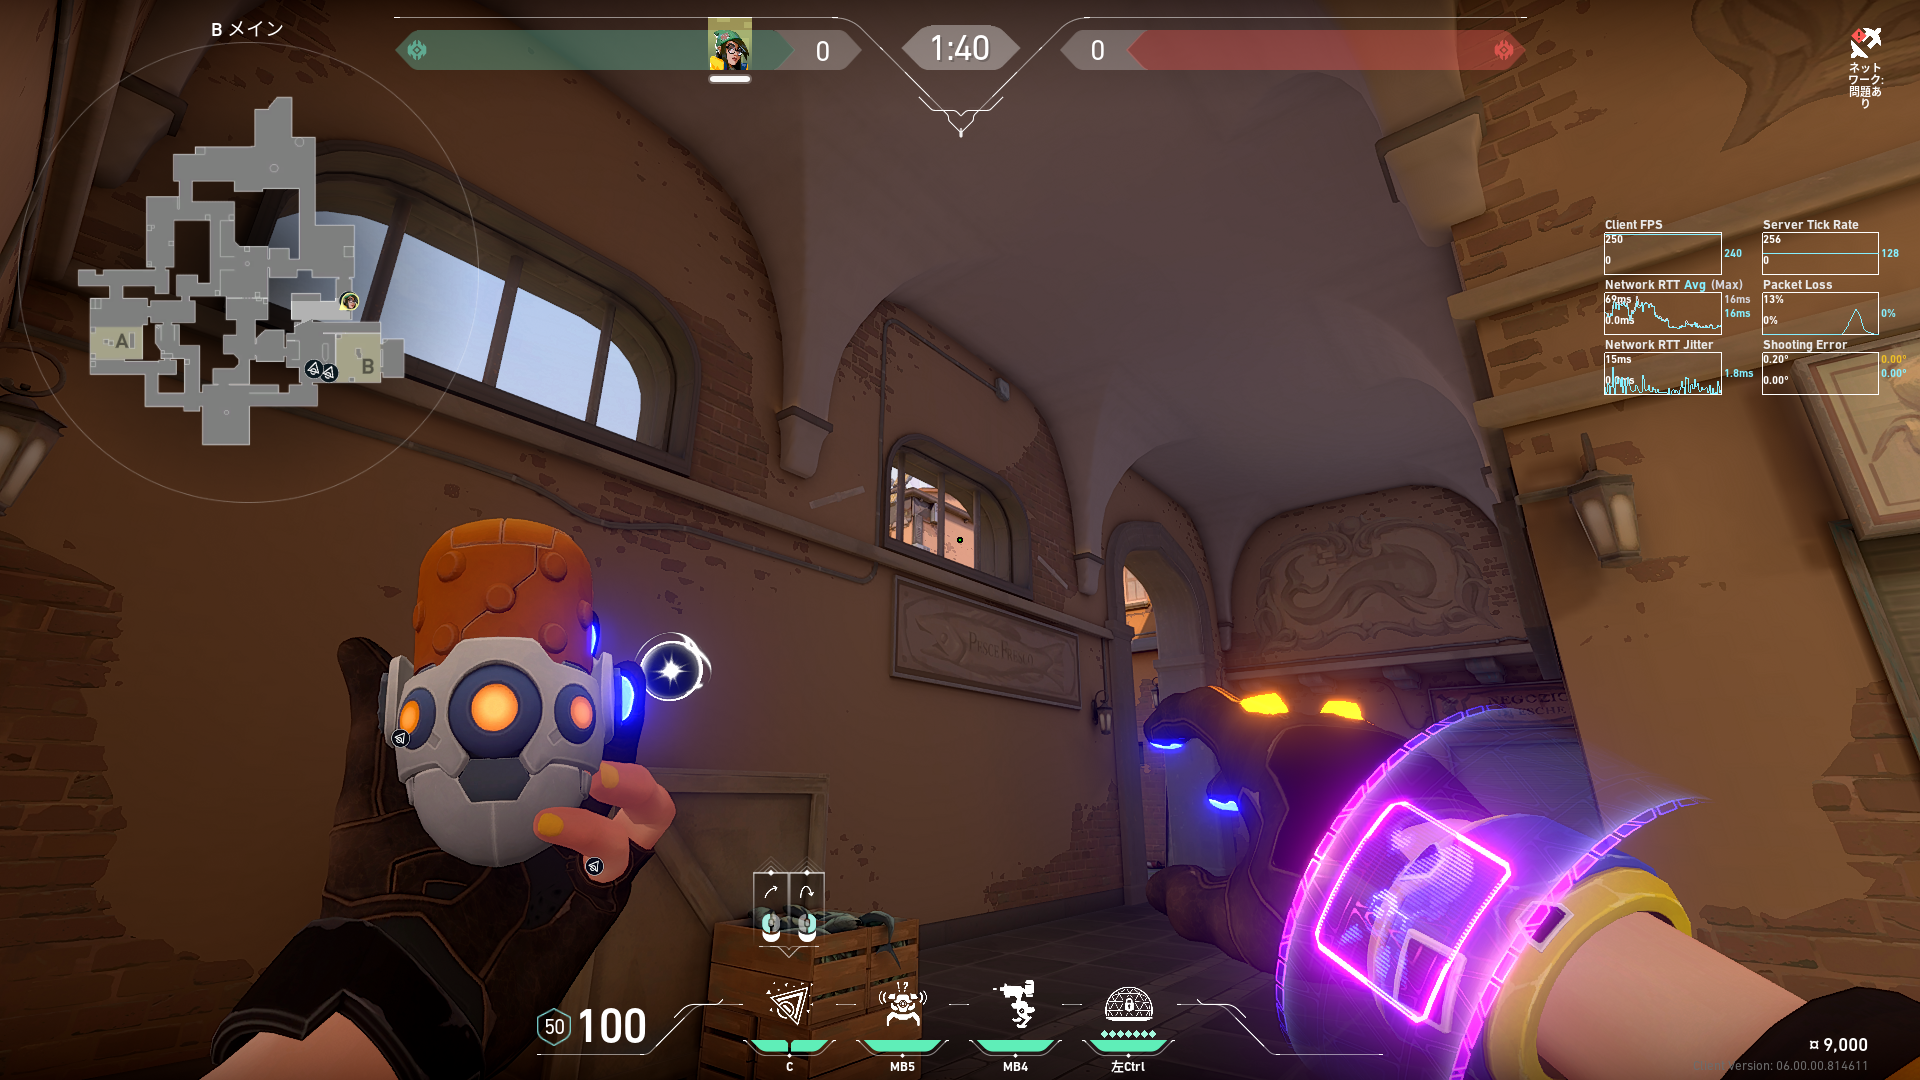 Preview 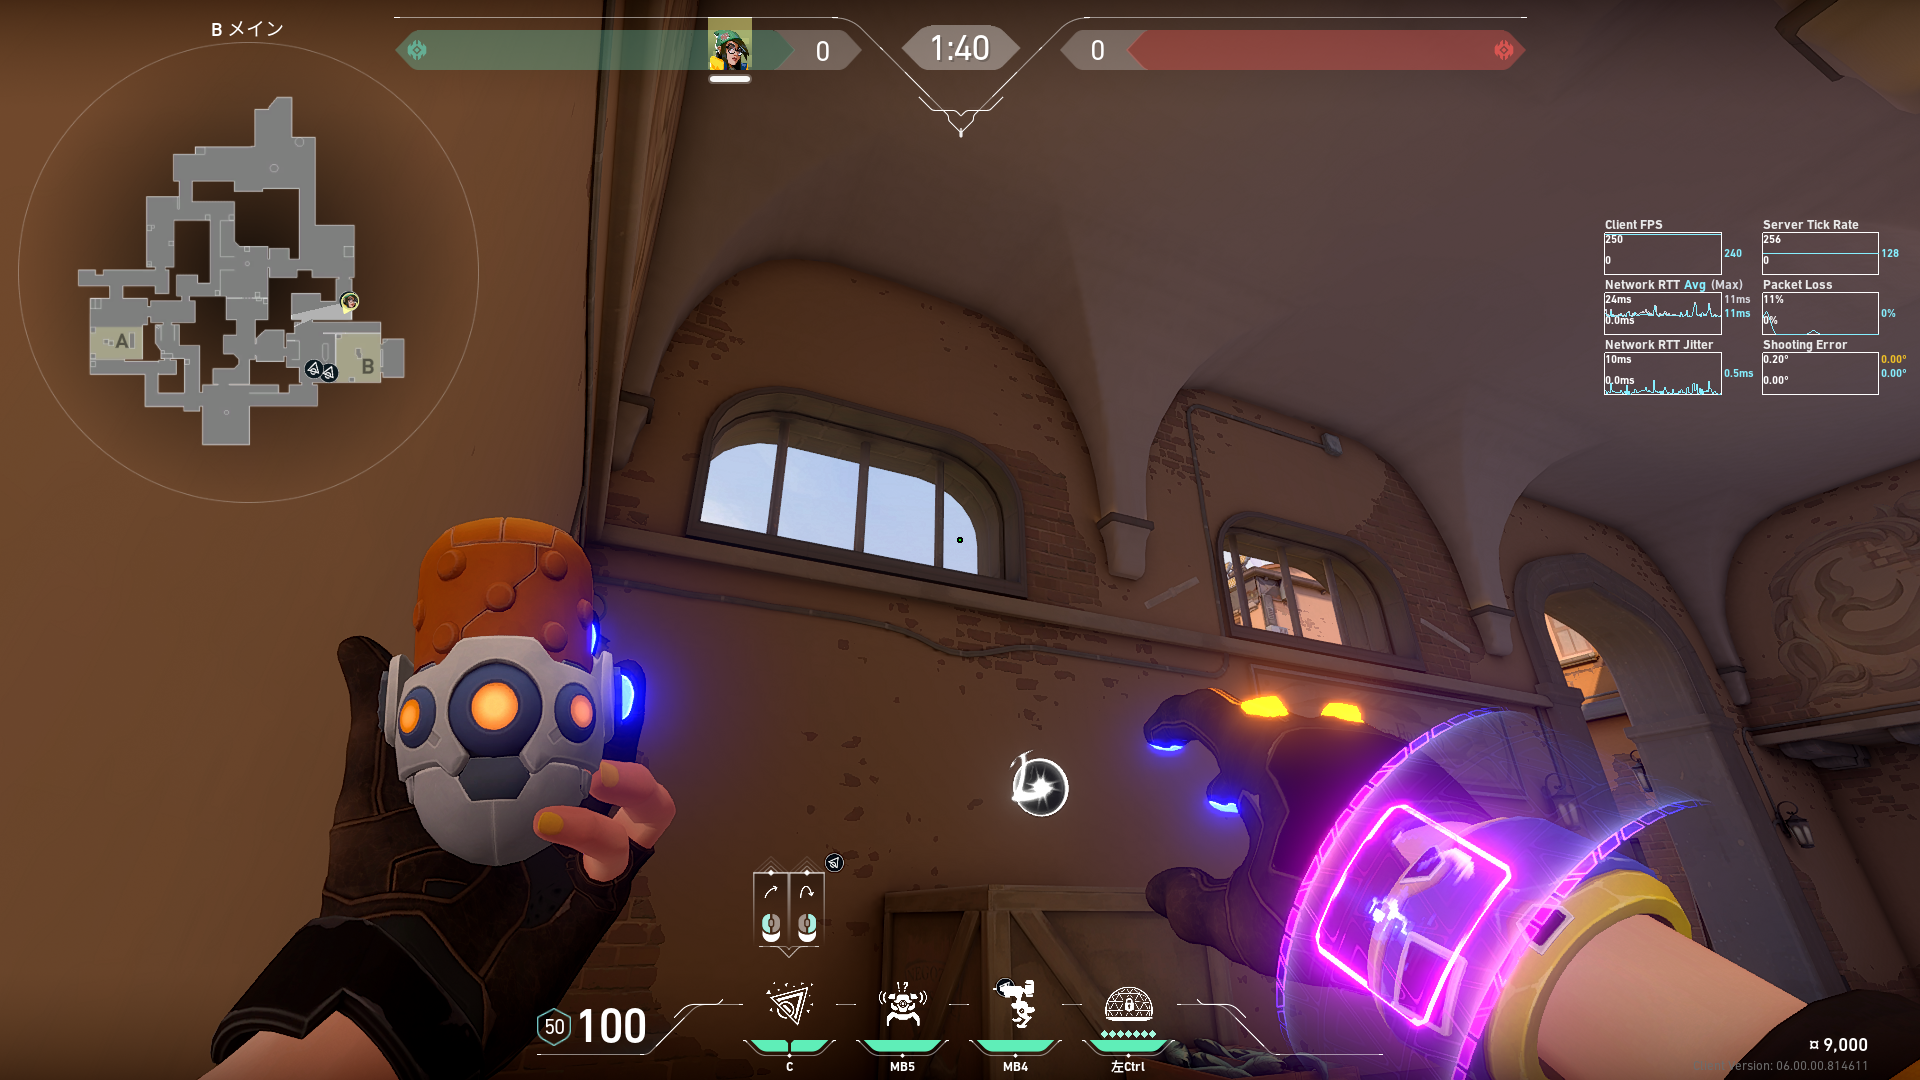 Preview 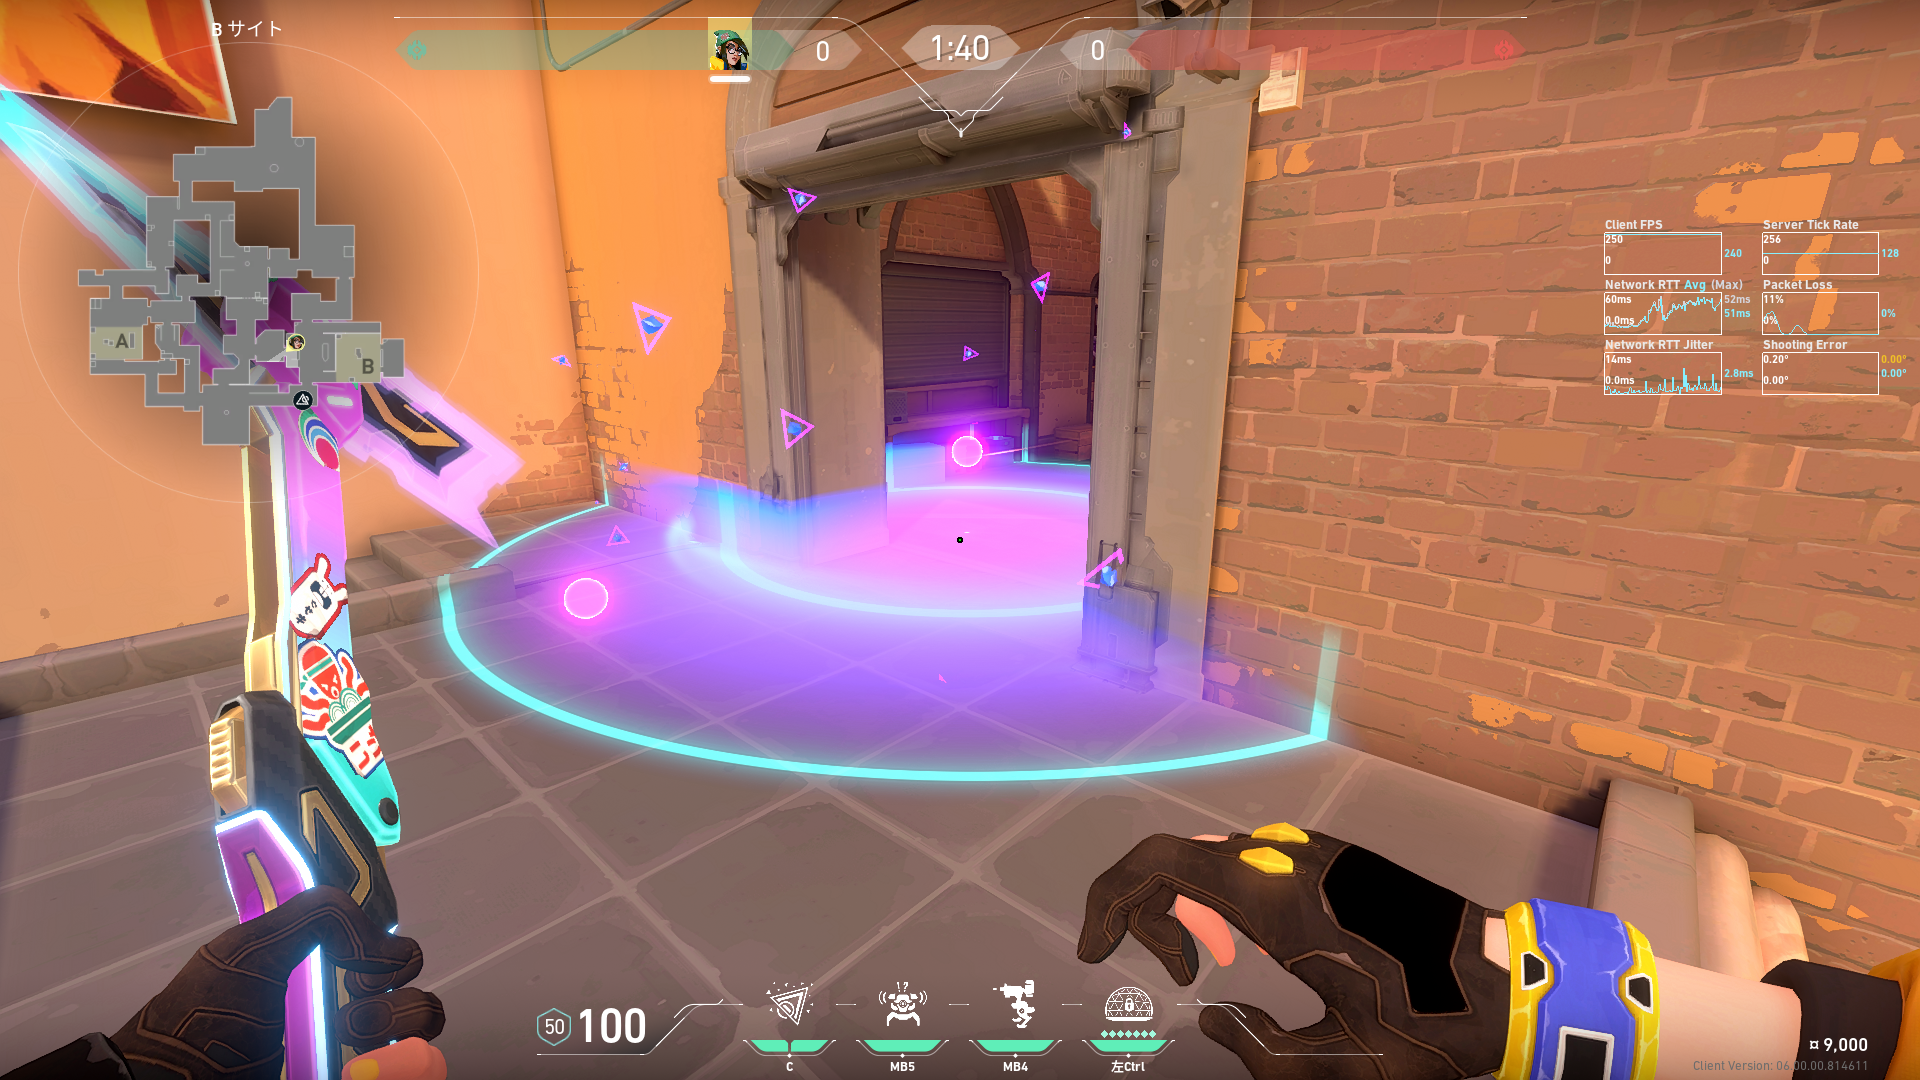 Preview 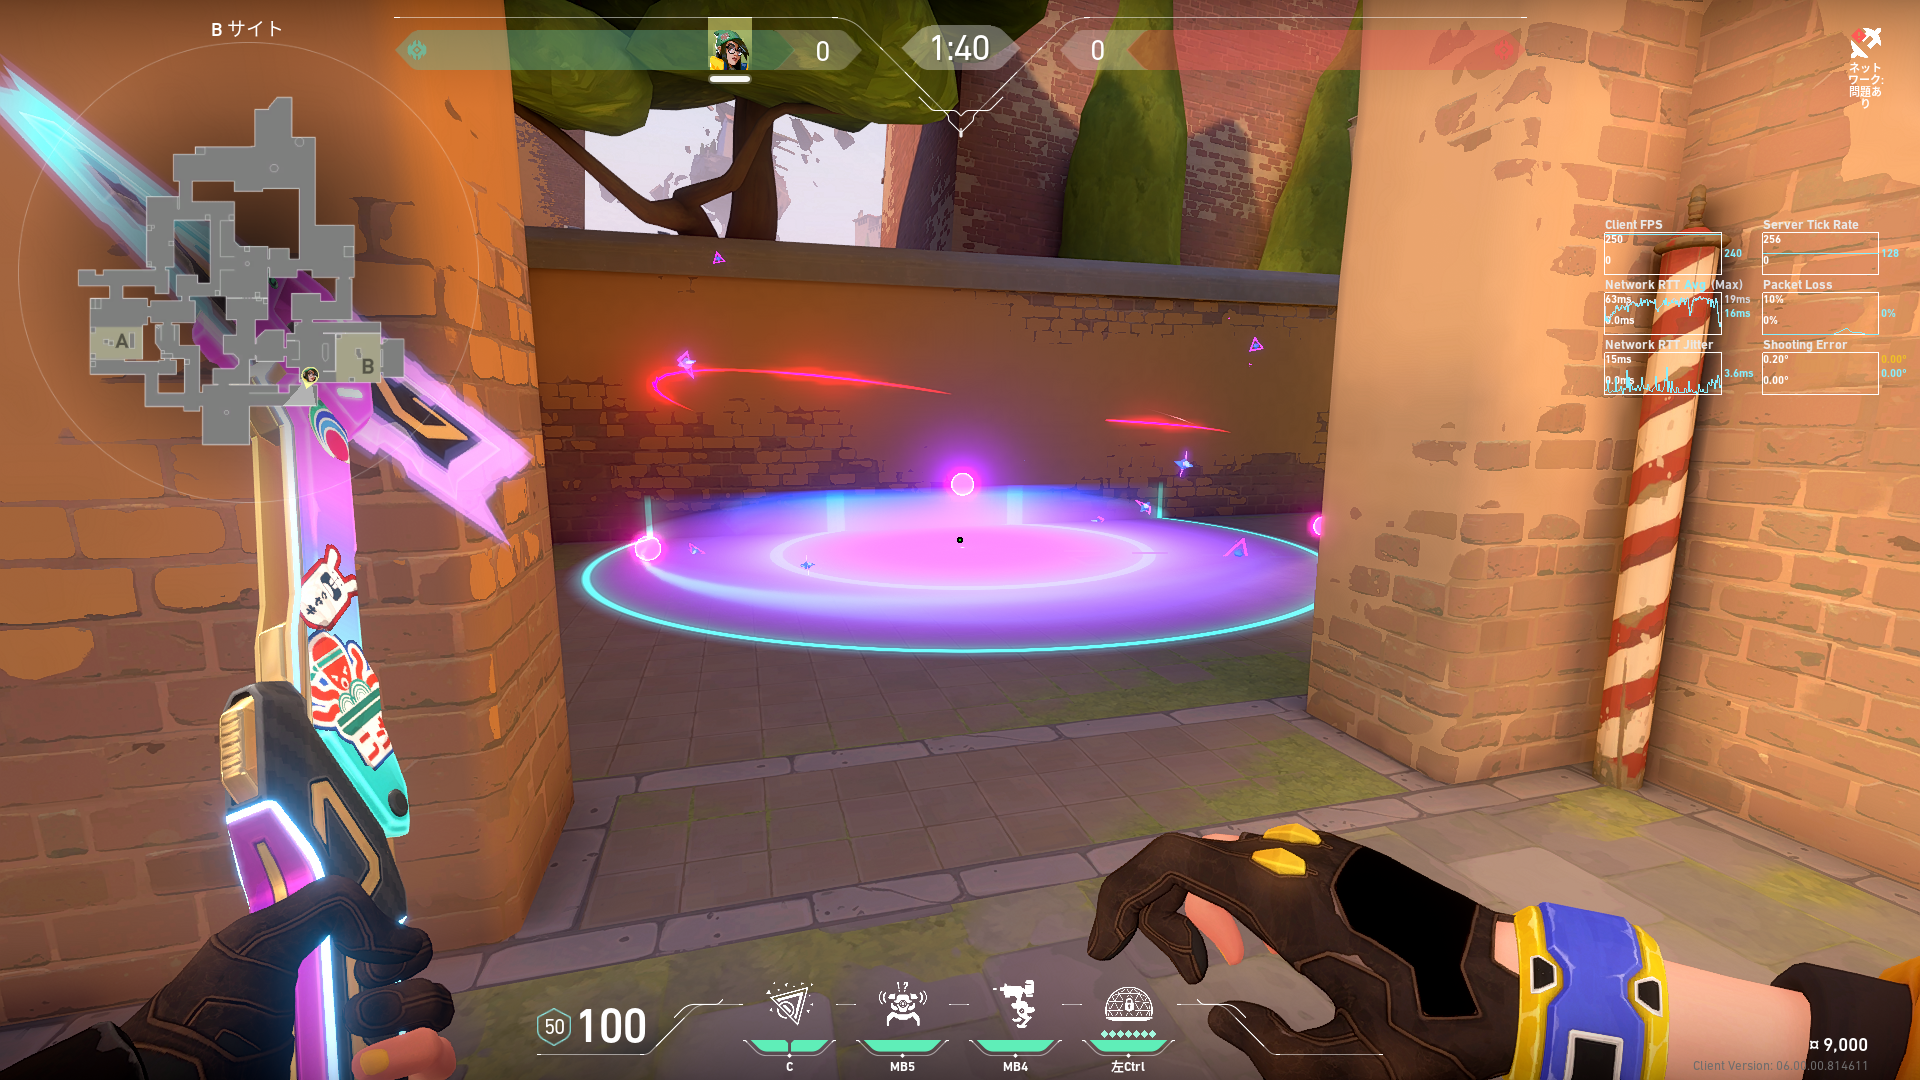 Preview | B側攻めのときのガーデンとCTへのナノスワーム空爆 |
 Preview 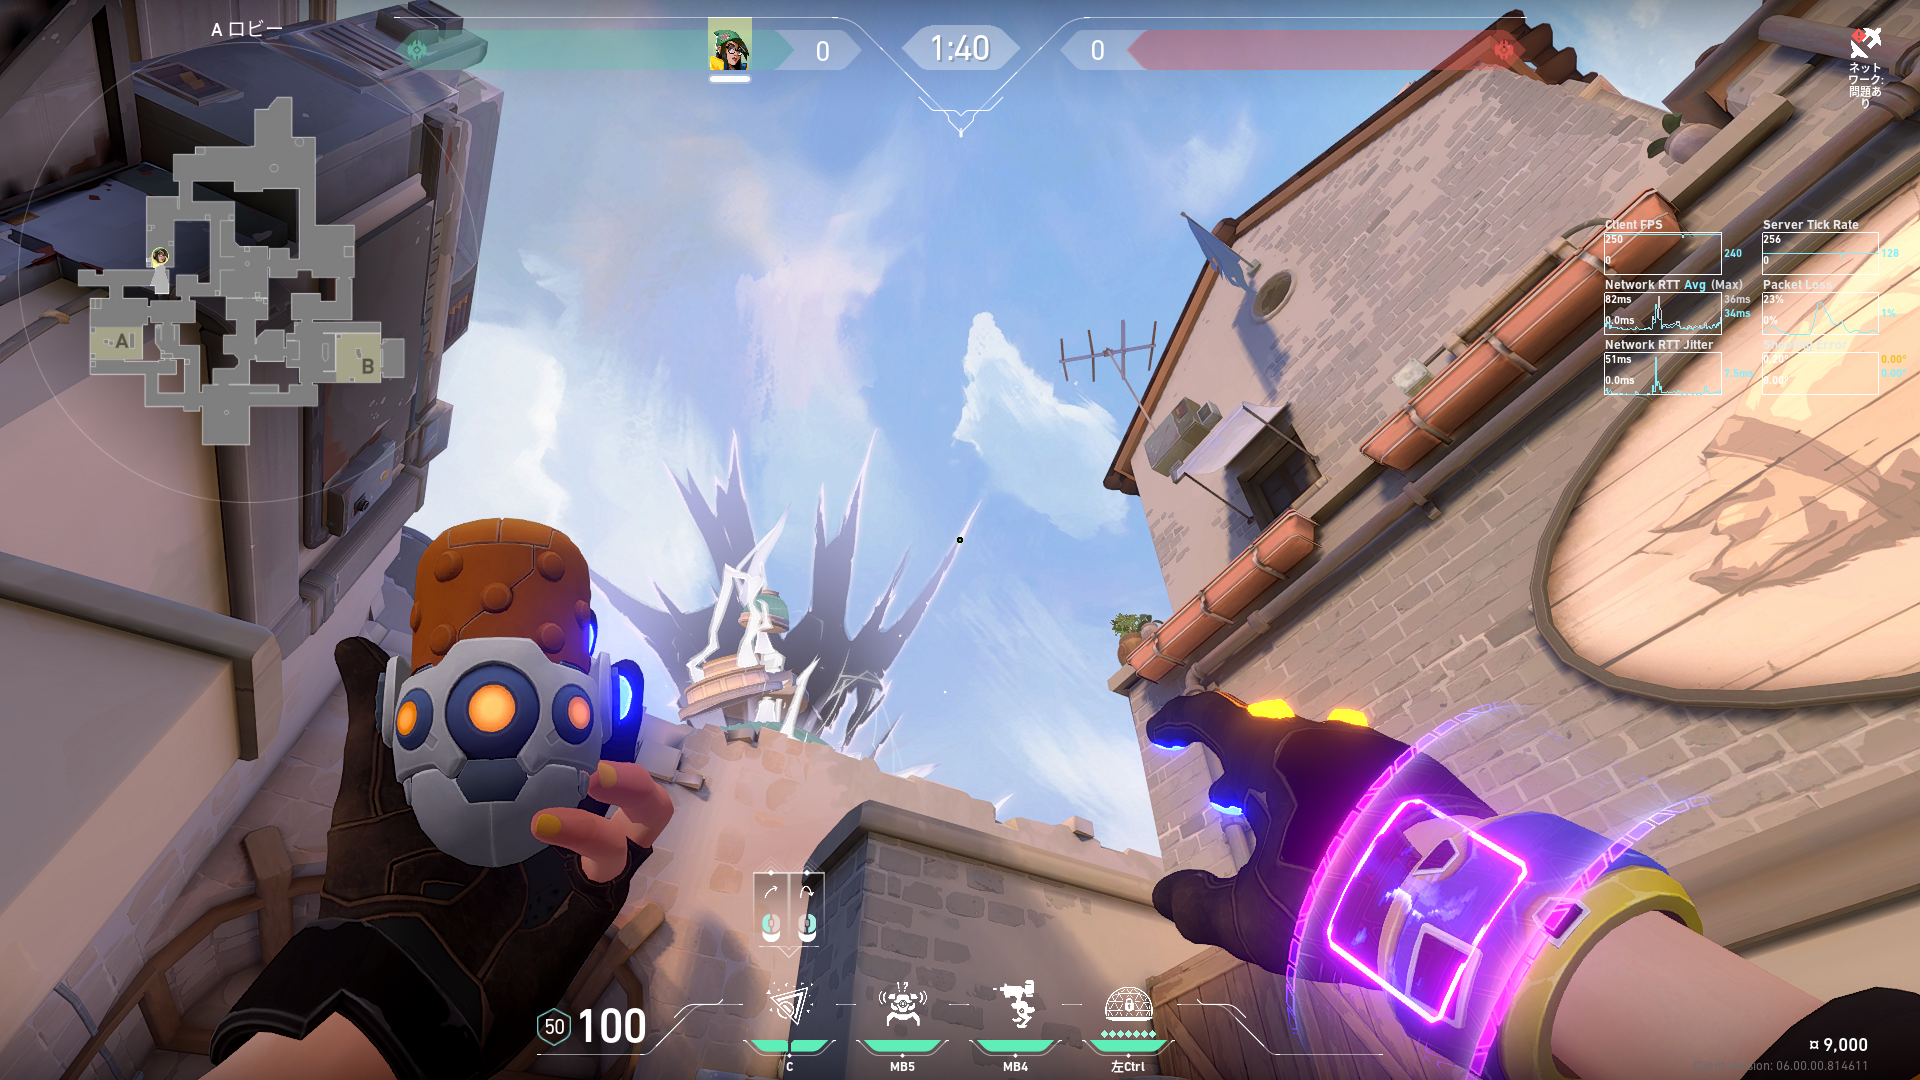 Preview 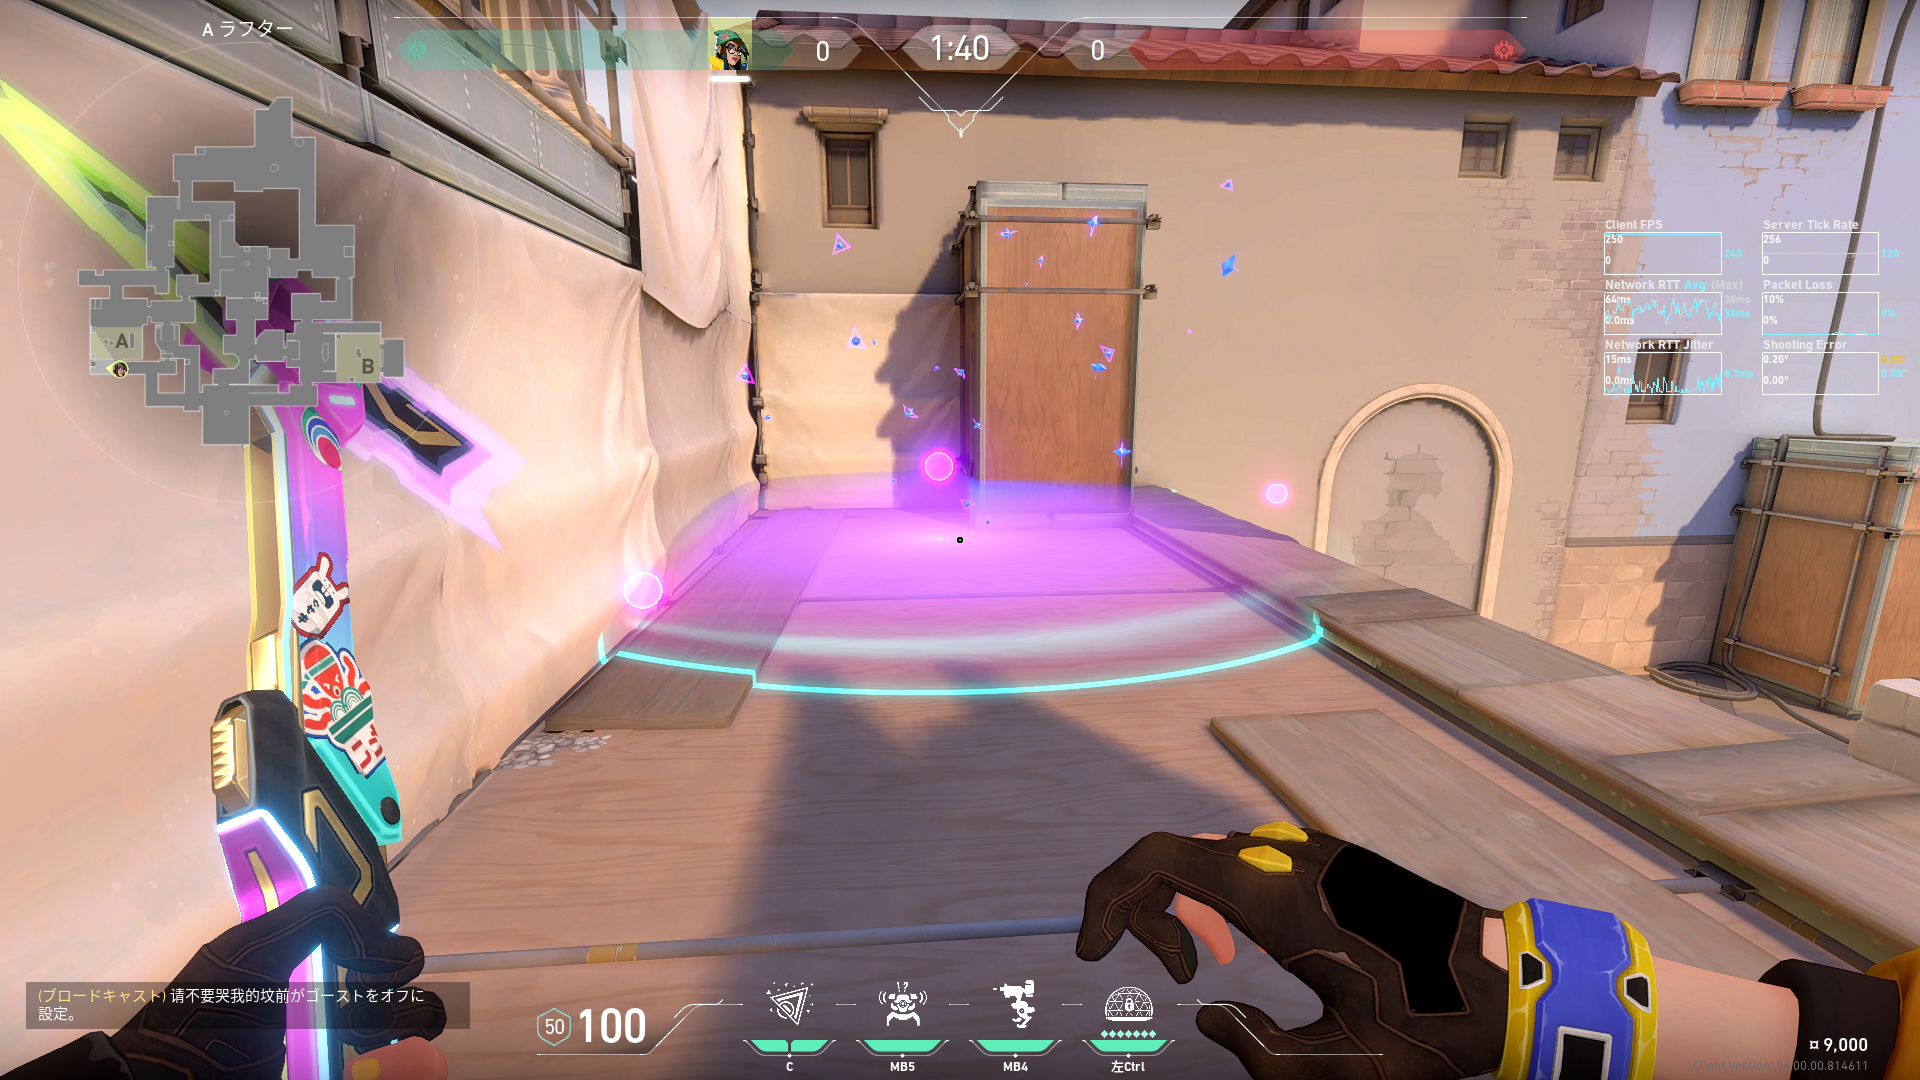 Preview | A側攻めのときのヘヴンの右角へのナノスワーム空爆 |
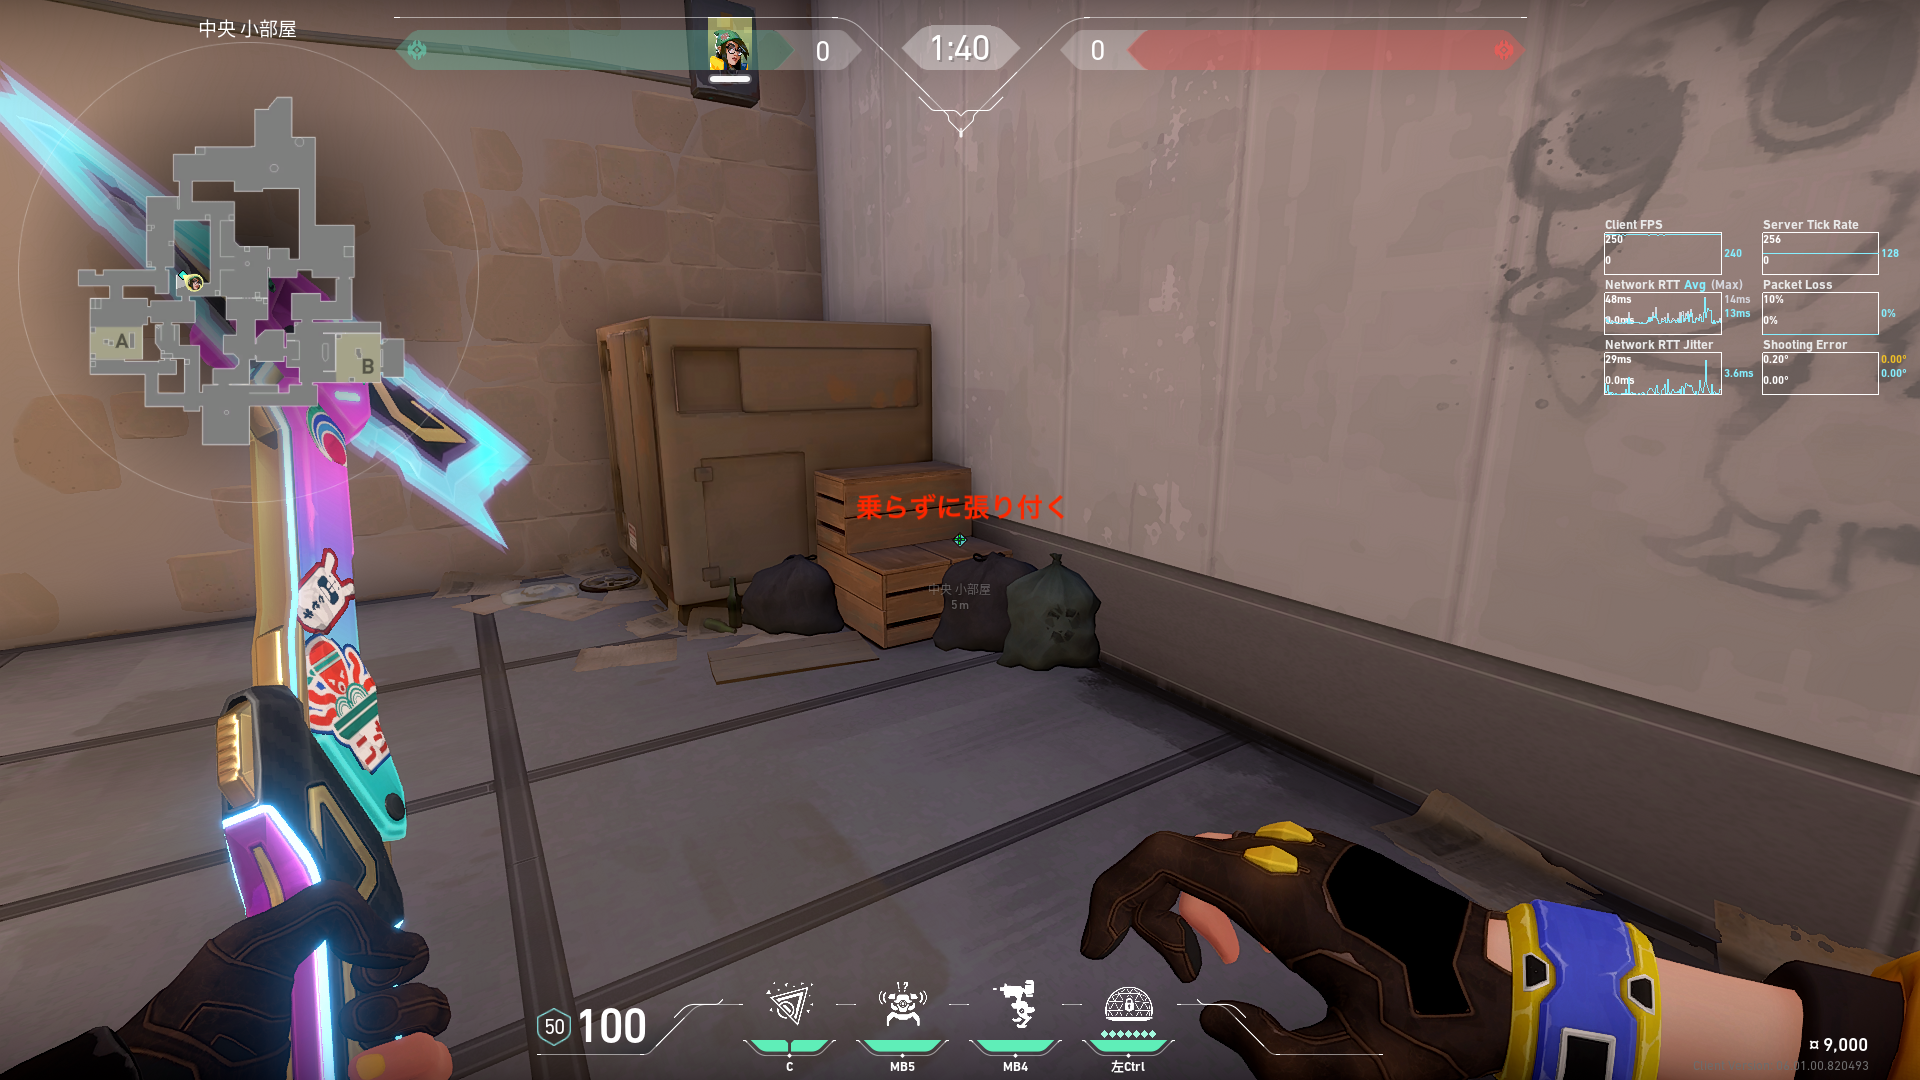
 Preview 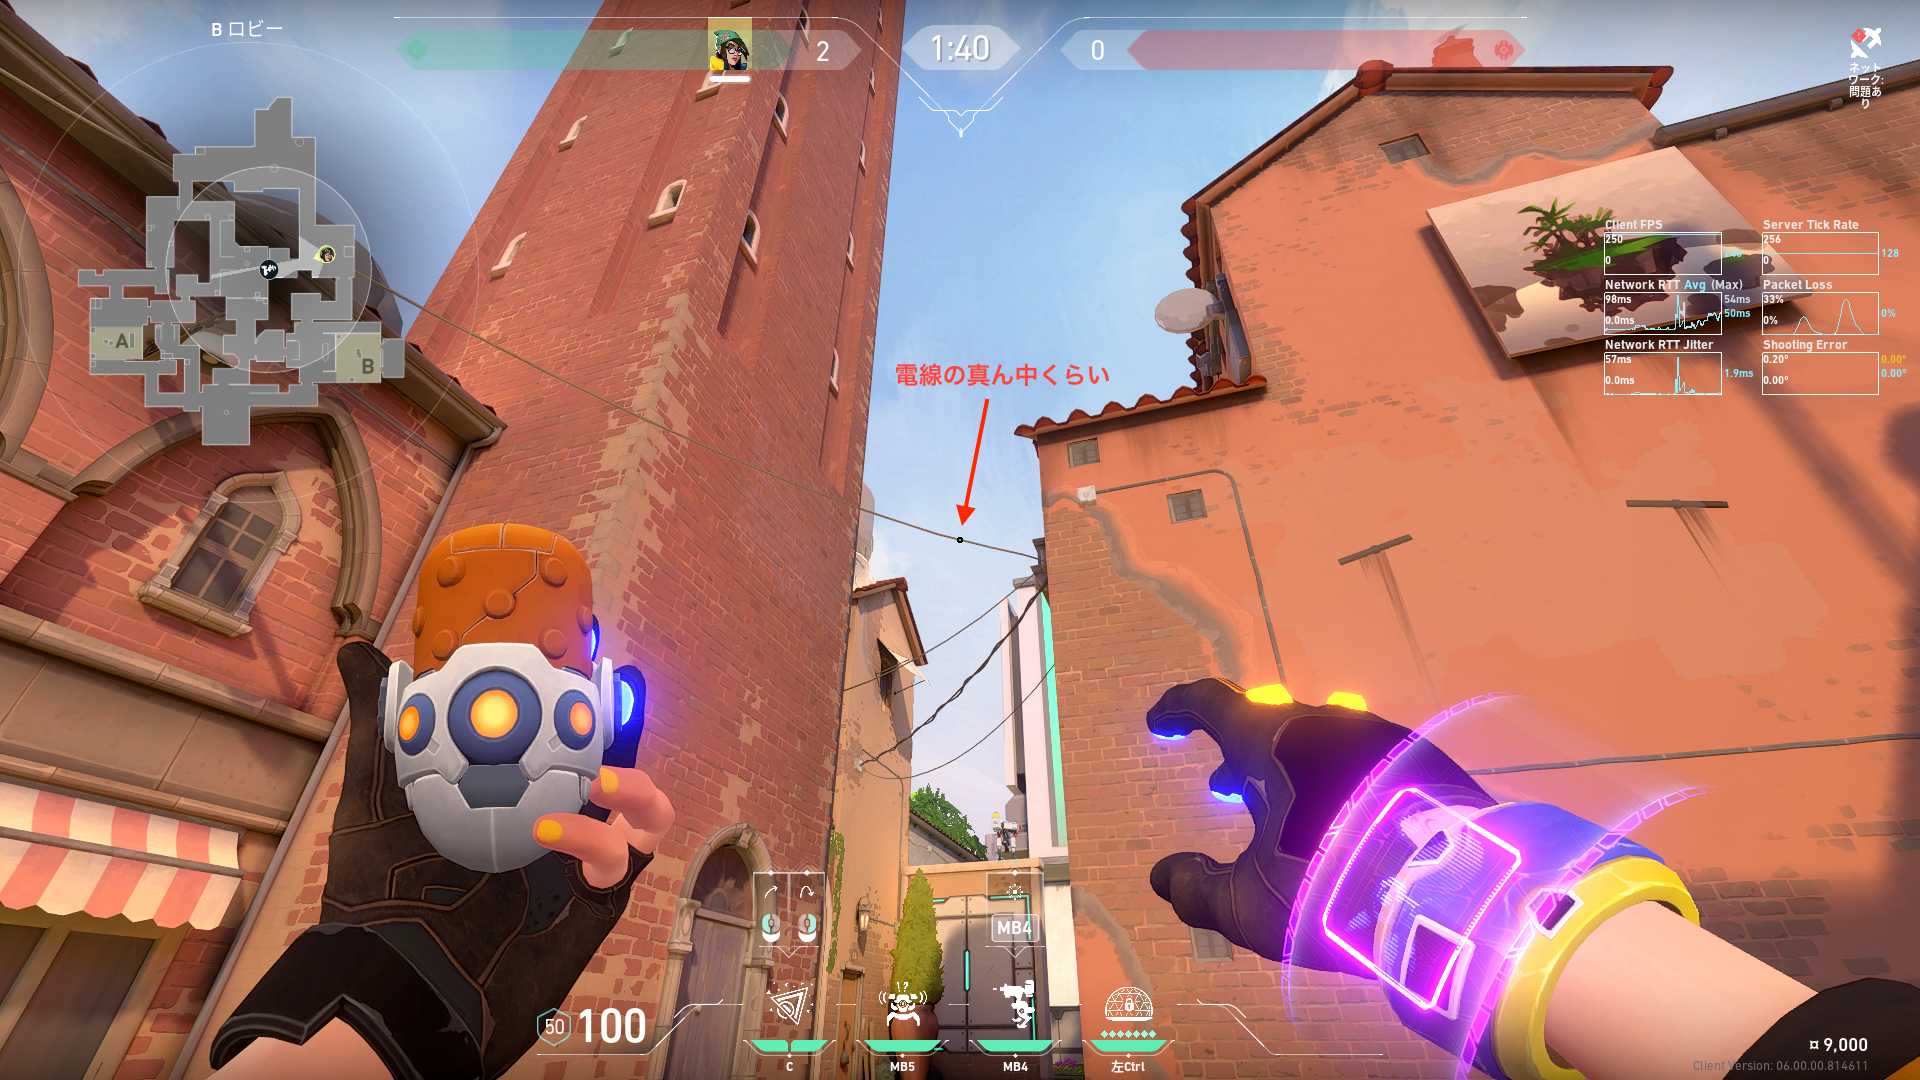 Preview 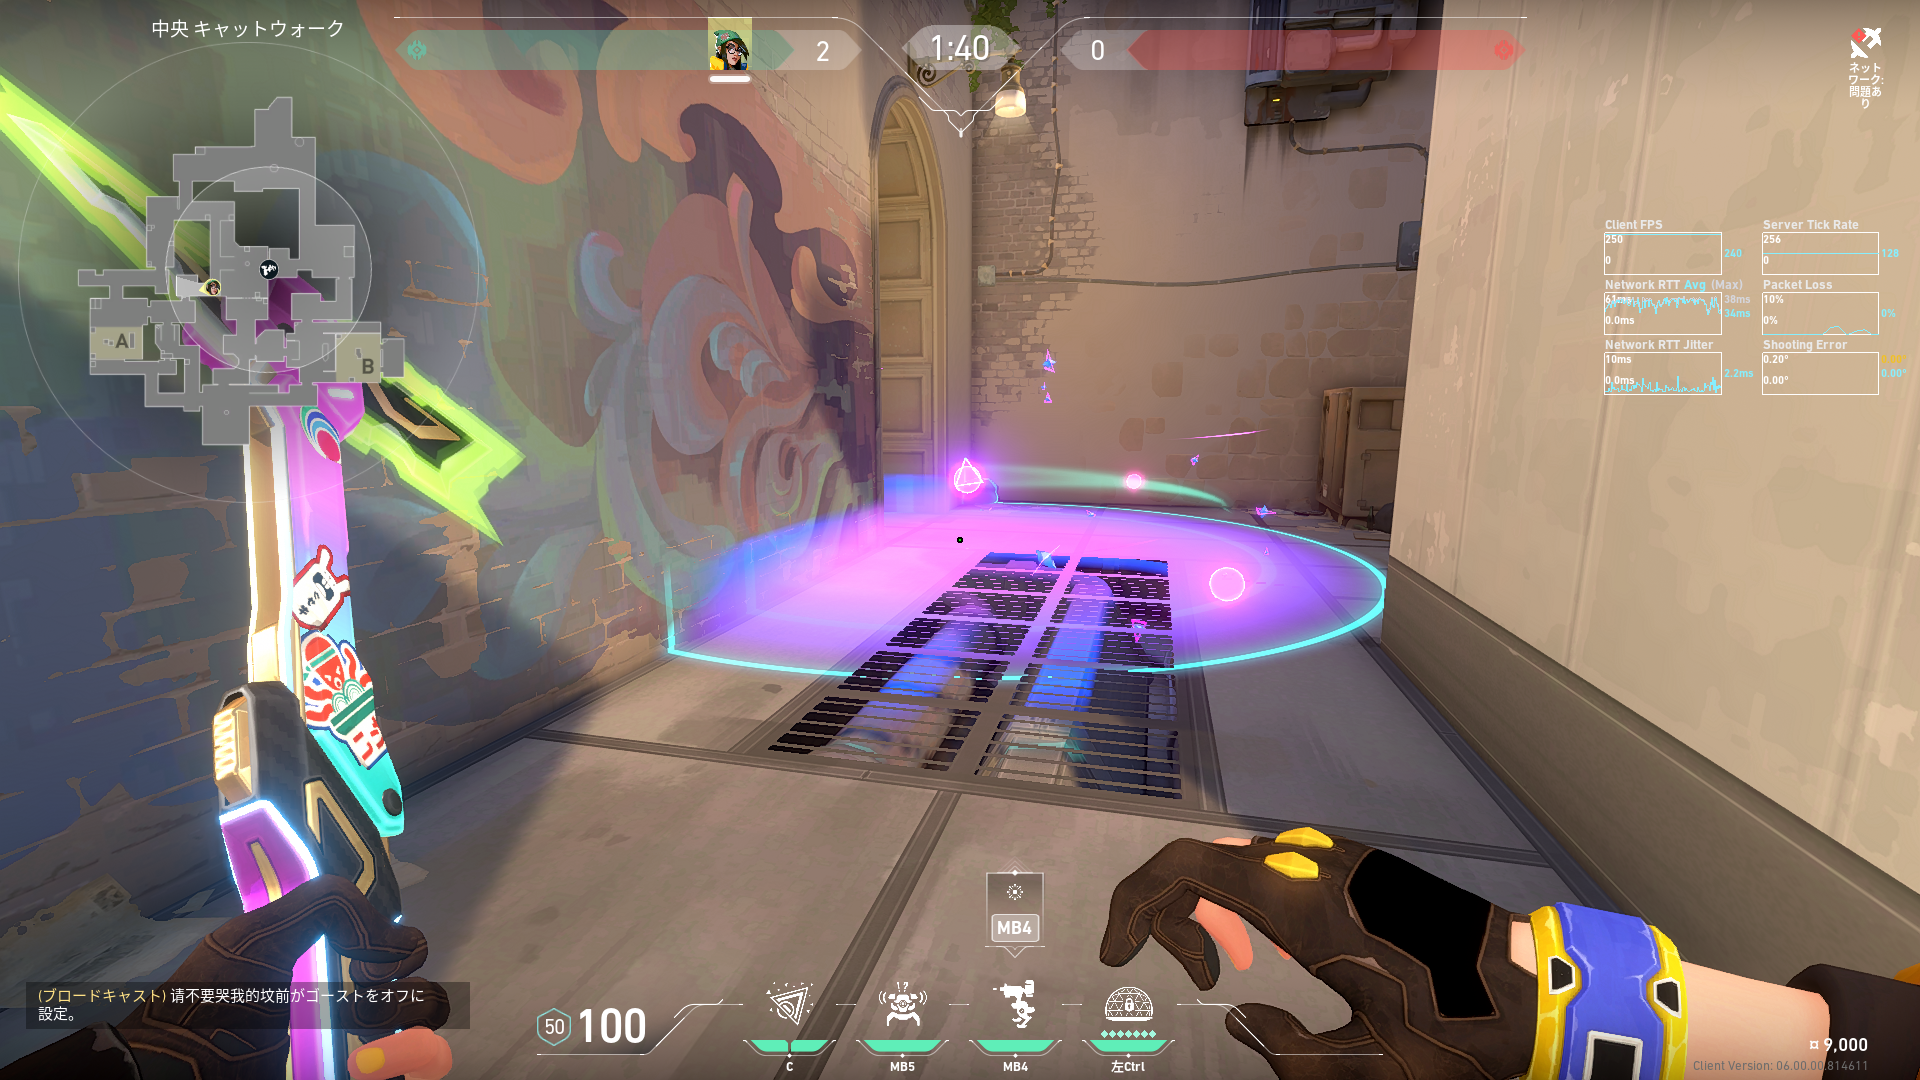 Preview | 攻めのときのB側からAショートへのナノスワーム空爆 |
 Preview 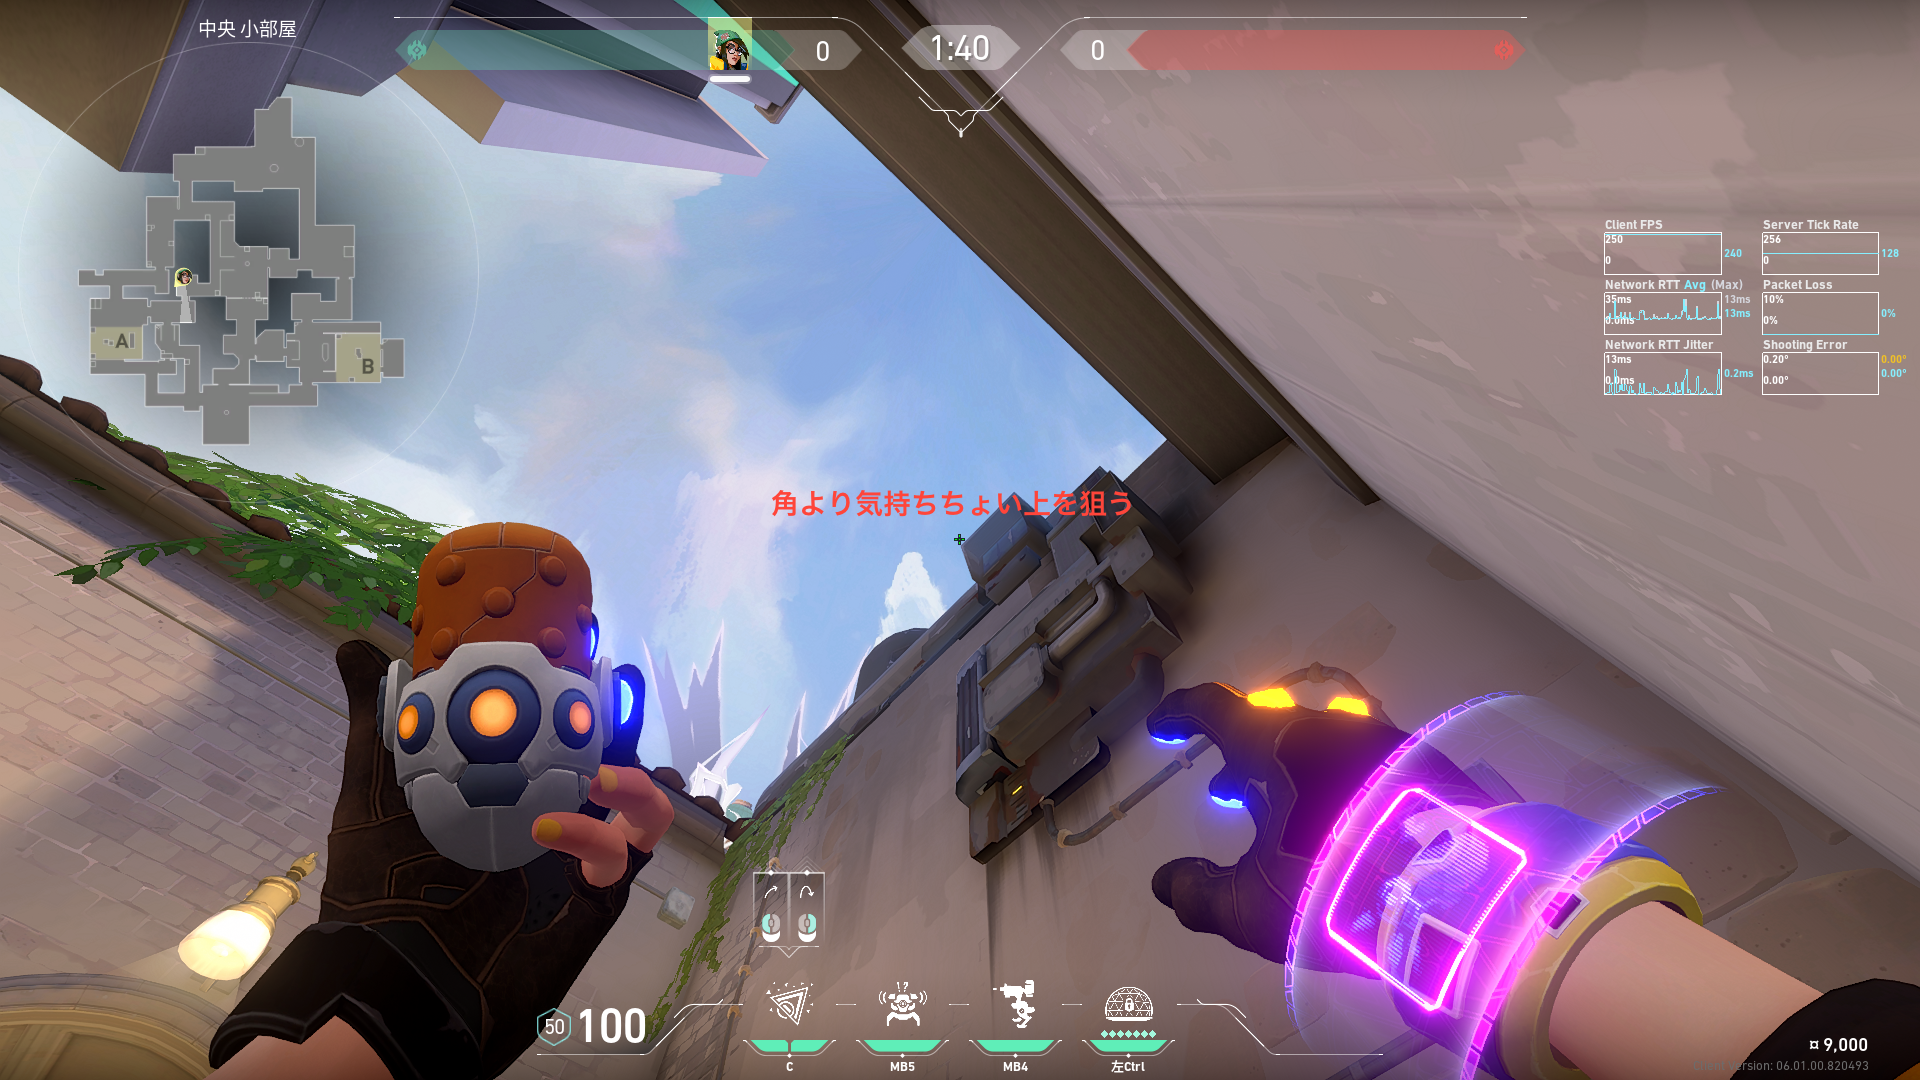 Preview 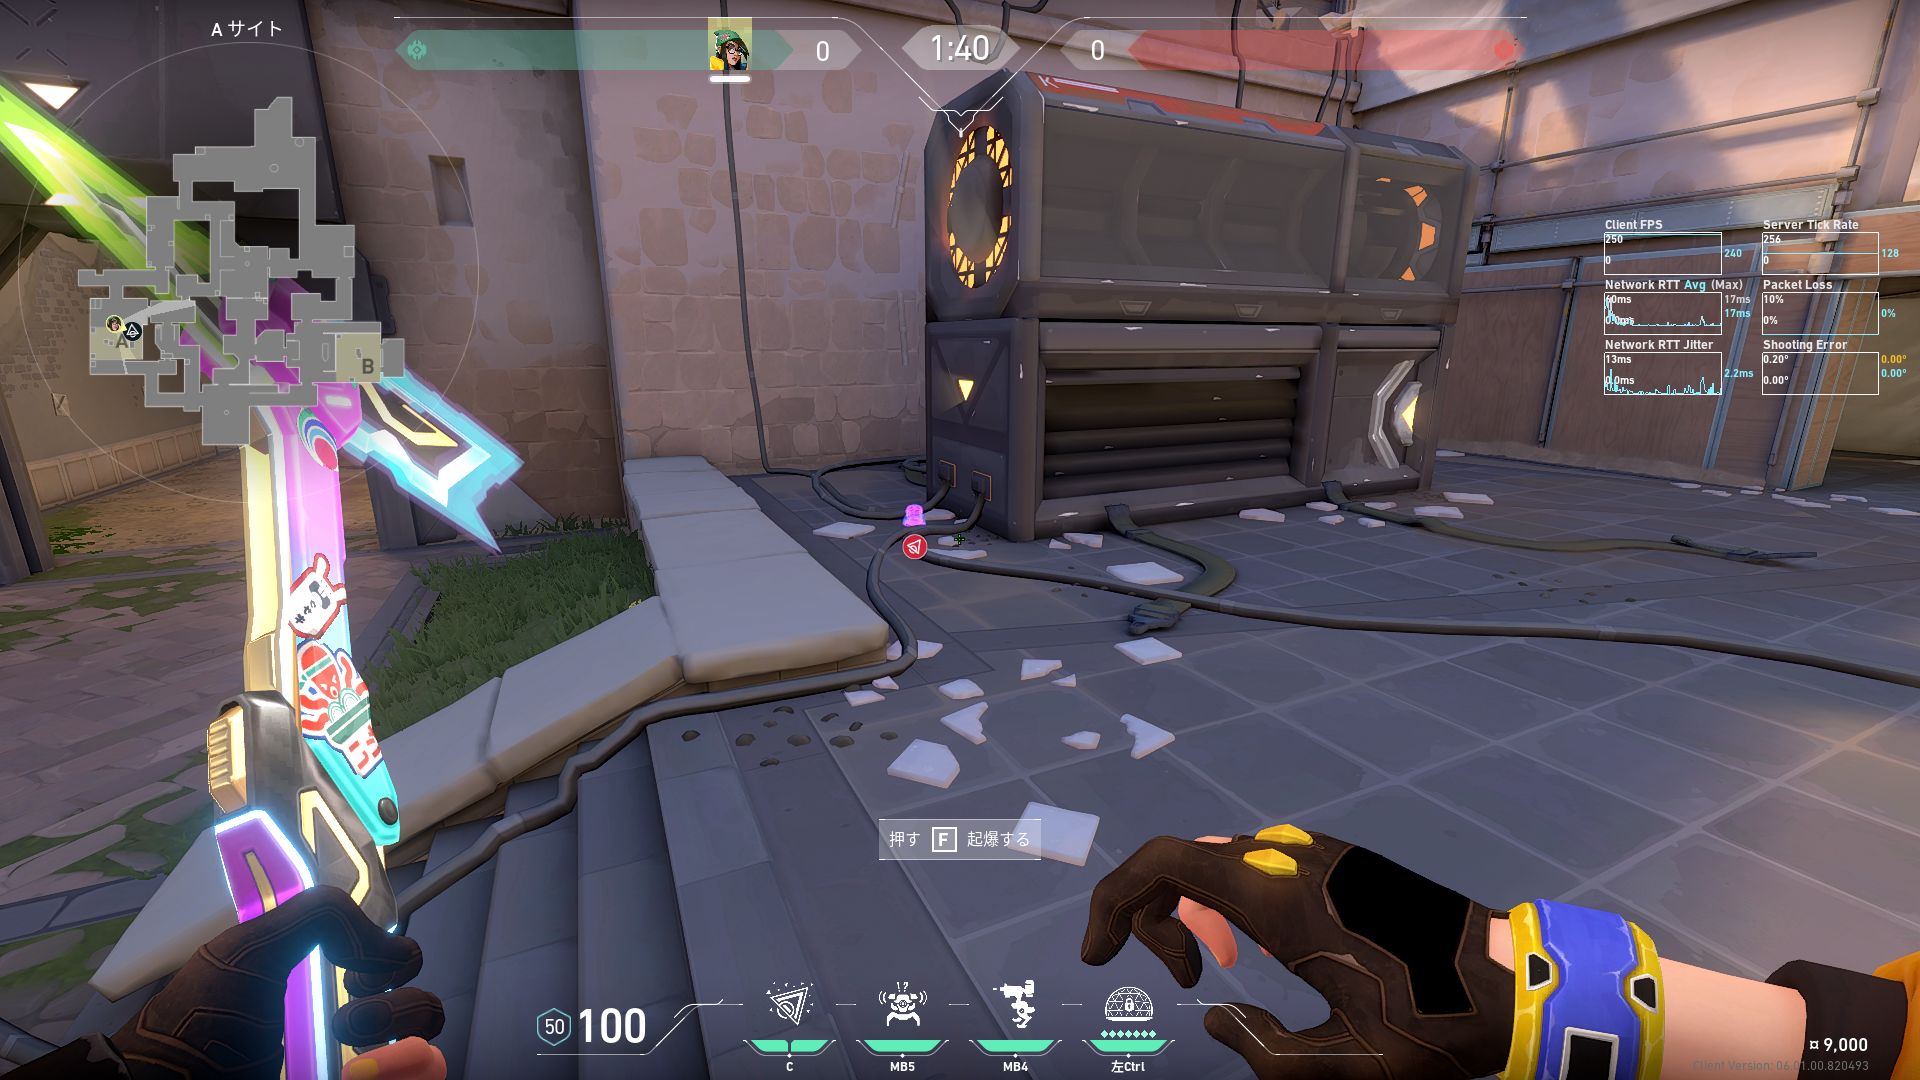 Preview | Aリンクからデフォルトの設置位置へのナノスワーム空爆 |
 Preview 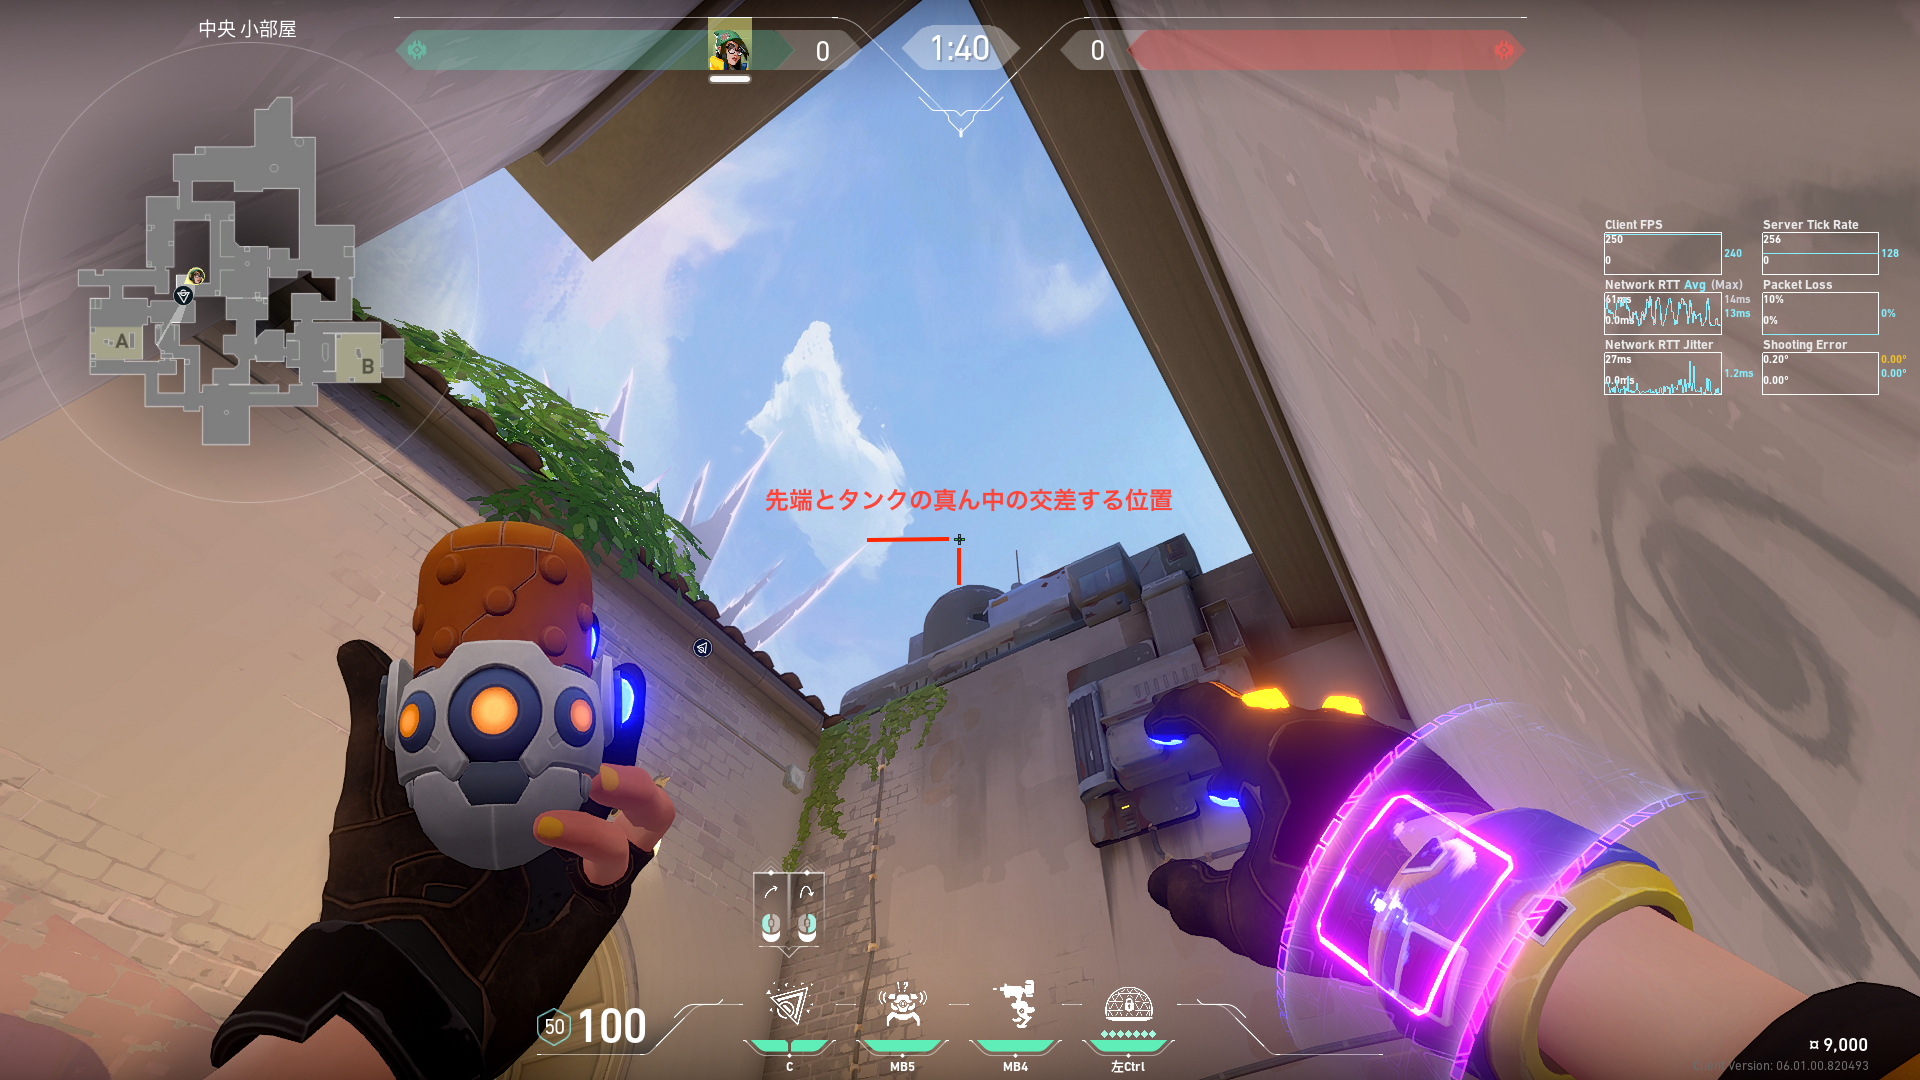 Preview 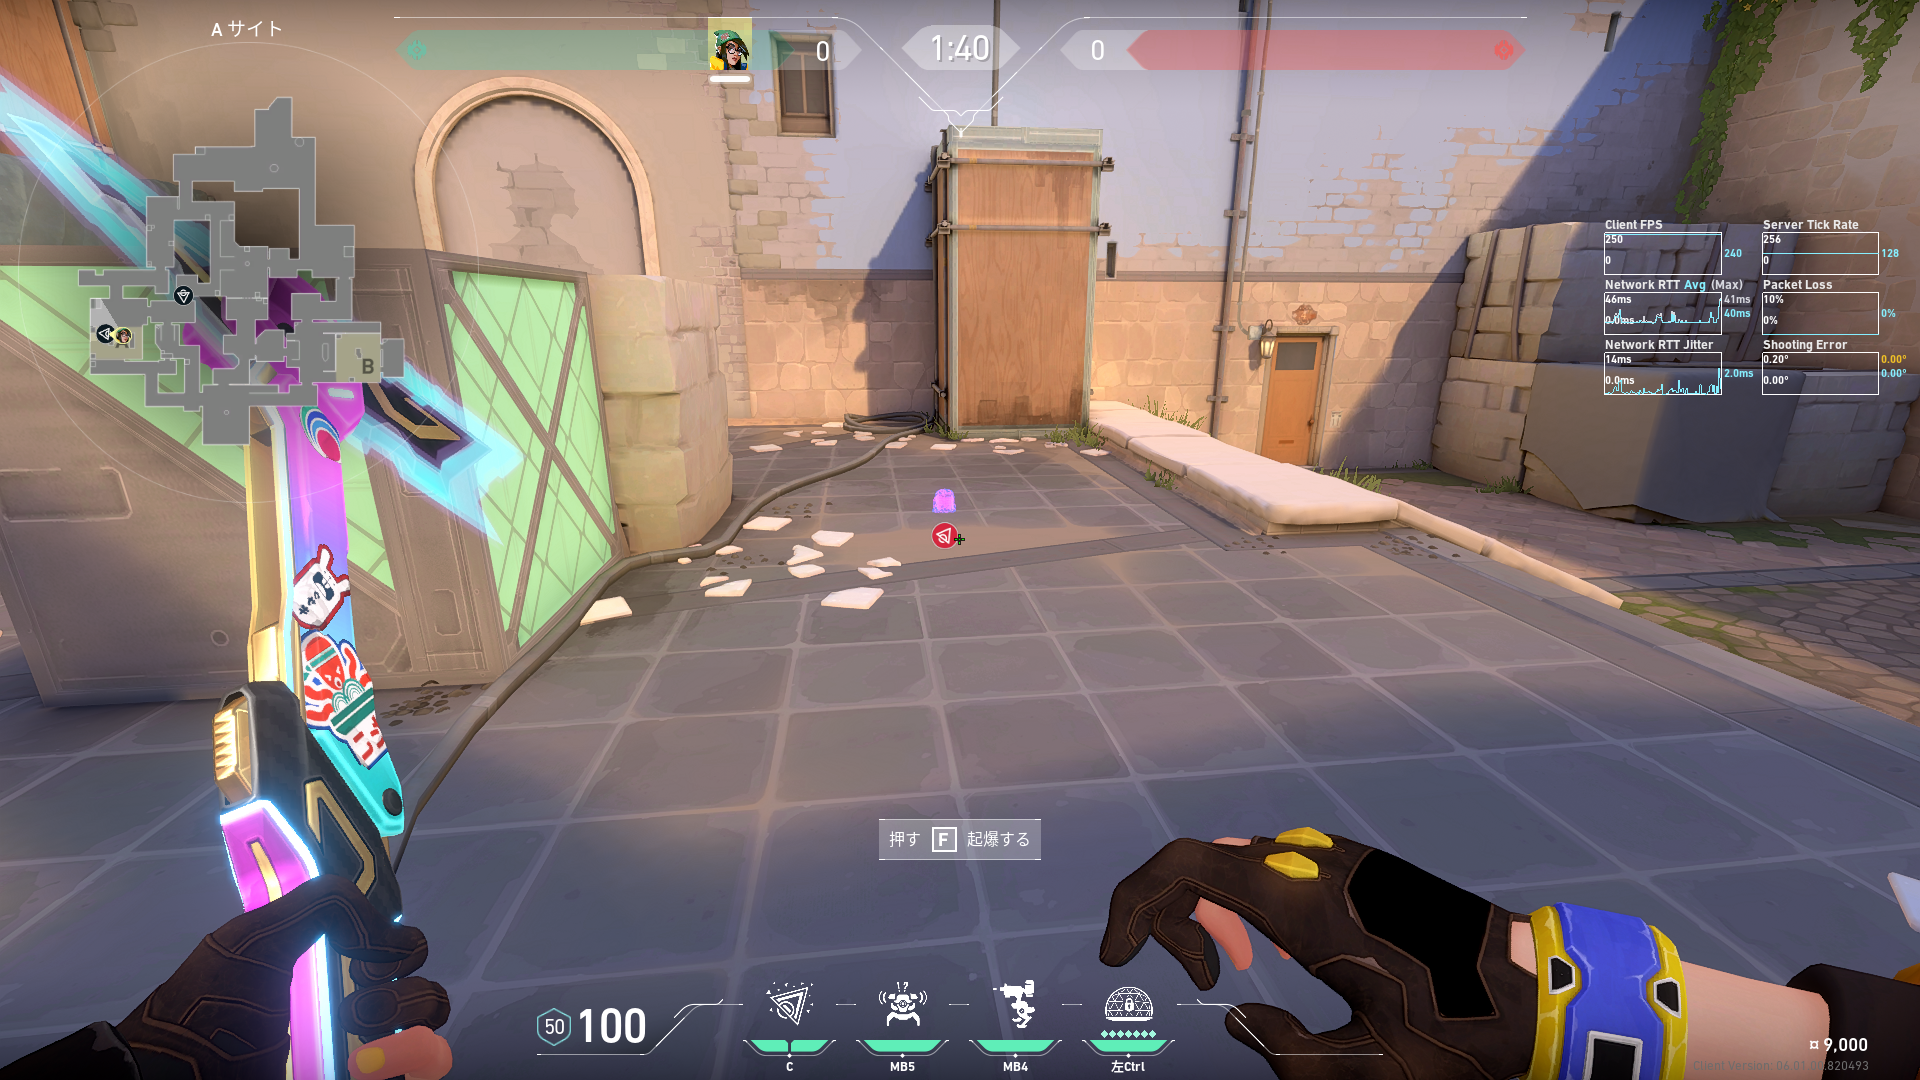 Preview | Aリンクから箱前の設置位置へのナノスワーム空爆 |
 Preview 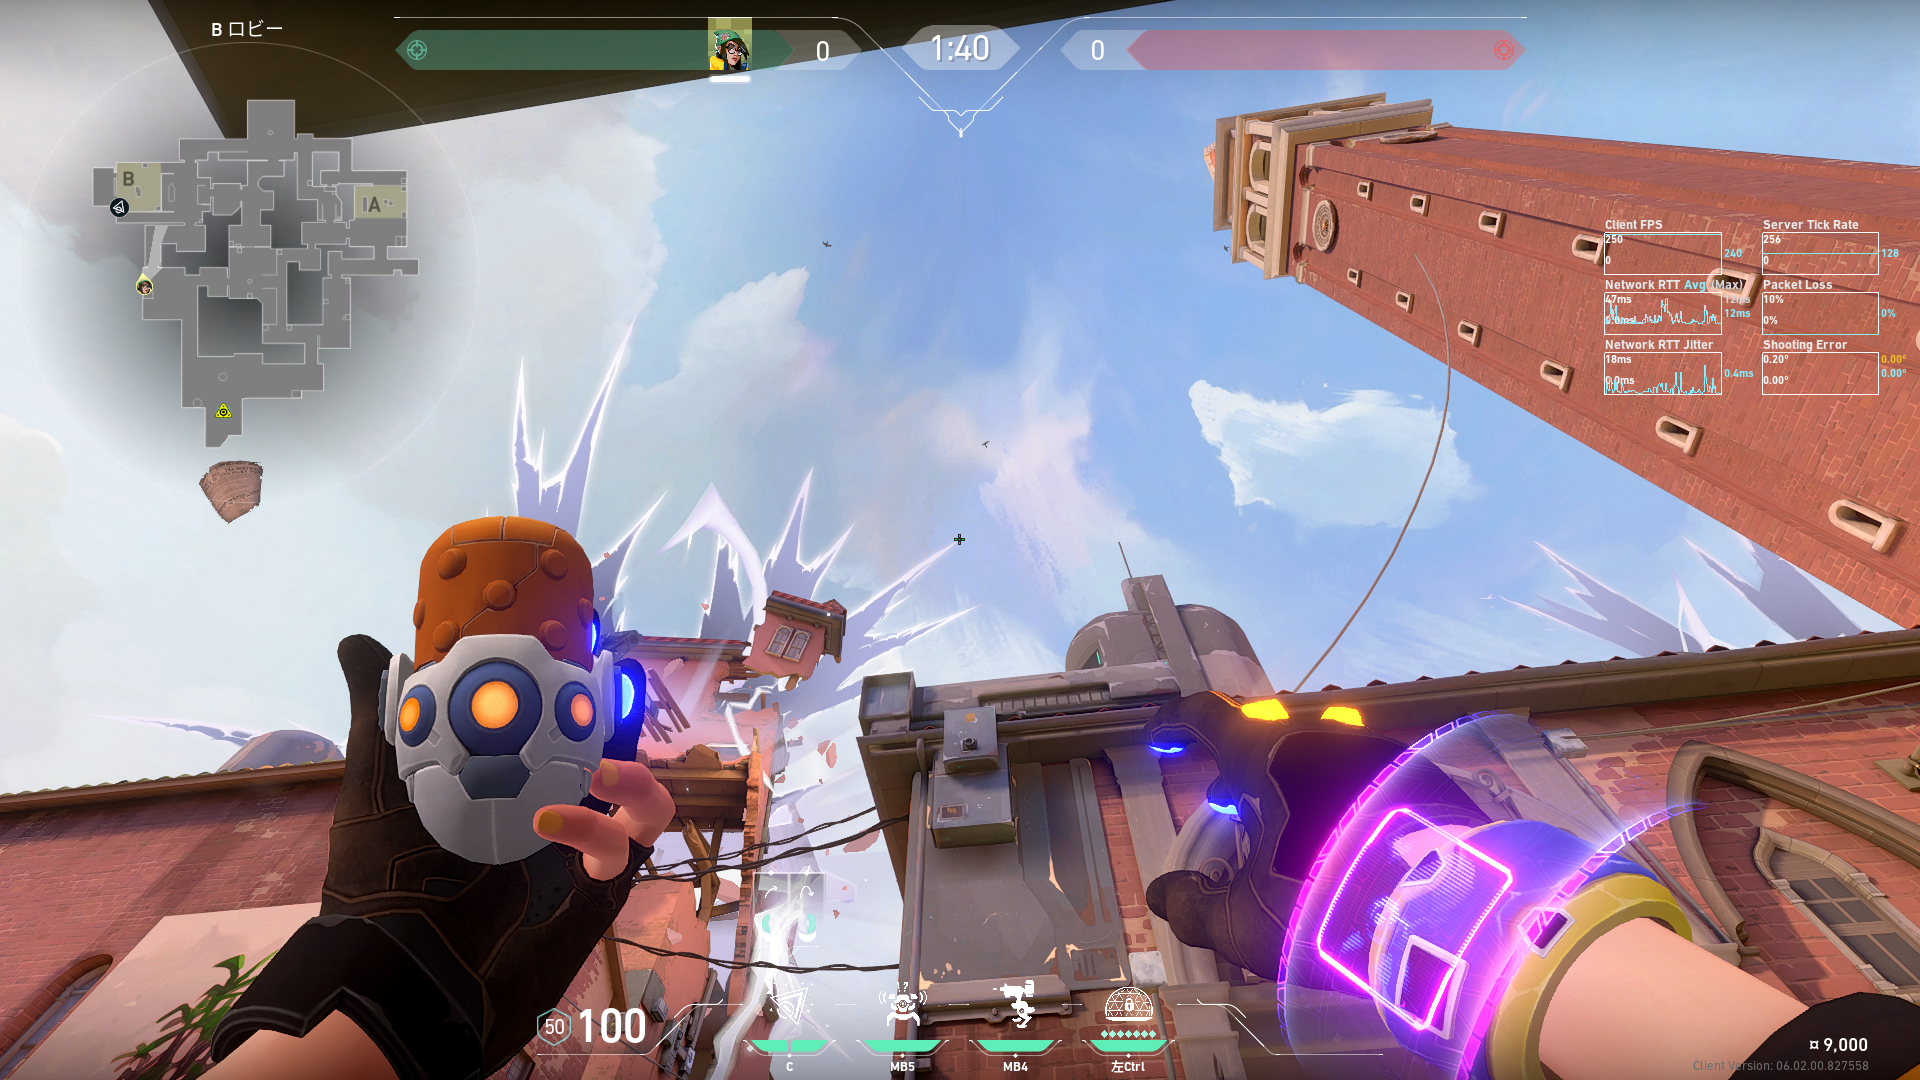 Preview 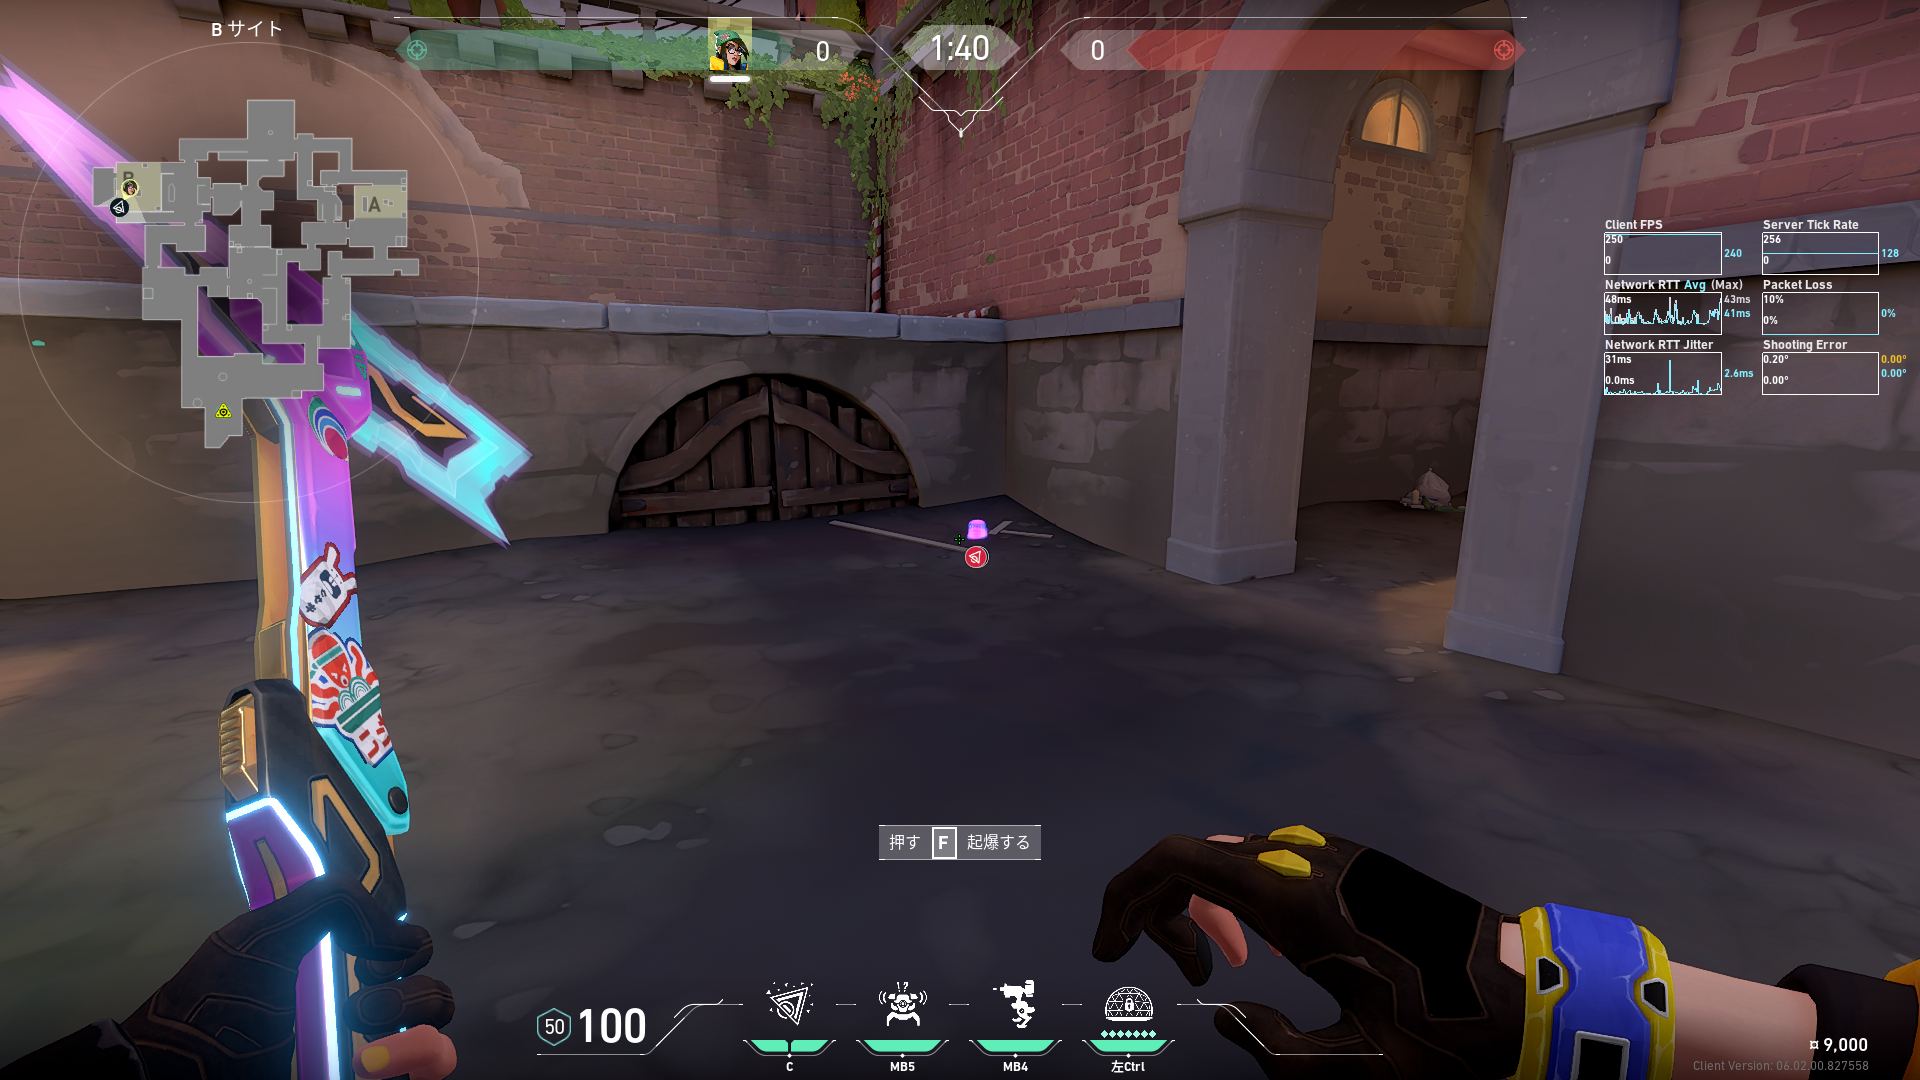 Preview | Bメインからデフォルト設置へのナノスワーム空爆 |
Preview 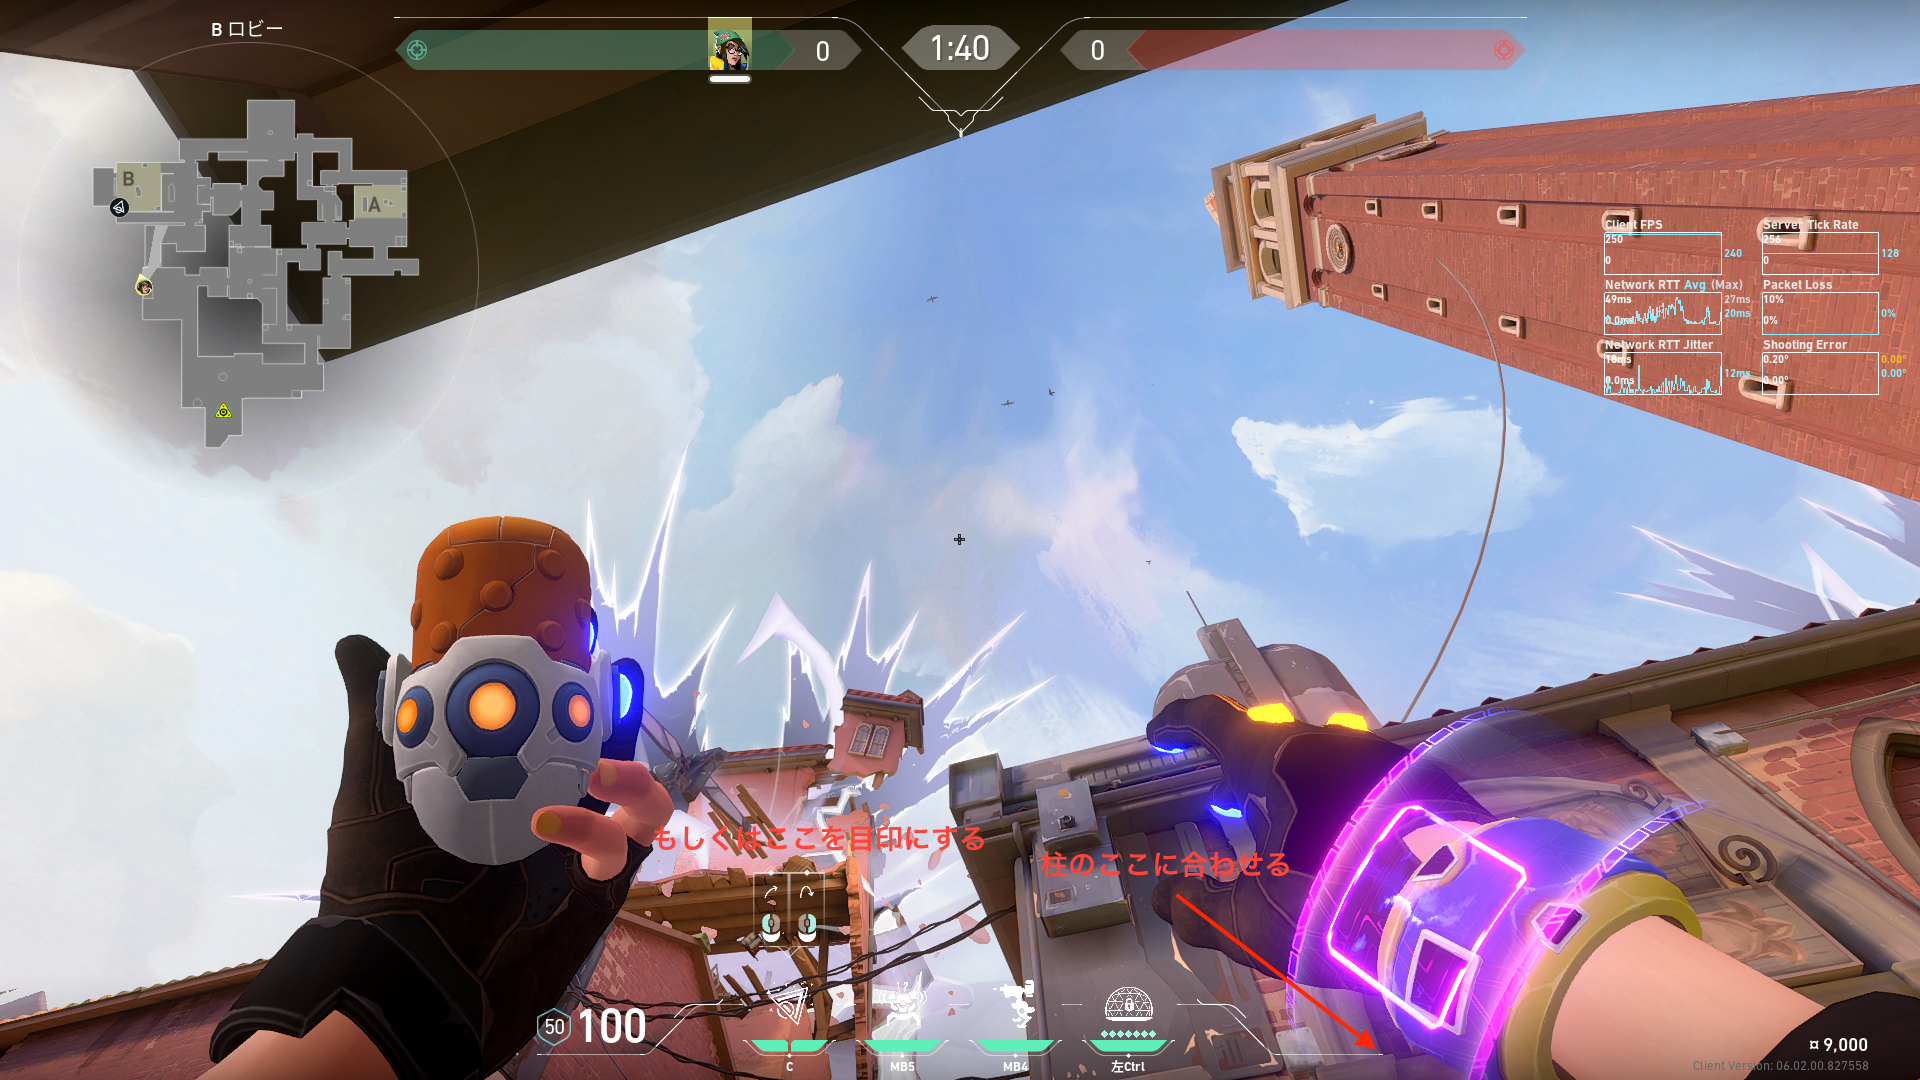 Preview 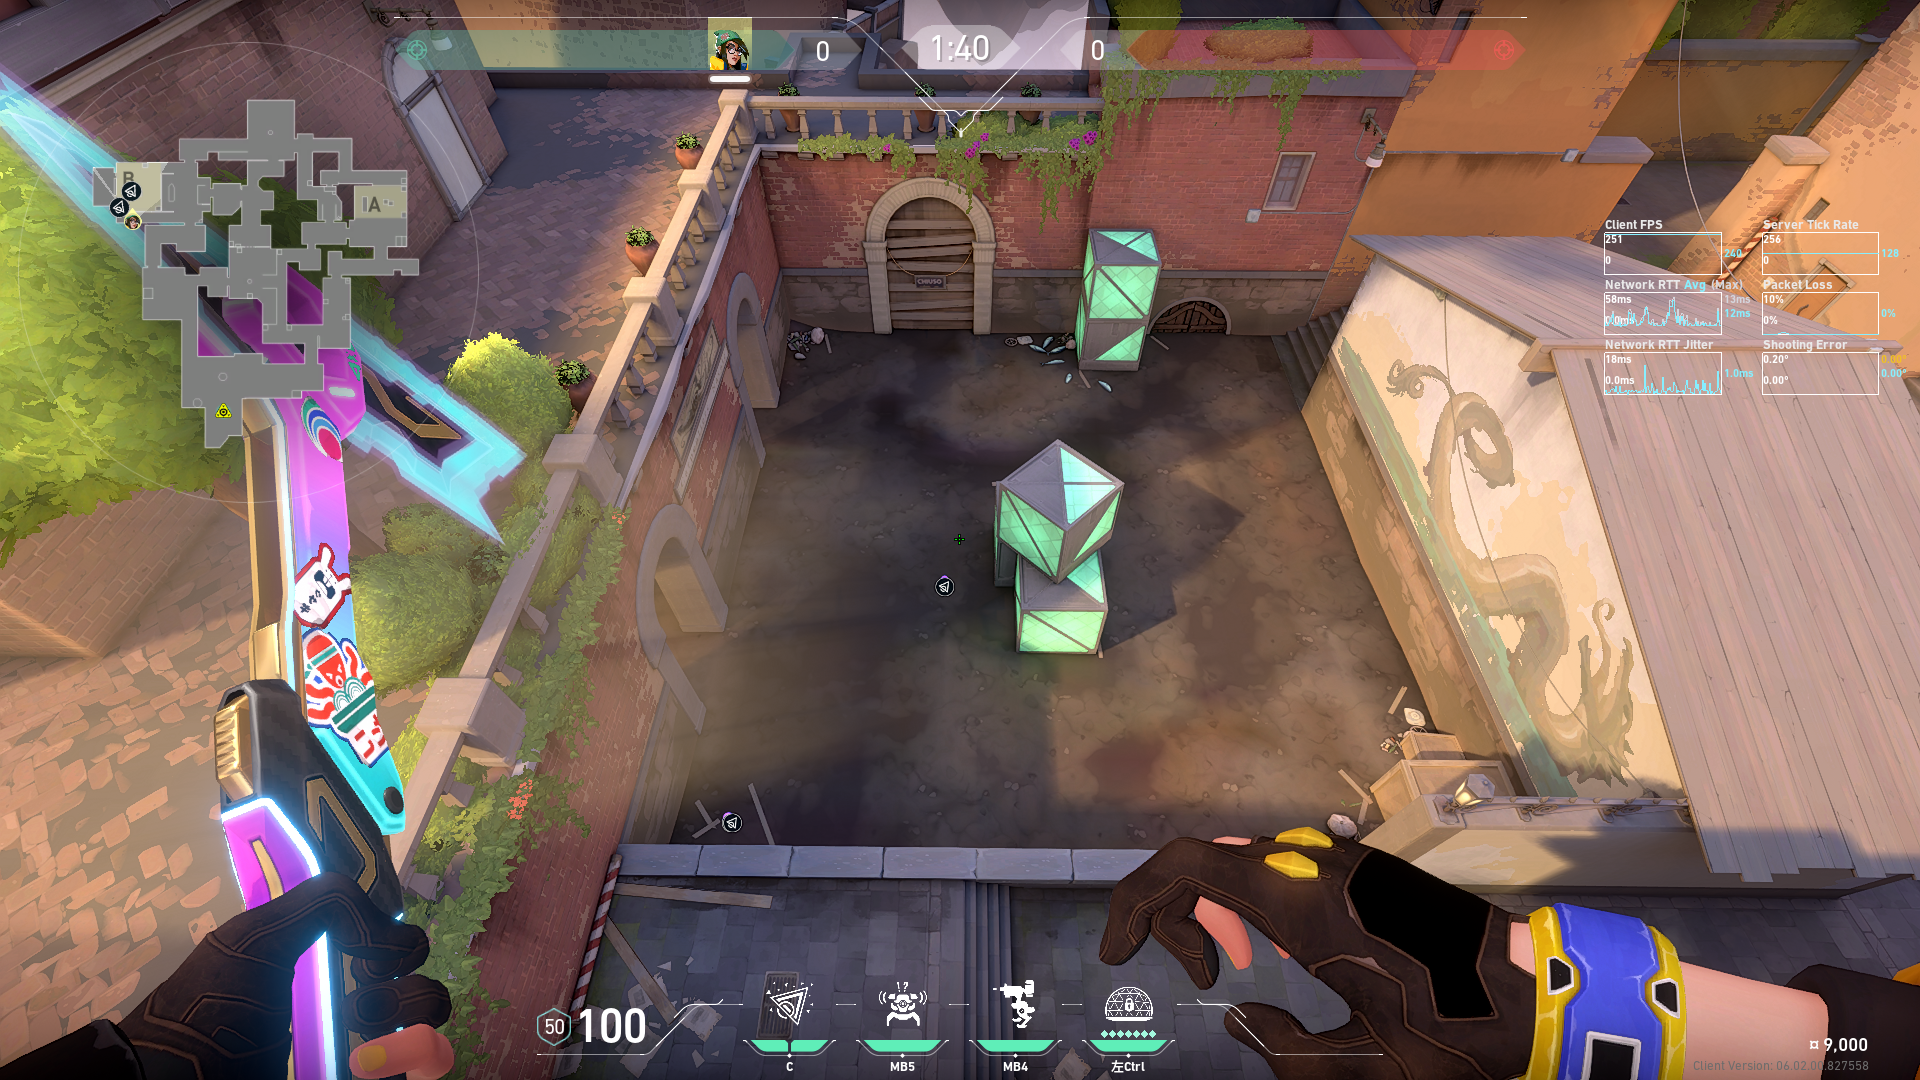 Preview | Bメインから箱裏設置へのナノスワーム空爆 |